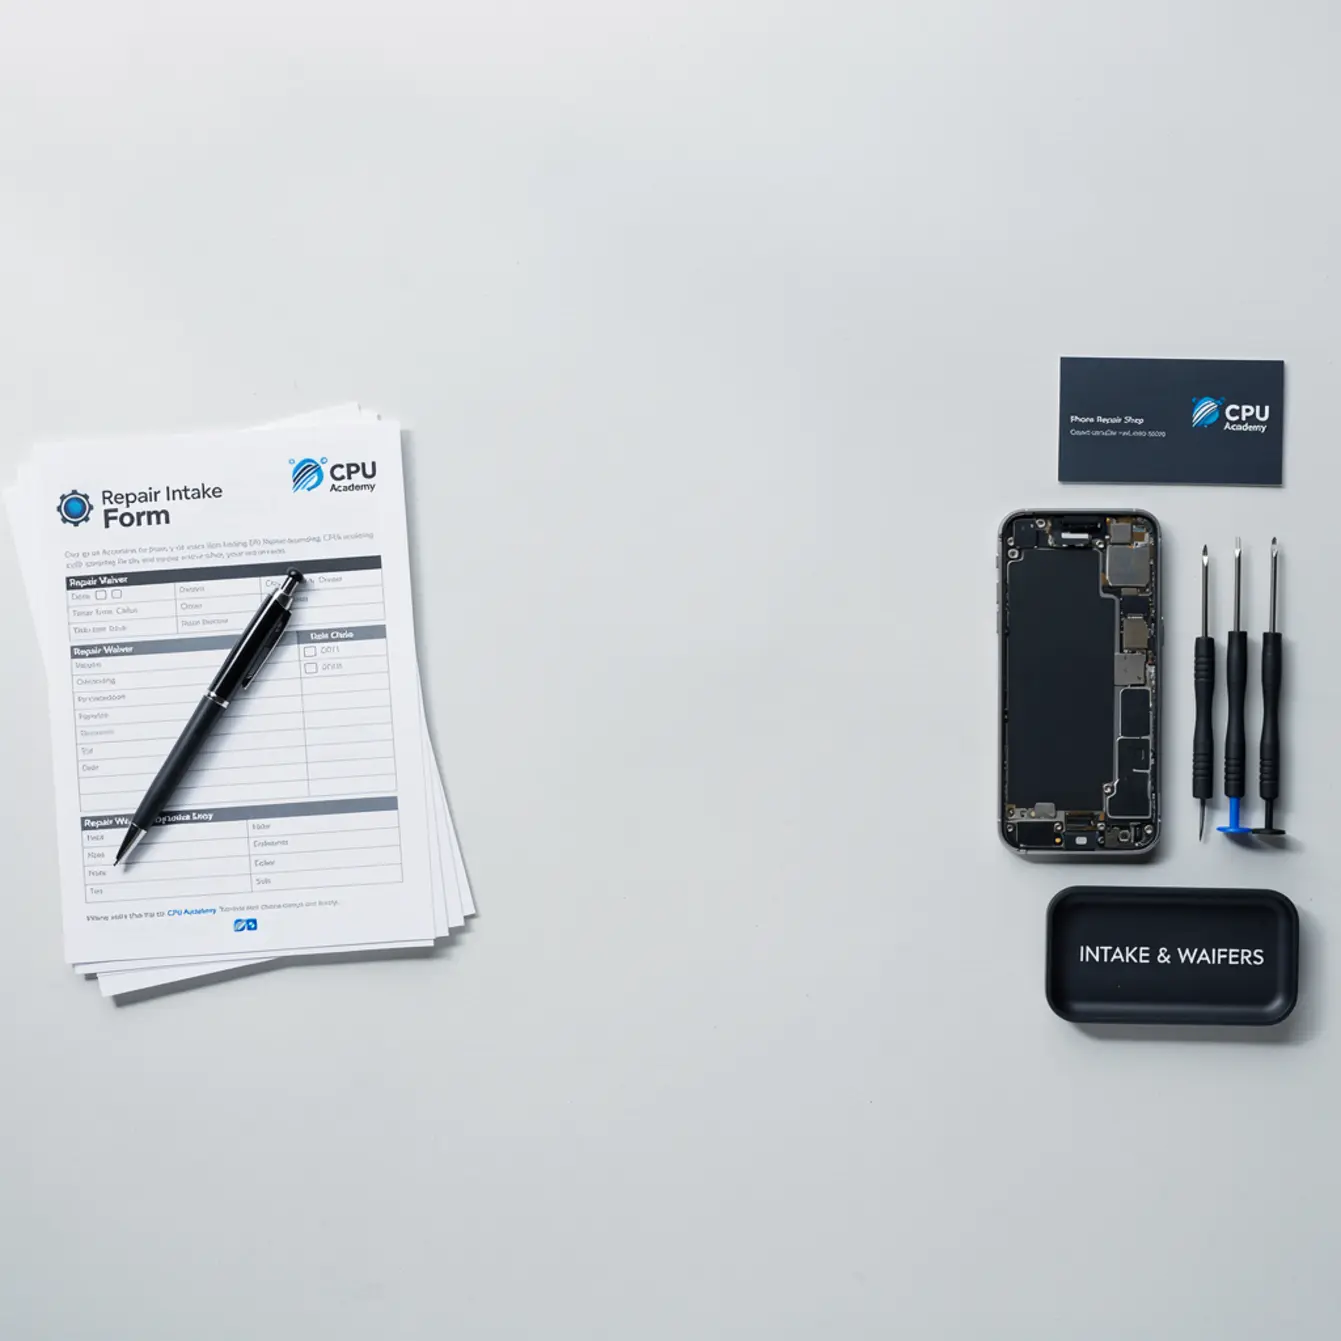
Quick answer: To start a phone repair business with fewer disputes, every shop needs three core documents from day one: a repair intake form, a liability waiver, and a parts-and-labor disclosure. These protect you legally, set customer expectations, and create a paper trail that professional shops use to avoid chargebacks and he-said-she-said claims.
Published: | Last updated:
This page exists because intake paperwork is the most-skipped step when people start a phone repair business — and it causes the most avoidable disputes.
What a repair intake form is — and why it protects your shop from day one
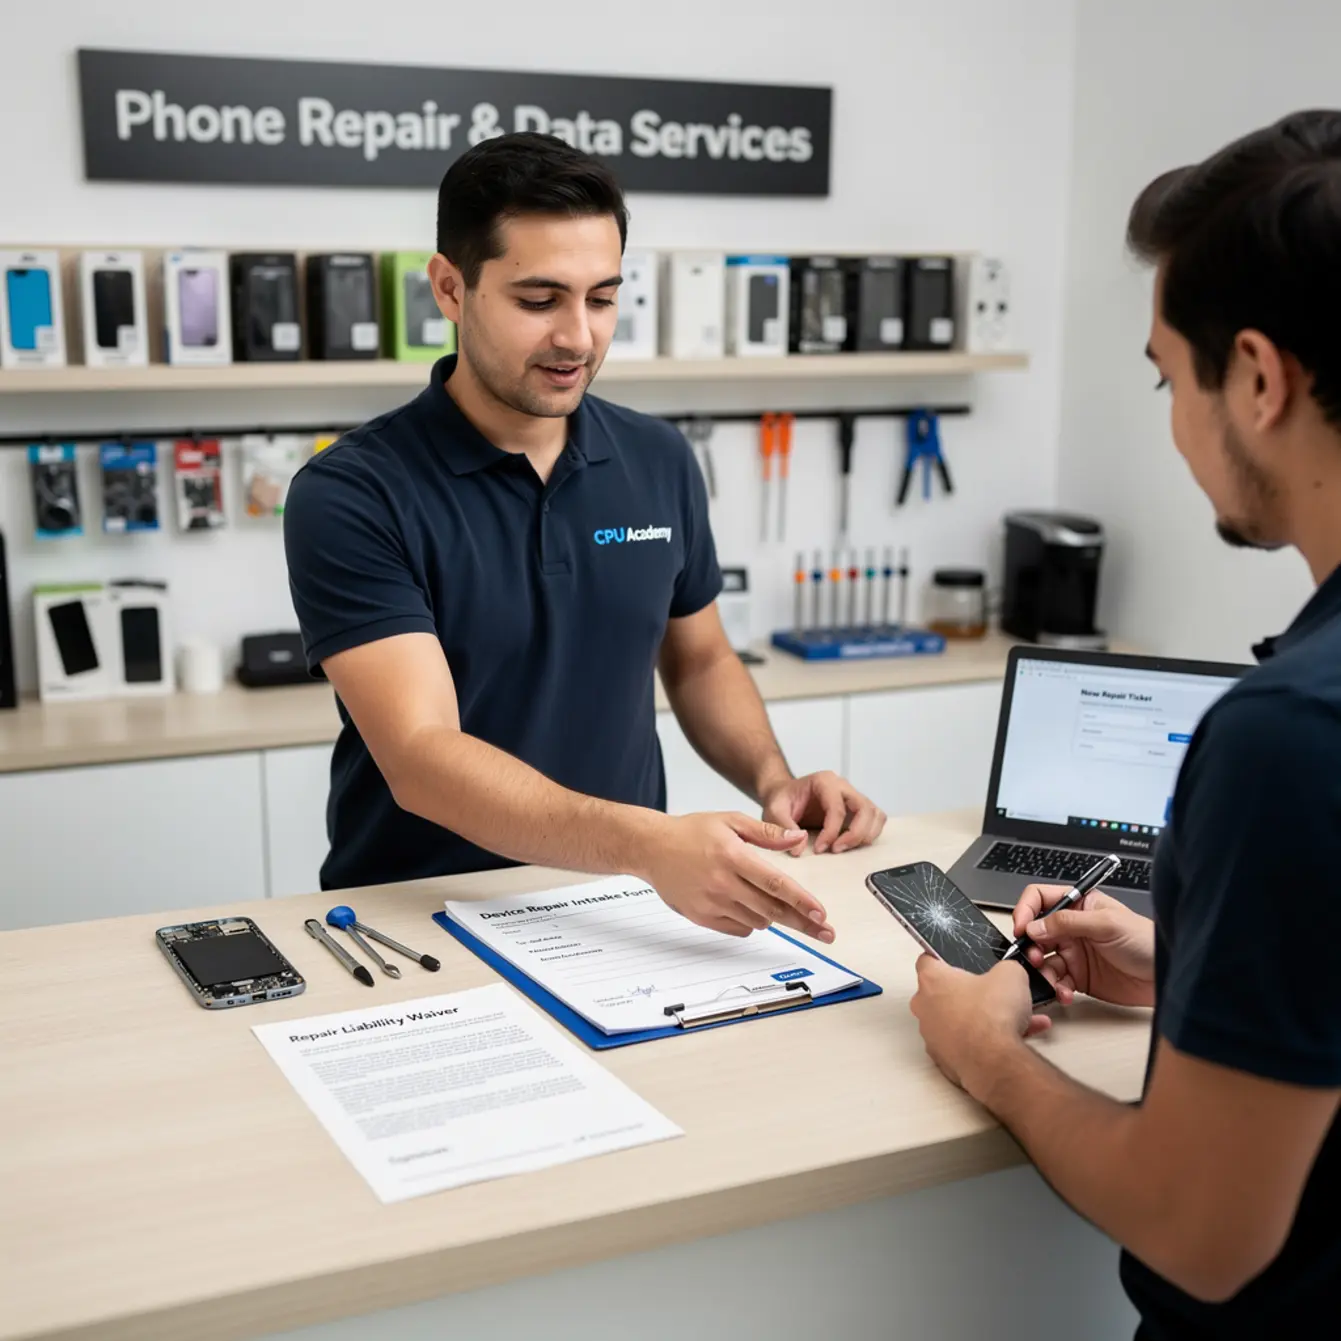
A repair intake form is a simple document you fill out with a customer before you touch their device. It records who owns the phone, what’s wrong with it, and what damage already existed before it landed on your bench.
That last part is the one that saves shops real money. When a customer picks up a repaired device and points to a crack they say you caused, a signed intake form with a pre-existing damage checklist is your only clean defense.
This guide is written for solo technicians and small shop owners who are building a cell phone repair business plan or are in their first twelve months of operation. If you haven’t built this paperwork yet, starting today costs you almost nothing — skipping it can cost you a lot.
The three documents every phone repair business needs before touching a single device
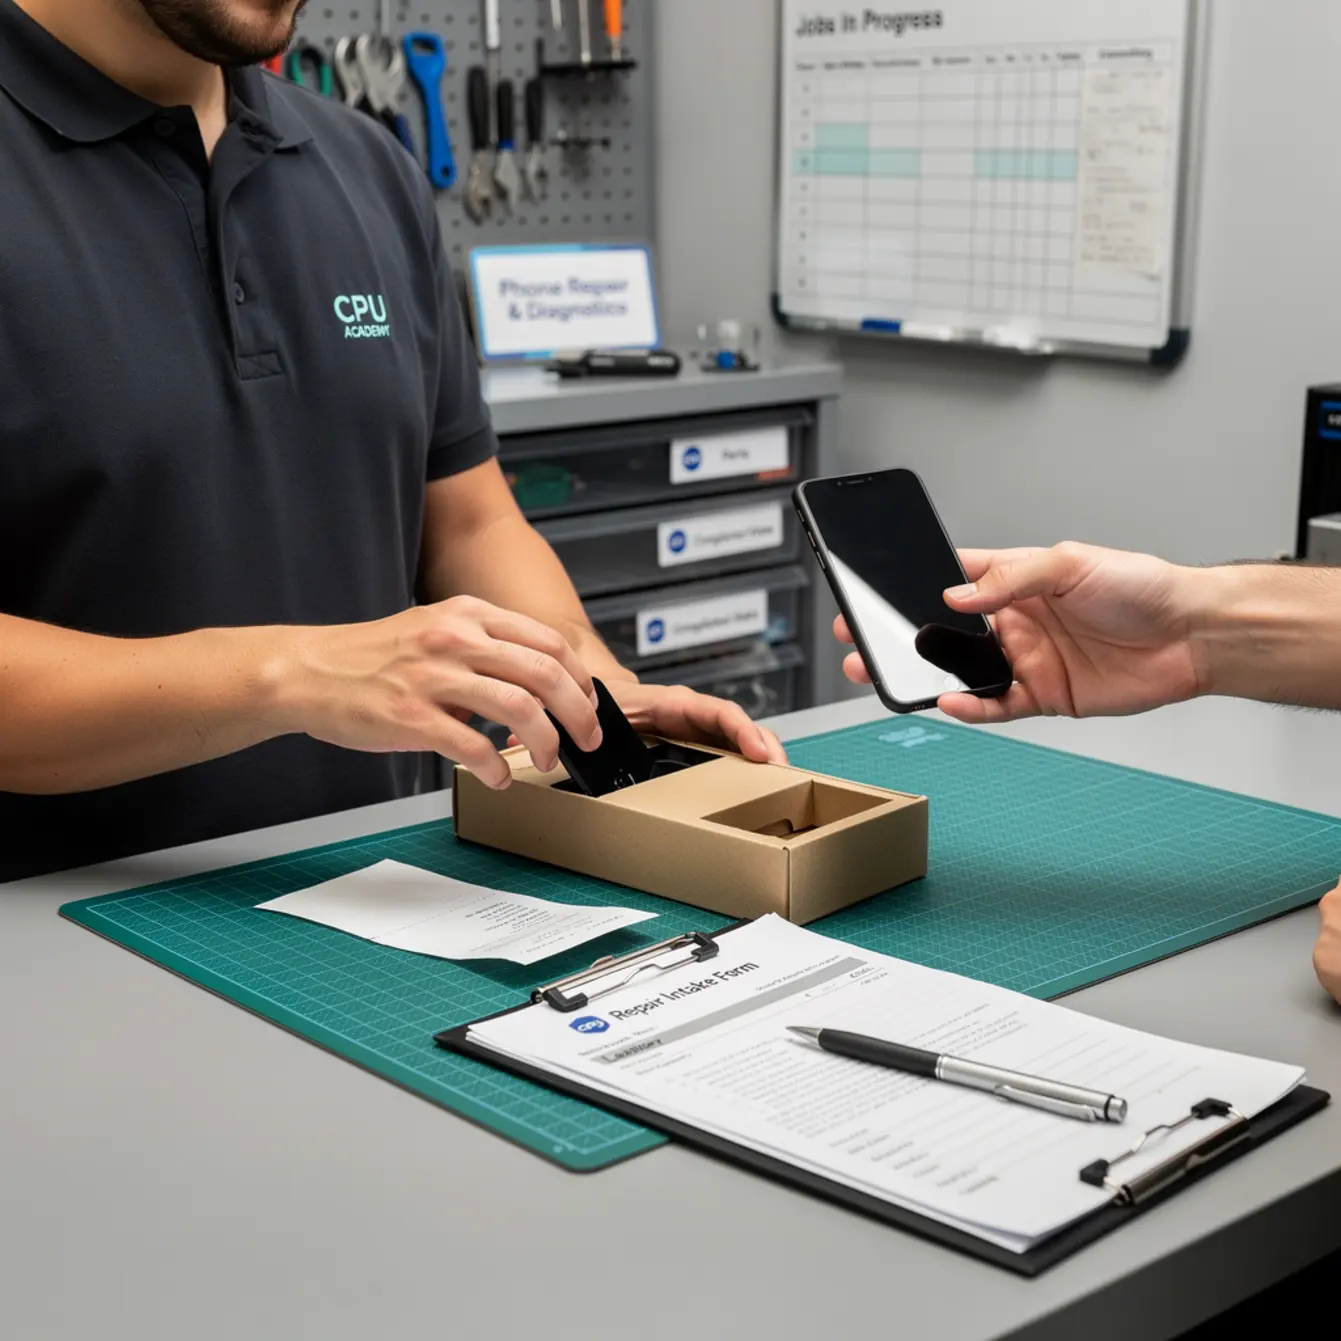
These three documents work together as a system. Use all three, every time, from day one.
- Repair Intake Form — Documents the device condition and what the customer agreed to before work begins.
- Liability Waiver — Limits your legal exposure for data loss, pre-existing damage, and unclaimed devices.
- Parts and Labor Disclosure — Sets clear expectations on parts type, warranty terms, and payment.
Think of them as three short conversations you have with every customer — just written down so there’s no confusion later. A mobile cell phone repair business that uses all three looks professional and has far fewer end-of-job arguments.
Free template: Repair intake form (copy and use today)
The intake form is the first document the customer sees. Keep it to one page. Here’s what it needs to include:
📋 Repair Intake Form — Required Fields
- Customer name and contact info (phone number + email)
- Device make, model, and storage size (e.g., iPhone 14 Pro, 256GB)
- IMEI or serial number — protects you and the customer from device-swap disputes
- Problem description in the customer’s own words — have them write it or read it back
- Pre-existing damage checklist — scratches, cracks, missing screws, dents, liquid indicators; customer initials each item
- Device passcode — mark clearly as optional and explain why it’s needed (screen testing); note how you handle and delete it
- Estimated turnaround time
- Estimated cost or price range — ties directly to your phone repair pricing menu
- Customer signature and date
The pre-existing damage checklist is the most important section. Walk the customer through it at the counter — it takes 90 seconds and eliminates the most common end-of-job argument small shops face.
A paper version costs essentially nothing to print. Start there if you’re still figuring out software.
Free template: Liability waiver — what to cover and how to say it plainly
The liability waiver is typically printed on the back of the intake form or attached as a second page. It doesn’t need legal jargon. Plain language that a customer can understand is more enforceable in most cases and less likely to cause friction at drop-off.
📋 Liability Waiver — Required Clauses
- Data loss disclaimer: “I confirm that I have backed up all data on this device. [Shop name] is not responsible for data loss during repair.”
- Pre-existing damage acknowledgment: “I confirm that the damage noted on the intake form existed before I dropped off this device.”
- Unclaimed device policy: “Devices not picked up within [30/60/90 days — verify local requirements] may be subject to storage fees or disposal to recover costs.” (Laws on abandoned property vary by state — consult a local attorney for the exact language your jurisdiction requires.)
- Escalation clause: “If additional damage is discovered during repair (e.g., liquid corrosion, broken connectors), we will contact you before proceeding. You may approve or decline additional work.”
- Limitation of liability: “Our total liability is limited to the cost of the repair as quoted.”
- Customer signature and date
These clauses are enforceable in most jurisdictions when properly drafted and when the customer signs them in person. Requirements vary by state, so if you’re unsure about specific language, a short consultation with a local small-business attorney is worth the cost.
Parts and labor disclosure: the document most new shops forget entirely
This is where you tell the customer exactly what kind of parts you’re using and what your warranty covers. Skipping it is one of the most common gaps in a new shop’s cell phone repair business plan.
📋 Parts and Labor Disclosure — Required Fields
- Parts type: OEM, OEM-equivalent, or aftermarket — state this clearly on every ticket. When labeling parts as “genuine” or “original,” your customer-facing claims should be accurate. The FTC business guidance on clear customer claims and disclosures offers a relevant baseline for honesty in customer-facing language about parts and origin.
- Warranty terms: State the exact coverage period (e.g., 30, 60, or 90 days on parts and labor) and what voids it (physical damage, liquid exposure after repair).
- “No fix, no fee” policy: If you offer this, say so explicitly. If you don’t, make that clear too. Ambiguity causes disputes.
- Payment terms: Payment due at pickup? Deposit required? State it here.
This document also connects directly to your phone repair pricing menu. When pricing is written down and signed, customers rarely push back on the invoice — because they agreed to it before the work started.
Paper vs. digital: which option fits your shop right now
There’s no single right answer here. Most shops start on paper and move to software as volume grows. Here’s an honest look at the trade-offs:
| Option | Pro | Con |
|---|---|---|
| Paper forms | Free, immediate, zero setup | Easy to lose, hard to search, no automation |
| Spreadsheet log | Free, searchable, simple to set up | Still manual, not customer-facing, no signature |
| Repair POS software | Professional, automated, tracks job history | Monthly cost (check current vendor pricing); learning curve |
| DIY Google Form | Free, digital, shareable link | Not legally formatted, no in-person signature capture |
If you’re just starting out and operating from home or a small counter, a printed two-page document (intake + waiver on one sheet, front and back) is a perfectly legitimate starting point. The goal is to have something signed before you accept the device — not to have a perfect system from week one.
What beginners do wrong (and how to fix it in 90 seconds)
⚠️ The #1 intake mistake new shops make: skipping the pre-existing damage checklist.
A customer brings in a phone with a small hairline crack in the corner. You fix the screen. They pick it up and claim you cracked it. Without a signed document noting that crack existed before you touched the device, you have no defense — and many shops silently eat the cost to avoid the argument.
The fix takes 90 seconds: walk the customer through a visible damage checklist at drop-off and have them initial each item on the spot.
The second most common mistake is using a waiver but never explaining it. Hand the customer the paper and say two sentences out loud: “This says you’ve backed up your data and we noted all existing damage on the front. Does that match what you see?” That conversation turns a legal document into a trust-building moment.
Third mistake: no unclaimed device policy. Devices sit on shelves for weeks, sometimes months. Without a written timeline and policy, you have no legal path to recover your bench space or parts cost. Write it in, set a timeline that matches your local laws, and reference it at drop-off.
What this looks like in the real world
Picture a solo tech running a mobile cell phone repair business out of a small retail suite. On their first week, they kept intake notes in a notebook. By month two, a customer disputed a crack that had been there at drop-off. The tech remembered it — but had nothing signed. They replaced the screen a second time at no charge to keep the peace.
The following week, they printed a two-page form (intake front, waiver back), laminated a “we do a damage walkthrough on every device” sign for the counter, and never had that dispute again. Total cost: a few dollars in printing.
The form isn’t the obstacle. Making the habit is. Once it’s part of every drop-off conversation, it becomes invisible — and it keeps money in your pocket.
Do this next: build the system, not just the form
The three documents above handle the front-desk side of your shop. But a repair business that runs well needs more than paperwork. It needs a phone repair marketing plan, a tested pricing model, a sourcing system for parts, and a clear picture of startup costs before the first customer walks in.
If you’re still putting the pieces together on your own, that process can take months of guessing. A faster path is to follow a structured business course built for exactly this scenario.
🎓 Want the step-by-step version instead of building it alone?
CPU Academy is a smart fit for readers who want to turn repair skill into a small business with fewer costly beginner mistakes. The program walks you through business setup, pricing, marketing, and operations in a logical sequence — so you’re not guessing what comes next.
Starting a Mobile Phone Repair Business: The Complete Course →
You can also build your technical foundation alongside the business side. CPU Academy’s phone repair course covers hands-on repair skills, and the mobile phone software repair course walks through software-level diagnostics — both useful complements once your shop is taking in jobs.
FAQ
Do I legally need a waiver to start a phone repair business?
There’s no single federal law requiring a specific waiver format for repair shops. However, a signed waiver helps limit your liability for data loss, pre-existing damage, and unclaimed devices. Requirements and enforceability vary by state. Consult a local small-business attorney to make sure your waiver language meets your jurisdiction’s standards.
What should I do if a customer refuses to sign the intake form?
Explain calmly that the form protects both of you — it documents the device’s condition before you touch it. If a customer still refuses, you can decline the repair. Accepting a device without a signed form removes your paper trail entirely, which creates real risk for disputes about pre-existing damage or data loss.
Should I use paper forms or repair shop software from day one?
Most small shops start with paper forms because the startup cost is near zero. Paper works fine when volume is low. As job volume grows, repair POS software adds automation, searchable records, and integrated invoicing. Start with paper if you’re still in your first few weeks, and upgrade when managing forms manually starts taking real time.
How does the parts and labor disclosure connect to my pricing menu?
Your phone repair pricing menu sets the rates; the parts and labor disclosure is what the customer signs to confirm they understood and agreed to those rates before you started. When both documents are present and signed, end-of-job billing disputes drop significantly because the customer already acknowledged the price in writing at drop-off.
Ready to go beyond the paperwork and build the full business?
If your goal is to turn repair skills into real income, don’t piece it together from scattered sources. CPU Academy’s Starting a Mobile Phone Repair Business: The Complete Course gives you the full path — pricing, marketing, operations, and setup — in one place.