By CPU Academy Editorial Team — Updated 2025
Picture a laptop that won’t charge unless you hold the cable at a very specific angle. The battery icon flickers on and off. The owner has already swapped out three different chargers and nothing changed. The real culprit is a broken power jack, and it’s one of the most common hardware faults any repair technician runs into week after week.
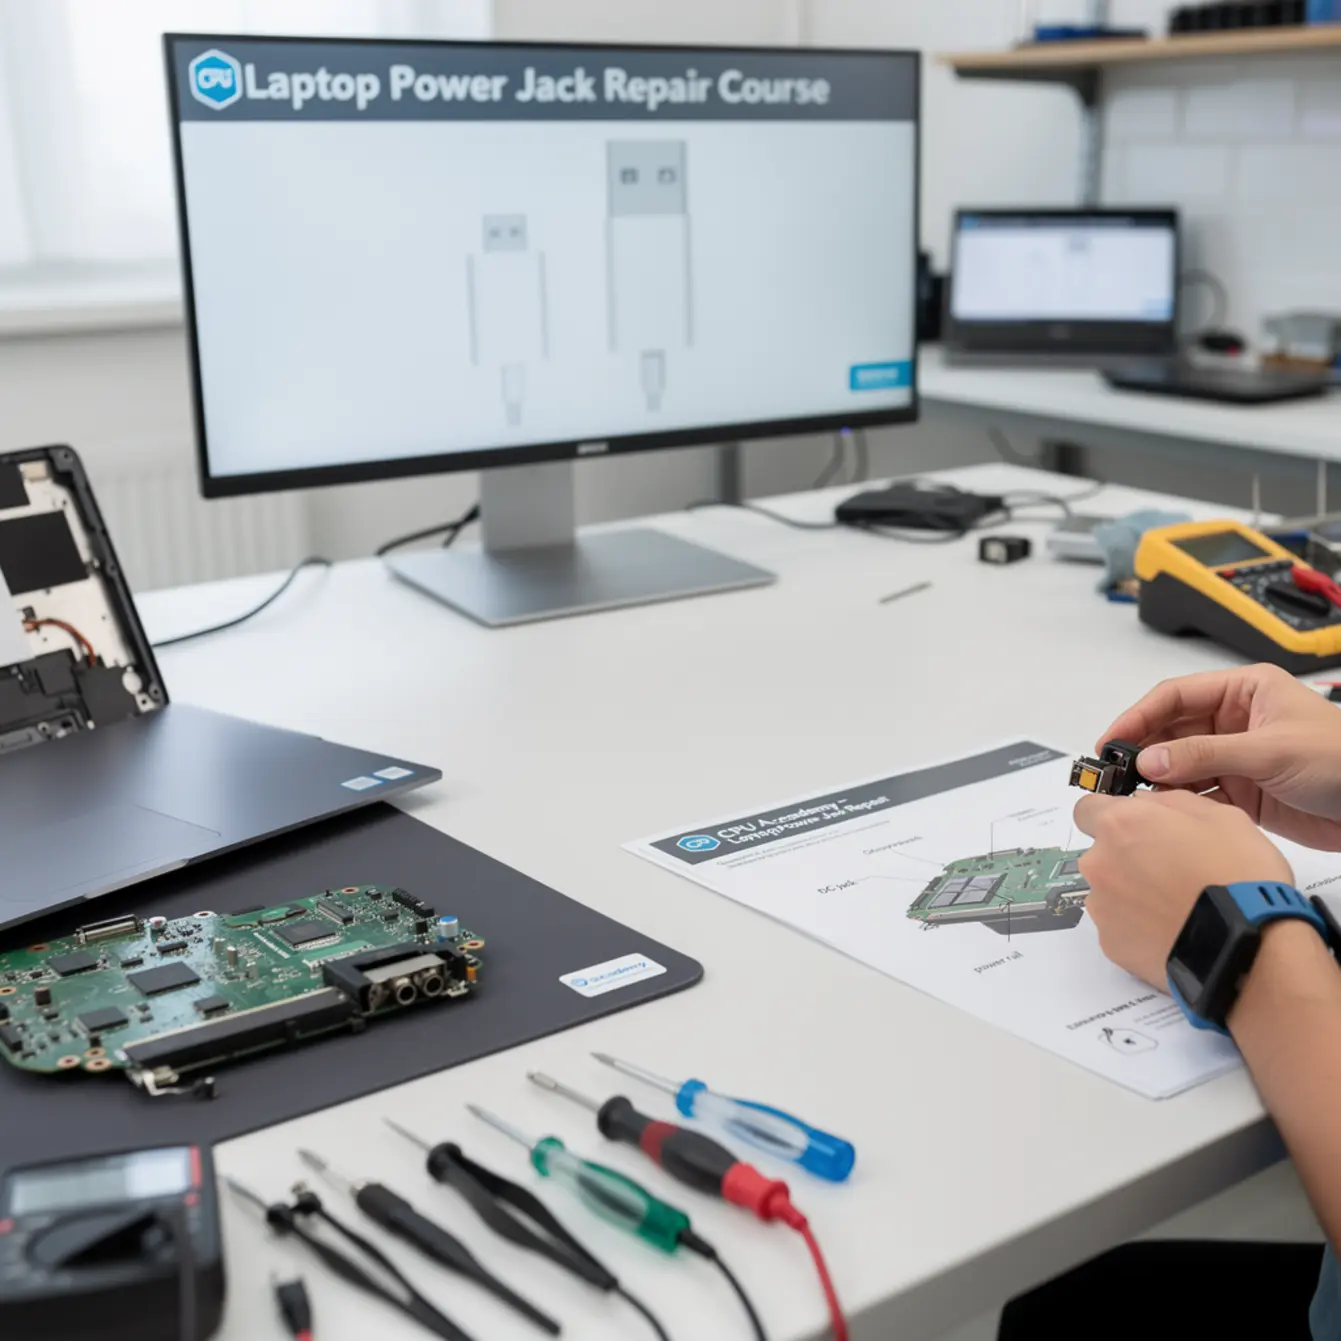
A laptop power jack repair course teaches you to fix exactly that kind of problem. You learn how to trace the fault, remove the damaged jack safely, and solder in a replacement without scorching the motherboard. It’s a focused, practical skill with a direct path to paid work.
This guide is written for US beginners and intermediate learners who want a straight answer: what does the course actually cover, what tools do you need, how does the repair workflow run, and when does this skill start making you money. CPU Academy’s Laptop Repairing Course: Get Certified as a PC Technician is built around exactly this repair category, giving you a safe, step-by-step path to board-level work without skipping the diagnostic fundamentals that beginners most often miss.

Quick Diagnosis or Decision Summary
What a power jack failure actually looks like
The power jack is the port where the charger plugs into your laptop. On older machines it’s a barrel-style DC jack soldered directly to the motherboard. On newer models it’s often a USB-C port, sometimes handling both data and charging on the same connector.
When the jack fails, the laptop may charge only sometimes, or only when the cable is held at a certain angle. In some cases the port feels loose or wiggles when you touch it. In others, the solder joints on the back of the motherboard have cracked from years of plug-and-unplug stress, and there’s nothing visibly wrong until you look at the board under a loupe.
Diagnosis checklist before you touch a screwdriver
A structured laptop repair course teaches you to rule out the charger before assuming the jack is bad. Here’s a standard pre-disassembly checklist:
- Confirm the charger outputs the correct voltage with a multimeter
- Test a known-good charger with the same connector type
- Check the charge indicator LED on the laptop side while gently flexing the cable
- Listen or feel for a loose or rattling connector inside the port
- Inspect the port opening with a flashlight for bent pins or debris
If the charger tests fine and the fault changes when you wiggle the cable, the jack is almost certainly the problem. Getting to that conclusion quickly and confidently is exactly what good training is for.
DC barrel jack vs. USB-C charging port: what’s different?
A barrel DC jack is a dedicated charging-only port. It solders to the motherboard at four to six through-hole pads, which makes replacement pretty straightforward with standard desoldering tools.
A USB-C port is a surface-mount component. The pads are smaller, tolerances are tighter, and the repair calls for a steadier hand and a finer iron tip. Both are teachable skills, but a course that covers both gives you real coverage across the wide range of modern laptop brands you’ll actually see on your bench.

Tools, Parts, and Safety Checks
The essential tool list
Here’s the good news: you don’t need an elaborate workshop. The core kit fits comfortably on one bench tray, and most of these items are available at reasonable prices.
| Tool | Purpose | Entry-level required? |
|---|---|---|
| Temperature-controlled soldering station | Desolder and resolder the jack | Yes |
| Desoldering pump or braid | Remove old solder cleanly | Yes |
| Digital multimeter | Voltage and continuity testing | Yes |
| Spudger / plastic opening tools | Safe chassis disassembly | Yes |
| Magnification (loupe or microscope) | Inspect solder joints and pads | Loupe yes; microscope optional |
| OEM-matched replacement jack | Like-for-like component swap | Yes |
| Isopropyl alcohol (90%+) and brush | Clean flux residue from the board | Yes |
| Anti-static mat and wrist strap | Protect the motherboard from ESD | Yes |
Safety note before you solder anything
Always disconnect the battery before probing the power path. A laptop that looks completely dead can still carry charge on the board. This isn’t a scare tactic — it’s the first habit a proper course builds, and skipping it is exactly how boards get shorted and components get destroyed.
Use a temperature-controlled station, not a fixed-watt iron. Laptop motherboard pads are small and they don’t forgive much. Too much heat held too long lifts the pad right off the board, and a lifted pad turns a simple jack swap into a full trace-repair job that takes three times as long.
Step-by-Step Workflow
Disassembly
Open the laptop following the service manual for that specific model. Some chassis let you reach the motherboard through the bottom panel in under ten minutes. Others require pulling the keyboard, palmrest, and display assembly before you see anything useful. A quality laptop repair course online walks you through both chassis types using real machine examples, not just diagrams.
Once the motherboard is accessible, photograph the jack and its cable routing before you touch anything. Two minutes with your phone camera saves you real time on reassembly.
Desoldering the damaged jack
Apply a small amount of fresh solder to each pad before you start removing anything. That sounds backwards, but fresh solder blends with old oxidized joints and helps them flow cleanly. Then work through each pin with a desoldering pump or braid, one pin at a time.
Work the jack free gently. Do not pull or rock it hard — forcing it risks tearing a pad off the board. Once the jack is out, clean the pads with isopropyl alcohol and look at them under a loupe. Every pad should be flat, shiny, and fully intact. If one is lifted or has port debris underneath it, you’re looking at a trace-repair situation, which is beyond a basic swap but something an intermediate course introduces step by step.
Installing and testing the replacement
Seat the new jack so every pin sits flush in its pad. Tack one pin first to hold position, then work through the rest. Keep heat application short, two to three seconds per pin at most. Clean off flux residue with isopropyl alcohol when you’re done.
Before closing the chassis, reconnect the battery, plug in the charger, and verify stable charging before reassembly. Confirm the laptop powers on and the charging indicator activates. Then disconnect power and battery again before you put the case back together. Never button up a laptop without a successful bench test first.
Typical Failure Patterns and Shortcuts to Avoid
The three most common power jack failures
Cracked solder joints are the most frequent problem by far. Years of plugging and unplugging stress the four to six solder joints that anchor the jack to the board. The joint cracks microscopically — invisible to the naked eye, but immediately obvious under a loupe and dead open on a continuity test. A targeted reflow or full replacement fixes it.
Bent or broken pins happen when a cable gets yanked sideways at an angle. The pins inside the barrel jack deform and lose reliable contact with the charger tip. This one tricks a lot of people into assuming the charger is bad when it isn’t.
Cracked housing is a physical break where the outer collar of the jack separates from the board. The jack may still make electrical contact sometimes, which is why the laptop charges on a good day and goes dead the next. Intermittent behavior like that is almost always a mechanical problem.
Shortcuts that cause more damage
Skipping the multimeter test and going straight to desoldering wastes time whenever the real fault turns out to be a dead charger. Pulling a jack before fully clearing the solder from every pin tears pads. Running the iron too hot to speed things up is probably the single fastest way to ruin a board.
A laptop power jack repair course is built specifically to knock those habits out before they get ingrained, especially for learners who have picked up scattered tips online and quietly developed some risky shortcuts along the way.
When This Skill Becomes Billable Work
The value of one completed repair
Power jack failure is one of the most common hardware faults technicians see. That means real, consistent demand for this specific repair. The skill doesn’t require a shop full of specialized equipment — the tool list above is genuinely enough for a home bench or a small walk-in shop.
Whether you’re aiming for a technician job, a side hustle, or your own repair business, the math is simple. Parts cost for a barrel DC jack is low. Customers routinely pay a reasonable labor rate for a repair that saves them from buying a new laptop. One successful job creates the proof point you need to start marketing the service.
Pairing power jack repair with related skills
In a real shop, power jack repair rarely comes alone. A customer who walks in with a charging fault may also have a cracked screen or a keyboard sticky from liquid damage. If you’re already comfortable with the machine open in front of you, you’re positioned to offer those repairs in the same visit.
Adding a laptop screen replacement course gives you a natural second billable skill. A lot of technicians complete both training paths back to back because the disassembly overlap makes the second repair much faster to pick up.
If you’re thinking further down the road, understanding how to start a mobile phone repair business shows how the same bench habits translate into a broader service offering that brings in more customers.
CPU Academy’s training fits this exact goal
If you want to monetize power jack repairs without picking up the dangerous shortcuts that come from stitching together YouTube videos and forum posts, CPU Academy’s Laptop Repairing Course: Get Certified as a PC Technician is the practical scenario this training is built for. It’s designed for laptop learners who want safe disassembly habits, clean workflows on common repairs, and a clearer bridge from skill to income — not a general IT survey course that buries hands-on repairs under layers of theory.
FAQ and Next Step
Frequently asked questions
- Can I learn laptop power jack repair online?
- Yes, absolutely. The diagnostic reasoning and soldering technique both transfer well to video-based instruction. What matters is that the course shows real-machine teardowns, not just diagrams. A practical laptop repair course online will walk you through multiple chassis types so you recognize the variation when you sit down with an unfamiliar laptop for the first time.
- What’s the difference between a DC barrel jack and a USB-C charging port repair?
- A DC barrel jack uses through-hole solder pins with larger pads, which is more forgiving for beginners. A USB-C port is surface-mount with smaller pads that require more precise iron control. Both use the same diagnostic approach. Most people start with barrel jack repairs to build confidence, then move to USB-C work once their soldering is steady.
- Do I need prior electronics experience to take a laptop power jack repair course?
- No prior background is required, but two baseline skills will speed your progress: comfort using a multimeter to read voltage, and basic familiarity with a soldering iron. Both can be picked up as part of the course itself. You don’t need to read schematics or use an oscilloscope at the entry level.
- How long does a typical power jack replacement take?
- An experienced technician finishes a straightforward barrel jack replacement in 30 to 90 minutes, depending on how many components need to come out to reach the motherboard. Your first few repairs will take longer. By the third or fourth job on the same chassis family, the workflow starts to feel pretty predictable.
- Is laptop power jack repair different from laptop keyboard repair training?
- Yes, they’re separate skills. Keyboard replacement is usually a mechanical swap with no soldering involved. Power jack repair is board-level work. Some technicians learn both in sequence; a broader laptop repair course typically covers both within the same curriculum, which makes sense since you’re already opening the same machines.
- What if the board has a damaged trace, not just a bad jack?
- A damaged copper trace on the power path needs trace repair, which means bridging the break with solder or conductive wire. That’s an intermediate technique covered in more advanced board-level training. If you’re new, correctly diagnosing a trace fault rather than misidentifying it as something else is already a valuable skill a good course gives you early on.
Ready to learn laptop repair in a structured way instead of collecting scattered tips?
Enroll in CPU Academy’s Laptop Repairing Course: Get Certified as a PC Technician and make power jack replacement the first billable skill in your repair toolkit. You’ll build safe habits, solid diagnostic reasoning, and the hands-on confidence to turn every charging fault into a completed job and a paid one. That’s where a good laptop power jack repair course takes you.