
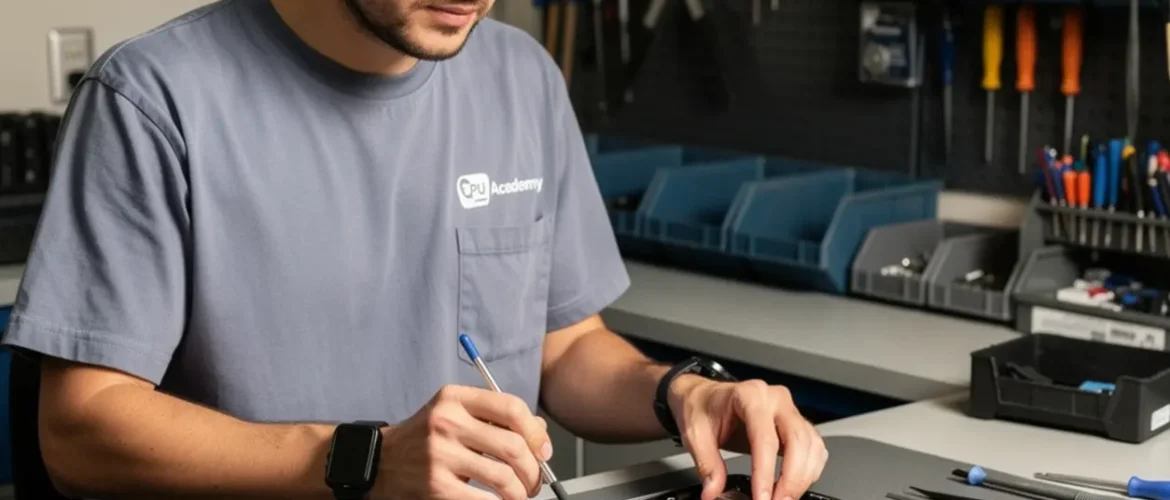
Reviewed by the CPU Academy technical team. | Updated 2025 |
Diagnostic workflow reference: ESD mat, panel tester, multimeter, connector reference chart, known-good replacement cable set.
A laptop repair course that covers display interfaces teaches you to diagnose LVDS and eDP signal faults without guesswork. Knowing which interface your panel uses determines which tools, cables, and test sequences apply. That single piece of knowledge separates technicians who fix screens reliably from the ones who swap parts blindly and still end up with a blank display.
A customer walks in with a laptop showing nothing. Black screen, no flicker, no hint of a backlight glow. You swap the screen. Still nothing. Sound familiar? That cycle of random part swaps is expensive, slow, and completely avoidable once you understand the two display interfaces you’ll run into on almost every bench job: LVDS and eDP.
This guide is aimed at US technicians who are new or somewhere in the middle. You want a clear framework, not a semester-long lecture. By the end, you’ll know how each interface works, how to tell them apart in about thirty seconds, and how to work through a blank screen without wasting an afternoon.
CPU Academy’s laptop repair curriculum covers both LVDS and eDP connector workflows, so technicians practice on real fault scenarios before they ever touch a paying customer’s machine. Use this article as the preview, then open CPU Academy’s Laptop Repairing Course: Get Certified as a PC Technician to see the full roadmap, tools, and course outcomes.
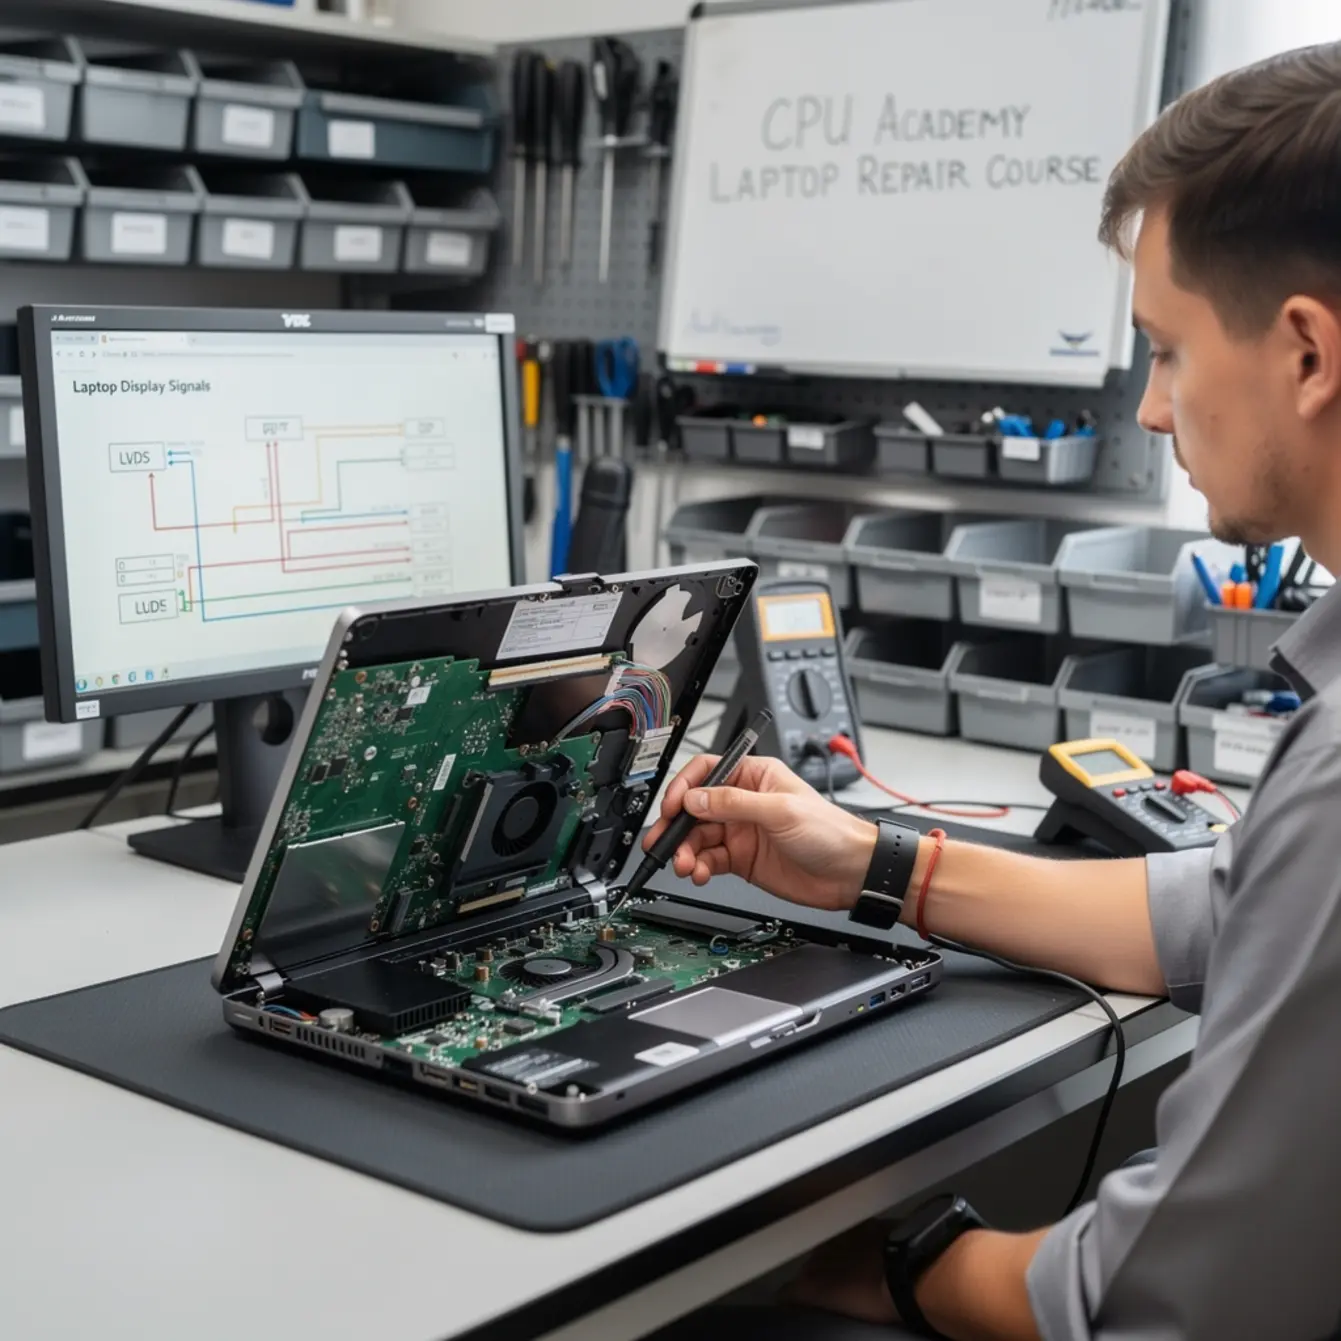
Quick Diagnosis — LVDS or eDP?
Before you touch a cable, answer three questions. Each one narrows the field fast.
- What year is the laptop? Pre-2013/2014 machines almost always use LVDS. Anything newer is very likely eDP, though some budget OEMs made the switch a little later than the big players did.
- Does the cable have a locking latch or a simple friction fit? LVDS cables often use a latching connector. Most eDP connectors use a friction-fit ZIF-style tab that you lift with a fingernail or a spudger.
- Does the motherboard datasheet or service manual spell out the panel interface? That’s your definitive answer. Download the service manual before guessing with hardware.
What beginners usually do wrong: They look at the pin count and assume an eDP cable fits an LVDS panel because both might show 30 or 40 pins. They are not interchangeable. The signaling voltage and protocol are completely different. Forcing the wrong cable can damage the panel or the GPU output stage, turning a cheap cable job into a motherboard problem.
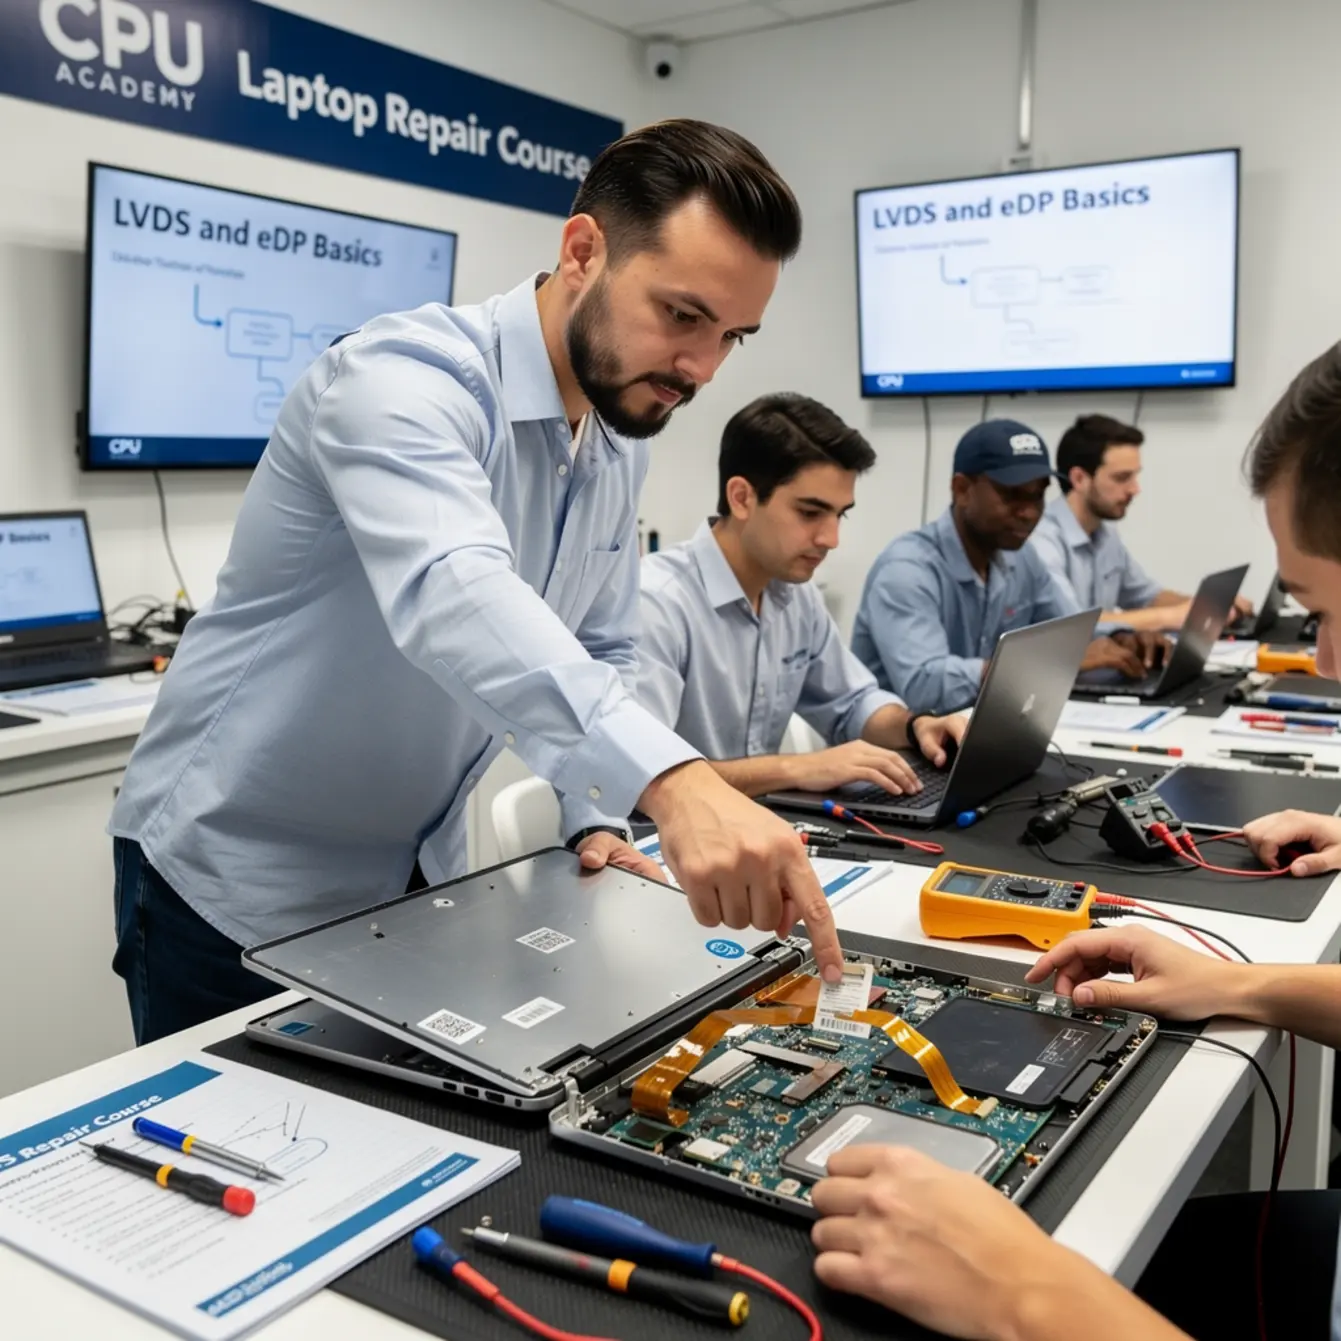
What Is LVDS?
LVDS stands for Low-Voltage Differential Signaling. It carries display data from the GPU to the panel using pairs of wires, one positive and one negative, so the receiver reads the difference between them rather than an absolute voltage. That design makes the signal resistant to electrical noise picked up along the cable run.
Signal swing is small, typically under 400 mV. That low voltage is exactly what the name advertises. If you want to dig into the electrical spec, Intel has published solid documentation: Intel LVDS interface technical reference.
LVDS in Practice
A single-channel LVDS cable handles lower resolutions. Dual-channel doubles the bandwidth for higher-resolution panels. The cable itself is typically 30 to 40 pins wide.
Older LVDS systems with CCFL backlights need a separate inverter board to power the fluorescent tube behind the panel. Later LVDS systems moved to LED backlights but still kept the backlight on a separate circuit. Display data and backlight power travel different paths in these machines.
That separation matters a lot at the bench. A dead backlight gives you a perfectly functioning image that’s just invisible without a flashlight. Always check for the faint image before you condemn the LVDS cable or the panel itself.
What Is eDP?
eDP stands for Embedded DisplayPort. It replaced LVDS in modern laptops by putting data, backlight control, and power management onto a single connector and cable. Fewer connectors, cleaner internal routing, and far higher bandwidth than LVDS ever offered.
eDP uses a lane-based architecture defined by the VESA eDP standard. A panel might use one, two, or four lanes depending on the resolution and refresh rate it needs. High-resolution panels like Full HD, QHD, or 4K pull more lanes to move all that data fast enough.
eDP in Practice
Because everything runs on one cable, a fault anywhere in that cable can kill the display and the backlight at the same time. A bent pin, a nick in the insulation, or a loose ZIF tab will take out the whole picture. There’s no separate backlight circuit to isolate like there is on older LVDS machines. That changes your diagnostic order compared to what you’d do on an LVDS system.
eDP also supports features LVDS never could handle: panel self-refresh, variable refresh rates, and higher color depth. That’s why every modern thin-and-light and gaming laptop moved to it, and why you’ll see eDP on almost every machine built in the last decade.
LVDS vs eDP: Key Differences at a Glance
Here’s the side-by-side your bench brain actually needs:
| Feature | LVDS | eDP |
|---|---|---|
| Era | Pre-2013/2014 (dominant) | Post-2013 (modern standard) |
| Signal type | Differential pairs | Lane-based (1/2/4 lanes) |
| Backlight control | Separate circuit (inverter or LED driver) | Integrated on same cable |
| Typical pin count | 30–40 pins | 30–40 pins (similar — do not confuse) |
| Interchangeable? | No — protocol mismatch | No — protocol mismatch |
| Max resolution support | Limited (dual-channel helps) | 4K and beyond with 4 lanes |
| Blank screen + no backlight | Check backlight circuit first | Check cable seating and GPU output first |
Tools, Parts, and Safety Checks — What You Need at the Bench
Required Tools
Display Interface Diagnostic Checklist
- ESD mat and wrist strap — non-negotiable before you open any cable connector
- Multimeter — voltage and continuity checks on the backlight circuit
- Laptop panel tester — lets you drive a panel directly to confirm it’s good before suspecting the cable
- Connector reference chart for the chassis you’re working on
- Known-good replacement cable, LVDS or eDP, matched to the chassis
- Plastic spudgers — keep metal tools away from ribbon cable connectors
- Service manual for the exact model — download it before you start, not after you’re stuck
Safety Note
Static discharge to a display cable can damage the GPU’s integrated display output. Ground yourself before you touch any ribbon cable. One second without the wrist strap is genuinely all it takes to create a fault that looks exactly like a bad panel.
Also, disconnect the battery before you unseat any cable. On eDP systems, backlight power runs through the same cable as the data signal. Powering on with a loose eDP connector can cause damage that goes well beyond a simple blank screen.
Step-by-Step Blank Screen Diagnostic Workflow (Your Laptop Repair Course in Practice)
Work these steps in order. Skipping ahead is exactly where most beginners burn time and money on parts they didn’t need.
Picture the machine half-open on your ESD mat, bottom cover already off and sitting to the side. Before you pull a single screw from the display assembly, run through this sequence.
- Rule out software first. Boot to an external monitor via HDMI or USB-C. If the external display works, the GPU is fine. The problem is local: cable, panel, or backlight.
- Check for a faint image on LVDS systems. Shine a flashlight at the screen at a low angle. If you can see a dim image, the backlight is the culprit, not the panel or the cable. On LVDS machines, test the inverter board or LED driver separately before touching anything else.
- Identify the interface. Pull the service manual. Confirm LVDS or eDP. Do not guess from pin count alone.
- Inspect the cable before removing it. Look for kinks, burn marks, pinch points near the hinges, or corrosion on the connector. Hinge-area damage is the most common physical cause on both interface types, and you can often spot it without touching anything.
- Reseat the cable. ESD strap on. Gently release the locking latch on LVDS or the ZIF tab on eDP. Slide the cable out 2 to 3 mm, then firmly reseat it. Test before you do anything else. Seriously, test here before moving on.
- Test the panel independently. Connect the panel to your panel tester with a known-good matching cable. If it lights up and shows a full image, the panel is fine. The fault lives in the cable, the motherboard connector, or the GPU output stage.
- Swap in a known-good cable. Use a cable matched to the chassis and interface type. If the image comes back, the original cable was the fault. Order an OEM-spec replacement and you’re done.
- If the cable swap still gives a blank screen, you need to scope the GPU display output or inspect the motherboard connector for bent pins. At that point you’re into board-level diagnosis, which is a separate skill set covered in a full Laptop Repairing Course: Get Certified as a PC Technician. Put the bottom cover back on in reverse screw order before handing anything to the customer, even mid-diagnosis.
If you want a guided version of this instead of doing it alone, the next move is Laptop Repairing Course: Get Certified as a PC Technician. The course walks through these steps with video and real fault scenarios so you’re not improvising on a client’s machine.
Typical Failure Patterns and How to Shortcut Them
The Hinge-Pinch Fault
Both LVDS and eDP cables route through the hinge area. Every time the lid opens and closes, that cable flexes. Over months and years, that flexing causes tiny fractures in the conductor traces. The symptom is usually intermittent at first: the screen flickers when you adjust the lid angle, then gets worse over time.
The shortcut here is simple. Gently wiggle the lid while watching the screen. If flickering tracks with lid position, the cable is your primary suspect. Reseat it first. If that doesn’t hold, replace it.
The Single-Color Tint Fault
A screen showing a heavy red, green, or blue tint usually has a partially disconnected cable. One differential pair on an LVDS system, or one lane on eDP, is losing signal. Before you order anything, reseat the cable at both the panel end and the motherboard end. This fixes it more often than you’d expect.
The Liquid Damage Fault
Liquid entering near the keyboard can wick through the chassis and reach the display cable connector on the motherboard. Corrosion on those connector pins causes intermittent or permanent no-image. Clean with IPA at 90 percent or higher using a soft brush, then inspect the pins under magnification and check continuity on any affected rows.
Liquid damage repair goes deeper than one section can cover. A structured laptop repair course online covers it alongside display, keyboard, and power jack diagnostics in the right sequence, so you’re not piecing together a process from forum threads.
The Wrong-Cable Order Fault
A technician orders a replacement cable by pin count and physical dimensions instead of the chassis part number. The cable arrives looking right, gets installed, and the panel stays dark. The cable was eDP-spec on an LVDS board, or the other way around. Always order by the part number in the service manual. Dimensions lie; part numbers don’t.
Case Example: The Flickering Screen That Wasn’t a Panel Problem
A 2011 laptop came in with an intermittent blank screen. The previous shop had already replaced the LCD panel and seen no improvement. With the machine half-open on the ESD mat, the service manual confirmed LVDS with a dual-channel cable. Visual inspection turned up a kink in the cable about 15 mm from the panel connector, right at the hinge pivot point.
Step 5 of the workflow, the reseat, partially fixed it. The screen held steady in one lid position. Step 7, swapping in a known-good cable, resolved it completely. The replacement panel the previous shop ordered was unnecessary and cost the customer over $80 for nothing.
Takeaway: Following the step sequence before ordering parts saves everyone money. The cable was under $12.
When This Skill Becomes Billable Work
Display cable replacements and screen swaps are some of the most common walk-in laptop repairs in any US shop. Once you can diagnose an LVDS or eDP fault in under 20 minutes and tell a customer confidently whether they need a cable, a panel, or a motherboard repair, that is a skill people will pay for.
Upsell Opportunities You’ll Naturally Encounter
Many laptops that come in for a display fault also have a failing power jack. The two often get damaged in the same drop event. Understanding display interfaces positions you to catch those additional faults in the same visit. A solid laptop screen replacement course naturally builds into power jack diagnosis, keyboard repair, and liquid damage assessment, which compounds your per-ticket revenue without requiring extra marketing.
If you’re thinking about opening a shop or going mobile, the path from display skills to a full-service offering is well-documented. CPU Academy exists for technicians who want skills they can charge for, not habits they’ll have to unlearn. Their Starting a Mobile Phone Repair Business resource shows how adjacent repair trades expand your income from the same bench setup, including phone repair covered in the phone repair course.
Laptop keyboard repair training and laptop power jack repair course skills fit directly alongside display work. A customer whose screen cable was damaged by a liquid spill will often need keyboard replacement and power circuit inspection in the same visit. That’s one customer, one appointment, and three billable items.
Laptop motherboard repair certification rounds out the picture for technicians who want to handle the cases other shops turn away. Board-level work commands higher rates and builds the kind of reputation that keeps customers coming back.
Ready to learn laptop repair in a structured way instead of collecting scattered tips?
Open CPU Academy’s Laptop Repairing Course: Get Certified as a PC Technician and take the next step now.
CPU Academy is built for laptop learners who want safe disassembly habits, profitable common repairs, and a clearer path from skill to income.
FAQ + Next Step
What is LVDS in a laptop?
LVDS is a differential signal interface that carries display data from the GPU to the panel in older laptops. It uses paired wires running at low voltage, typically under 400 mV, to transmit the image signal with good resistance to electrical noise. It was the standard interface in laptops built before roughly 2013 and 2014.
What is eDP and how is it different from LVDS?
eDP replaced LVDS in modern laptops by combining data and power management on one connector with much higher bandwidth. LVDS runs the backlight on a separate circuit; eDP integrates everything on a single cable. eDP also uses a lane-based architecture that supports resolutions LVDS simply can’t deliver.
How do I tell if a laptop uses LVDS or eDP?
Check the service manual first. It will state the panel interface directly. If you don’t have the manual, use the manufacture year as a starting point: pre-2013 likely means LVDS, newer likely means eDP. Then confirm by looking at the connector locking mechanism and cable routing. Never rely on pin count alone since both interfaces can have 30 to 40 pins.
Can I use an eDP cable on an LVDS panel?
No. Even if the pin count matches physically, the signaling protocol and voltage levels are different. Using the wrong cable will result in no image and could damage the GPU display output or the panel itself. Always match the cable to the chassis part number from the service manual.
What tools do I need for display interface diagnosis?
At minimum: an ESD mat and wrist strap, a multimeter, a laptop panel tester, a connector reference chart for the chassis, plastic spudgers, and a known-good replacement cable matched to the interface type. The service manual for the specific model is not optional.
How do I start diagnosing a blank laptop screen?
Start by connecting an external monitor to rule out a GPU fault. If the external display works, the problem is local. On LVDS laptops, shine a flashlight at the screen to check for a faint image before assuming the cable or panel is the problem. A backlight failure looks identical to a dead panel without that test. Then work the eight-step workflow above in order before ordering any replacement parts.
Where can I learn LVDS and eDP diagnosis in a structured way?
A structured laptop repair course that sequences display, keyboard, power jack, and liquid damage diagnosis in the right order is the most efficient path. CPU Academy’s Laptop Repairing Course: Get Certified as a PC Technician covers these workflows with real fault scenarios so you build correct habits from the start rather than picking up workarounds from scattered
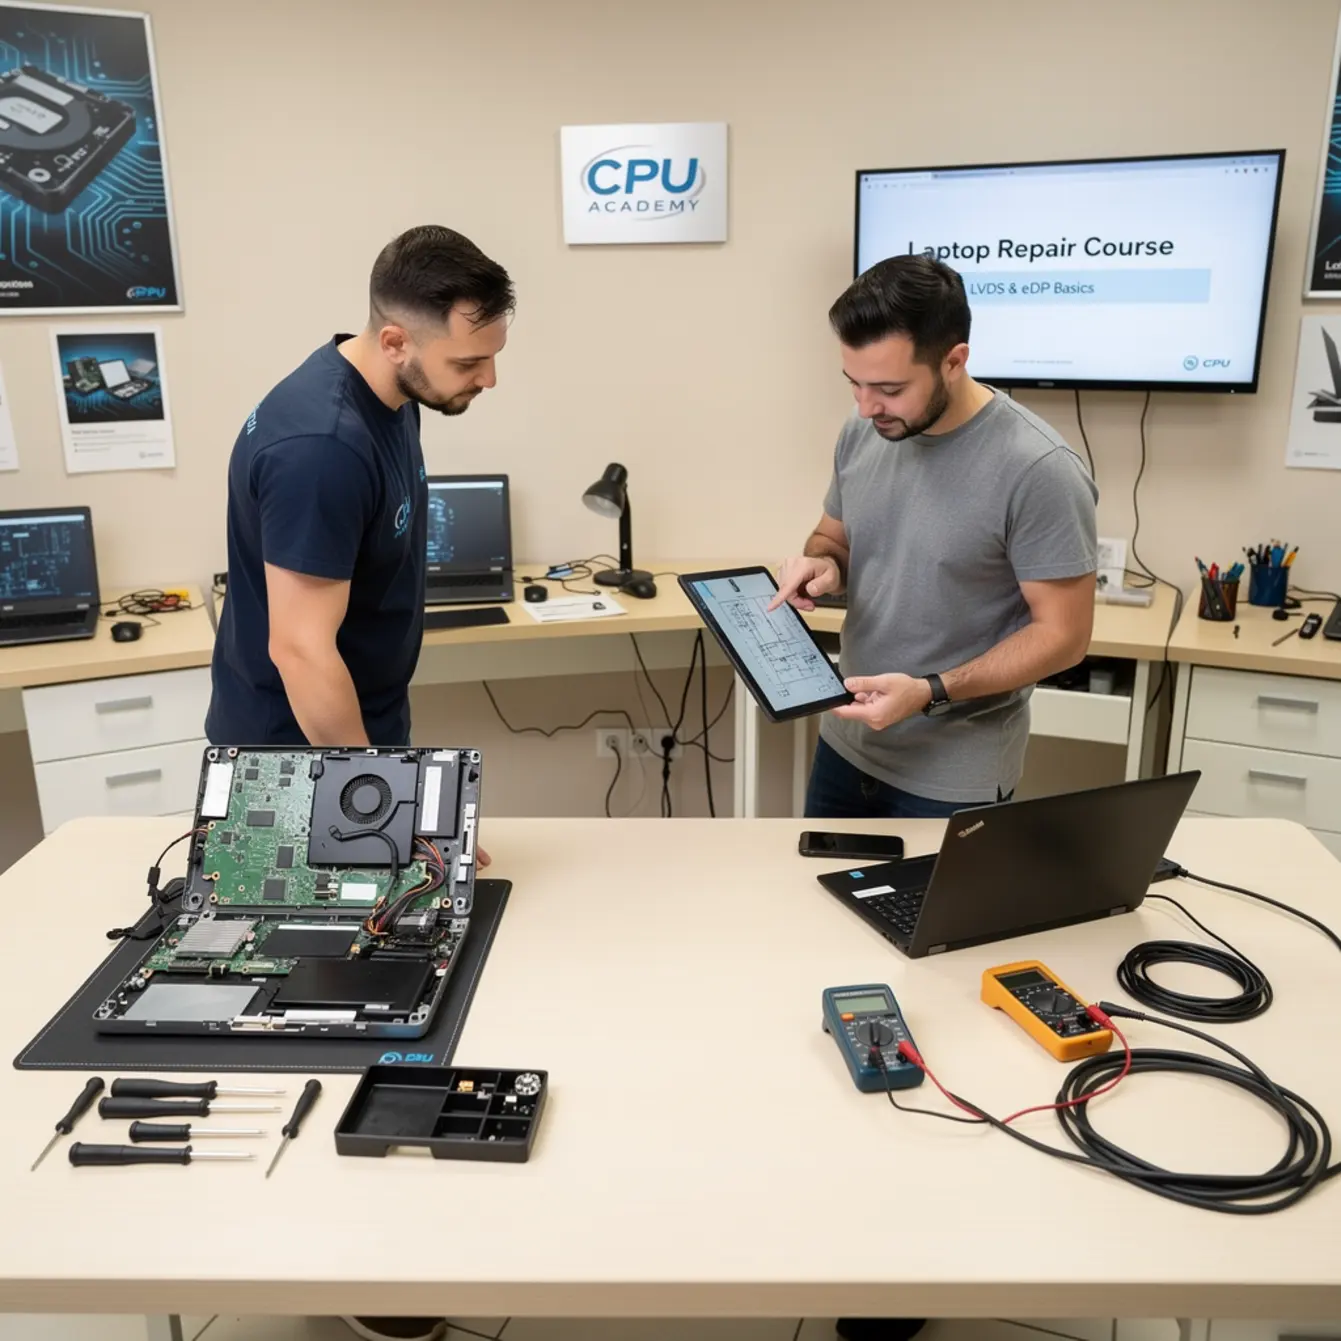
Leave a Reply
You must be logged in to post a comment.