
Blog
FREE: Free Schematic Mastery Mini-Course — Fix Faster, Fear Less, Earn More
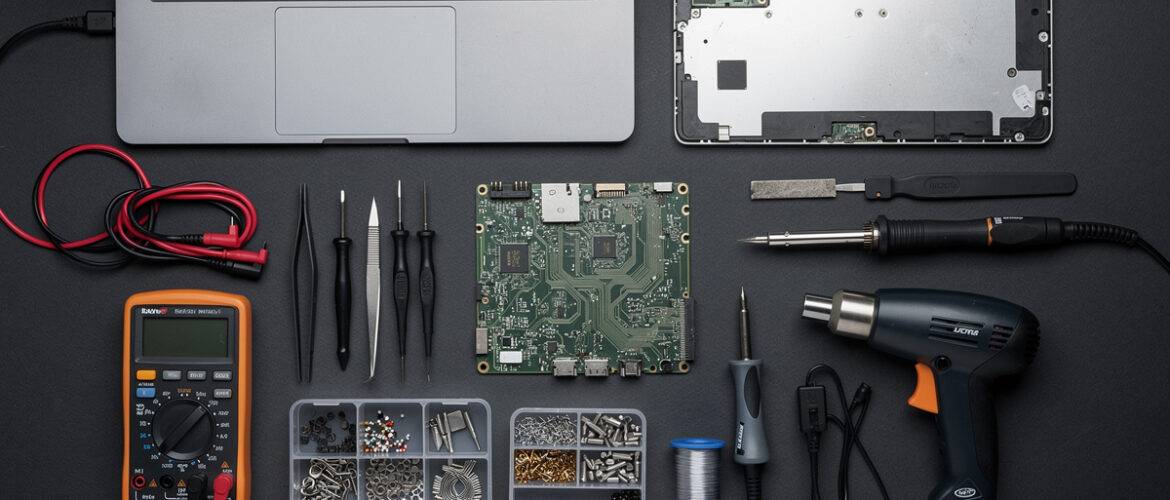
Most repair techs stall out at the same wall: they can swap a screen or a battery just fine, but the moment a board-level issue shows up, they hand the phone back and lose the job. That wall is usually not skill — it’s schematics. This free mini-course exists to knock that wall down. In five focused lessons, you’ll go from “I have no idea what I’m looking at” to reading a schematic diagram with enough confidence to actually diagnose, test, and fix the faults that pay the most.
What You Get Inside
This mini-course is five lessons. Each one builds on the last. Read them in order the first time, then keep this page bookmarked as a quick-reference when you’re at the bench.
Lesson 1 — What a Schematic Actually Is (and Why You’ve Been Scared of It)
A schematic is not a map of the physical board. That’s the number-one misconception that makes beginners freeze. A schematic is a logical diagram — it shows you how electricity is supposed to flow between components, not where those components sit on the board.
- PCB layout = physical positions of components on the board
- Schematic = logical relationships — what connects to what, and in which direction
- Board view software (like ZXW or Wuxinji) = the bridge between both
When you understand that distinction, a schematic stops being a threat and starts being a tool. You’re not memorizing a maze. You’re following a conversation between components.
Lesson 2 — The Six Symbols You Must Know First
You do not need to memorize every symbol before you start. You need six. Master these and you can read 80% of what matters on a phone schematic.
- Resistor — limits current flow. Looks like a rectangle or zigzag line. Critical in charging paths and sensor circuits.
- Capacitor — stores and releases charge. Looks like two parallel lines. You’ll see these everywhere on power rails.
- Inductor (coil) — filters noise, stores energy magnetically. Looks like a series of bumps or loops. Common in charging and RF circuits.
- Diode — allows current in one direction only. Arrow pointing in the direction of flow. Critical in backlight and battery circuits.
- Transistor (MOSFET or BJT) — acts as a switch or amplifier. Your most important symbol for power and logic troubleshooting.
- Ground symbol — the return path for all current. Three horizontal lines tapering to a point, or a triangle. If you can’t find ground on a rail, you can’t measure voltage correctly.
Action step: Open any free schematic for a common iPhone (6, 7, or X are widely available). Find three examples of each symbol above. You are now reading a schematic.
Lesson 3 — How to Trace a Power Rail in 4 Steps
Most board-level phone faults are power faults. No boot, no charging, dead after drop — these almost always trace back to a broken power rail. Here’s how to trace one:
- Identify the rail name. Rails are labeled on schematics with names like PP_BATT, PP3V0_NAND, or VDDIO. Find the component you’re troubleshooting (say, the NAND chip) and look at its supply pin label.
- Search for that rail name. Use Ctrl+F in your schematic viewer or board view software. Every component fed by that rail will appear. This is your circuit neighborhood.
- Find the rail’s power source. Trace backward from the component — through any inductors, resistors, or switches — until you find the IC that generates that voltage (usually a PMIC line).
- Measure voltage at each node. Start at the source. Work toward the failed component. The point where voltage disappears is your fault location.
This four-step process works on every phone, every platform. Learn it once. Use it forever.
Lesson 4 — Your First Diagnostic Workflow: No Boot
“No boot” is the most common board-level complaint. Here’s the schematic-based workflow to attack it:
- Check battery voltage. Confirm the battery or power supply is delivering the correct voltage before touching the board. Chasing a schematic fault on a dead battery is wasted time.
- Check VBAT on the board. Probe the VBAT line near the battery connector. Should match battery voltage. If it’s missing, you have a connector or fuse issue.
- Check PP5V0_USB (or equivalent). This is your charging input rail. Confirm it’s present when a charger is plugged in.
- Check PMIC enable lines. The Power Management IC needs enable signals from the CPU/AP to start up. If the PMIC isn’t getting the right enable signal, it won’t generate rails — and the phone won’t boot.
- Check individual rails in boot sequence order. Most schematics include a power sequencing diagram. Follow it top to bottom. The first missing rail in the sequence is your fault.
- Test components at the fault location. Diode mode on multimeter, capacitance reading, or resistance to ground will tell you if a capacitor is shorted, a resistor has drifted, or an IC has failed.
Lesson 5 — The 5-Minute Schematic Habit That Separates Fast Techs from Slow Ones
Fast technicians don’t spend less time on schematics. They spend better time. Here’s the daily habit that compounds your skill faster than any course alone:
- Before every repair: Open the schematic for that device and spend five minutes reviewing the circuit related to the reported fault. Don’t wait until you’re stuck.
- After every repair: Note which rail or component caused the fault. Build a personal fault log — phone model, symptom, root cause, fix. After 30 entries you’ll have a private diagnostic cheat sheet worth more than any paid guide.
- When you don’t understand a symbol or label: Look it up immediately. Don’t skip it. One skipped symbol becomes a habit of skipping, and you’ll plateau fast.
- Study one new circuit per week: Charging, backlight, audio, cameras, NAND, RF. Each one teaches you patterns that transfer to every other device you’ll ever see.
The techs earning $60–$120 per board repair are not smarter than you. They just built this habit earlier. Now you have it too.
Want to Go Deeper?
This mini-course gives you the foundation — the symbols, the logic, the first diagnostic workflow. The full Phone Schematic Diagram course at CPU Academy walks you through real device schematics step by step, so you can confidently tackle the board-level faults that most shops turn away.
📥 Download Your Free PDF
Download the PDF version and keep it at your bench so you can follow the diagnostic workflow step by step on every board-level job — no screen-squinting required.
Free account required · 30 seconds to sign up · Download instantly
Leave a Reply
You must be logged in to post a comment.