
Blog
FREE: Fear-to-Repair: 7 Moves to Stop Beginner Mistakes
Most beginners don’t fail because they lack talent — they fail because nobody told them the seven things that separate a clean repair from a costly disaster. This free guide exists because hesitation and bad habits kill confidence faster than any broken screen ever will. Read this, apply these seven moves, and you’ll step up to your first repair feeling prepared instead of panicked.
What You Get Inside
This guide gives you seven practical moves — built from real repair bench experience — that stop the most common beginner mistakes before they happen. No theory. No fluff. Just actions you can apply today.
Move 1: Power Down and Disconnect Before You Touch Anything
This sounds obvious, but under the excitement of your first repair, it’s easy to skip. Before you open any device, power it completely off and — where possible — disconnect the battery as your very first internal step. Live circuits and loose tools are a recipe for a shorted board and a dead device. Make this a non-negotiable ritual.
- Hold the power button until the screen goes black — don’t just lock the screen.
- For laptops, unplug the charger AND remove or disconnect the battery pack.
- Treat every board as live until you have confirmed otherwise.
Move 2: Organize Your Screws the Second They Leave the Device
Tiny screws look identical. They are not. A 1.2mm screw forced into a 1.6mm hole will strip threads and crack a housing. Use a piece of white tape or a paper grid and place each screw exactly where it came from on the device diagram. No exceptions.
- Draw a rough outline of the device on paper before you start.
- As each screw comes out, press it lightly into the tape in its matching position.
- Label anything you’re unsure about with a sticky note.
Move 3: Look Up the Teardown Before You Touch a Tool
Every device has hidden clips, fragile ribbon cables, and snap connectors that are invisible until you’ve already snapped them. Spend five minutes watching a teardown video for the exact model you’re working on. iFixit and YouTube are free. A replacement motherboard is not.
- Search the exact model number — not just the brand. A Samsung A54 teardown is different from an A53.
- Watch until the step you need, then pause and work. Don’t rely on memory.
- Note any warnings the video creator flags — those are the spots where beginners always get hurt.
Move 4: Use the Right Tool — Not the Closest Tool
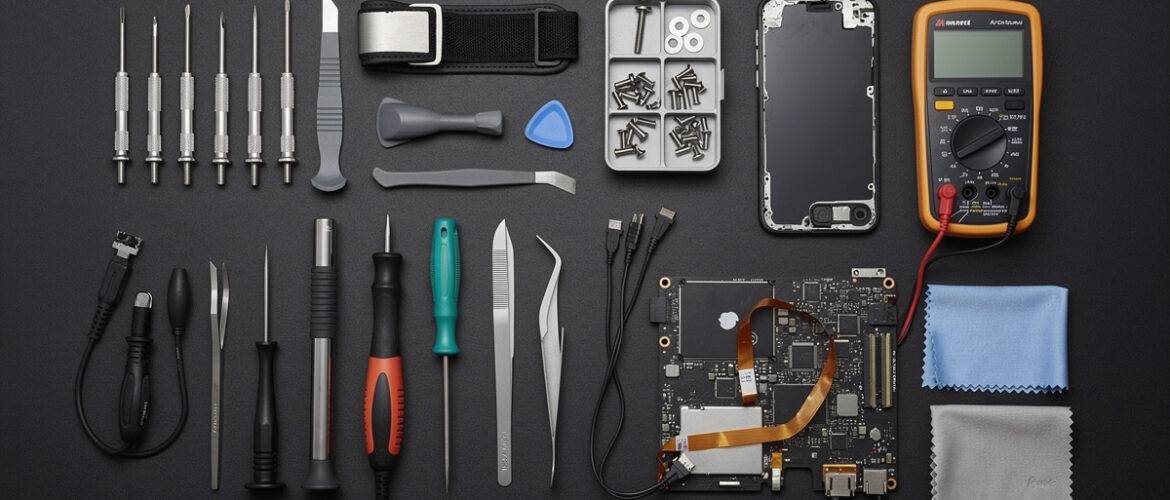
A flathead screwdriver on a Phillips screw. A butter knife prying open a glass back. These are the choices that strip screws, crack screens, and gouge housings. Your toolkit doesn’t need to be expensive, but it does need to be correct. A basic precision screwdriver set, a plastic spudger, and a few guitar picks will handle 80% of beginner repairs without damage.
- Precision screwdriver set — Tri-point, Phillips #000, and Pentalobe sizes cover most phones.
- Plastic spudger — Opens housings without scratching or conducting electricity.
- Guitar picks or pry tools — Flex around curves; don’t crack screens like metal picks do.
- Tweezers — Pointed and flat-head for handling connectors and tiny components.
Move 5: Test the Part Before You Seal the Device
You’ve just installed a new screen. Don’t close the phone yet. Reconnect the battery, power on the device, and test every function — touch response, brightness, front camera, earpiece, sensors. Find the problem now, while everything is still open, not after you’ve pressed the adhesive and torqued the screws back down.
- Power on with the device open and all connectors seated.
- Test touch across the entire screen surface — corners and edges included.
- Check ambient light sensor, proximity sensor, and Face ID or fingerprint if applicable.
- Only seal the device when every test passes.
Move 6: Document Your Work With Photos
Before you disconnect anything — take a photo. Before you remove a cable — take a photo. This takes thirty seconds and has saved thousands of beginner repairs. When you’re reassembling and something doesn’t look right, your photo is your ground truth. It also protects you if a customer later claims damage that was pre-existing.
- Photograph the overall internal layout before touching anything.
- Zoom in on each connector and cable route before disconnecting.
- Keep photos in a labeled folder per repair job.
Move 7: Know When to Stop
The most underrated repair skill is recognizing the edge of your current knowledge. If you hit a stripped screw, an unexpected component, or something that doesn’t match your teardown video — stop. Research before proceeding. Pushing through blind is how small fixable problems become total write-offs. Stopping isn’t failure. Stopping is professional judgment.
- Stripped screw? Try a rubber band between the bit and screw head for grip before drilling.
- Unrecognized component? Cross-reference with the device’s service manual or iFixit schematic.
- Something cracked unexpectedly? Stop, photograph, research the repair cost before continuing.
Bottom line: These seven moves aren’t complicated. They’re disciplined. Apply them on every single repair — your first and your five-hundredth — and you’ll build the kind of consistency that turns nervous beginners into technicians people actually trust.
Want to Go Deeper?
This guide gives you the habits that keep repairs safe — the Phone Repair Course at CPU Academy gives you the full system: screen swaps, battery replacements, water damage recovery, diagnostics, and the business side of repair. If you want to go from curious to capable (and start earning), this is where you go next.
📥 Download Your Free PDF
Download the PDF version and keep it flat on your bench so these seven moves are in front of you every time you pick up a tool.
Free account required · 30 seconds to sign up · Download instantly
Leave a Reply
You must be logged in to post a comment.