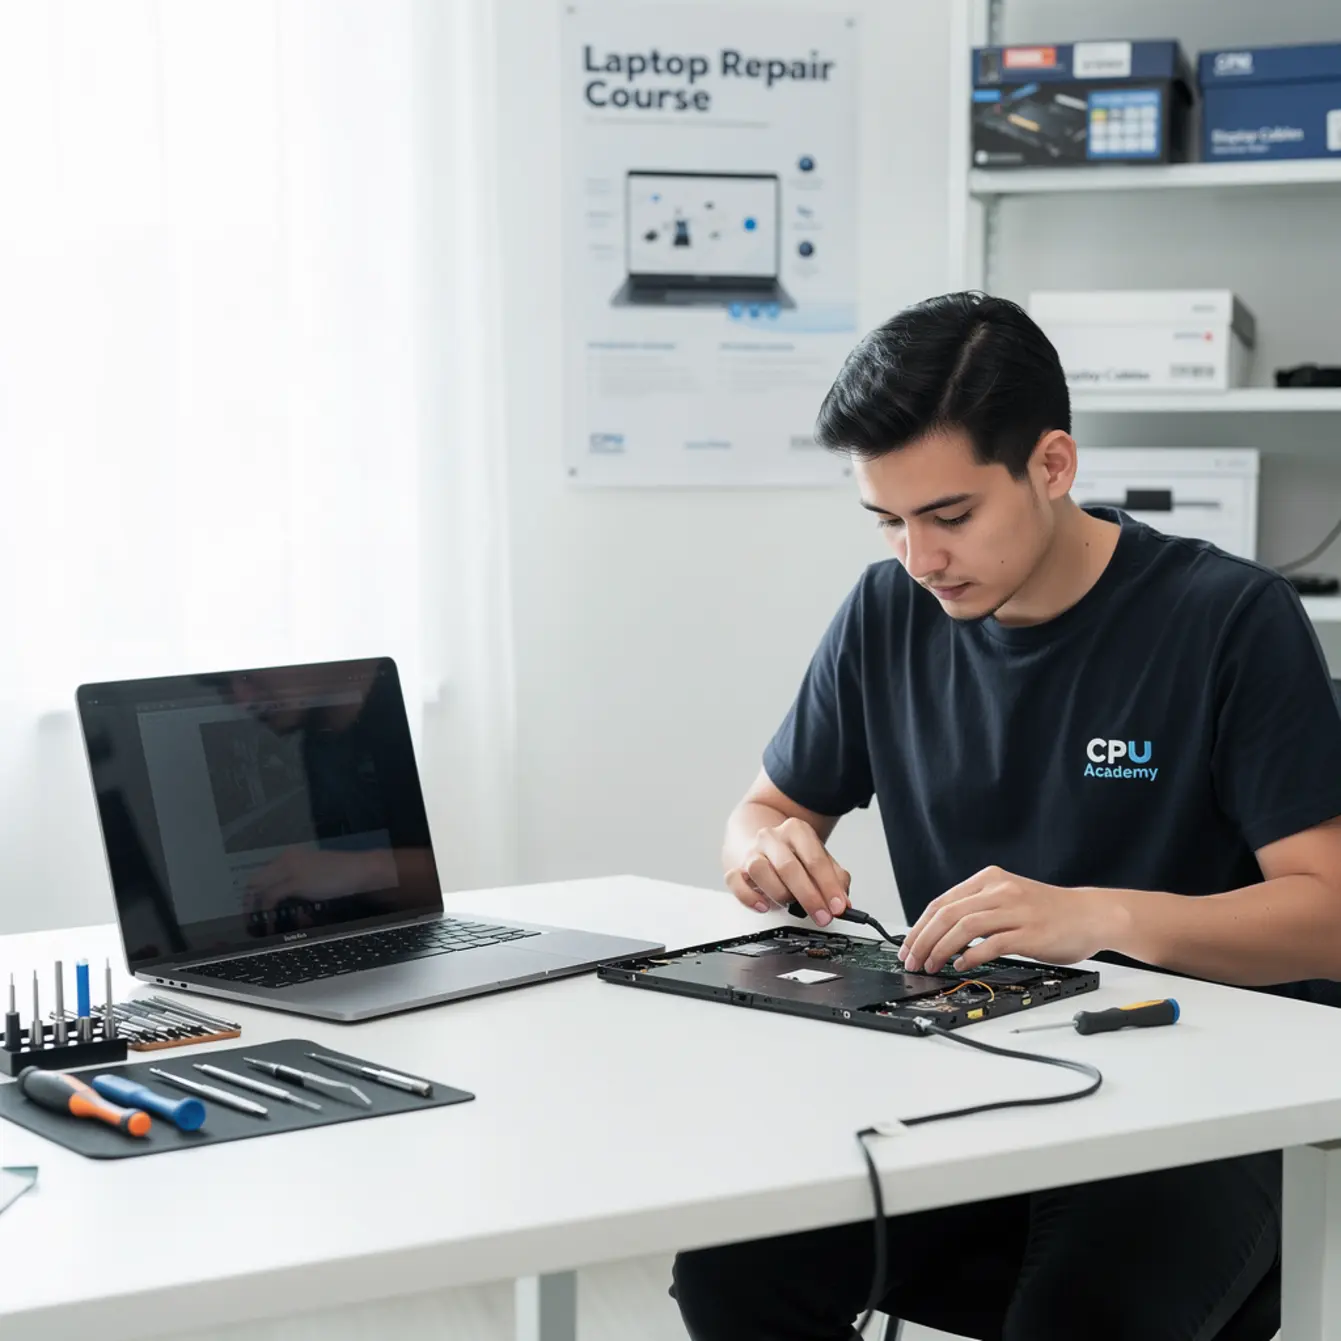
By: CPU Academy Technical Team | Last Updated: June 2025 | Reviewed by: CPU Academy Technical Team
Proof element: Repair case — Unit arrived: Dell Inspiron, completely black screen. External monitor showed a full image. Flashlight held to the panel revealed a dim picture. Diagnosis: missing BL_EN signal from a failed backlight IC. Replaced IC, screen restored. No new panel required.
Quick Answer
A laptop repair course teaches you to diagnose display cable and backlight faults in a logical order before you touch any part. The trained sequence is: (1) plug in an external monitor to separate board faults from display faults, (2) inspect the eDP or LVDS cable and reseat it safely, (3) use a flashlight to confirm whether the backlight is missing entirely or just dim, (4) check backlight circuit signals with a multimeter. New techs who skip these steps replace the wrong part, spend money they didn’t need to, and send the laptop back with the same fault.
A customer drops off a laptop with a completely black screen. Your first instinct is to order a new panel. You swap it out, power the unit on, and the screen is still black. That moment — wasted money, wasted time, unhappy customer — is exactly what a good laptop repair course is designed to prevent.
Display cable faults and backlight faults look identical to an untrained eye. Both give you a black screen. But they have different causes, different fixes, and very different costs. Knowing which one you’re dealing with before you disassemble anything is what separates a clean, profitable repair from an expensive guessing game.
This guide walks through the most common mistakes new techs make on these faults, the right diagnostic order to follow, and how structured training builds the habits that get repairs right the first time. There’s one specific mistake that costs beginners more money than any other — we’ll get to it in the failure patterns section.
Quick Diagnosis or Decision Summary
Before you remove a single screw, run through this decision tree. It takes under two minutes and tells you exactly where to look next.
The Three-Question Triage
- Does an external monitor display an image? If yes, the motherboard and GPU are working. The fault lives in the display assembly — panel, cable, or backlight circuit.
- Does a flashlight held close to the screen reveal a dim image? If yes, the LCD panel and graphics pipeline are both fine. The backlight circuit is the fault, not the panel itself.
- Is the eDP or LVDS cable visibly damaged, or does reseating it change anything? If the cable is torn, bent sharply at the hinge, or just loose, that’s your fault — and you don’t need to go any further until you’ve dealt with it.
These three questions eliminate the most expensive wrong answers. A lot of new techs skip them because they look too simple. That’s exactly why they end up replacing panels that were never broken in the first place.
Diagnosis Checklist
| Step | What You Check | What a Positive Result Means | What to Do Next |
|---|---|---|---|
| 1 | External monitor test | Image shows = board is fine | Fault is in display path; go to Step 2 |
| 2 | Flashlight test on panel | Dim image visible = backlight fault | Check BL_EN signal and backlight IC |
| 3 | eDP/LVDS cable inspection | Loose or damaged = cable fault | Reseat carefully; replace if torn |
| 4 | Hinge area cable inspection | Pinch or crack at bend point | Replace cable; inspect hinge for damage |
| 5 | Multimeter check on backlight rail | No voltage on BL_EN pin = board fault | Schematic-level diagnosis; check backlight IC |
Dell publishes a solid reference for identifying external display ports on their laptops. The Dell guide to display ports and connectors helps newer techs confirm which port to use for the external monitor step when they’re working on Dell units specifically.
Tools, Parts, and Safety Checks
Getting the right result starts before you open the case. Using the wrong tools — or skipping safety steps — creates secondary damage that can turn a simple cable swap into a motherboard replacement.
Tools You Need
- ESD wrist strap — clip it to the chassis before you touch anything internal
- Plastic spudger set — for releasing display bezels and connector latches without gouging the chassis
- Multimeter — to test voltage on the backlight power rail and BL_EN signal line
- Flashlight or phone torch — for the quick backlight presence check before full disassembly
- External monitor with appropriate cable — HDMI, DisplayPort, or VGA depending on the model
- Anti-static mat — a proper ESD mat on your bench prevents charge buildup while you work
Safety Note
Always disconnect the battery before reseating any cable inside the chassis. On modern laptops the battery connector sits on the motherboard. Disconnect it first, even if you’re just going to peek at the cable. eDP connectors carry live signals when the unit is powered — forcing or reseating them with power still on can burn the connector pads permanently, and that’s a board repair, not a cable repair.
Parts You May Need
Don’t order parts until after Steps 1 through 3 above are complete. If diagnosis points to a cable fault, you need the correct eDP ribbon for that exact model number — not a generic screen assembly. If the backlight IC is the culprit, you’ll need board-level soldering skills to fix it properly.
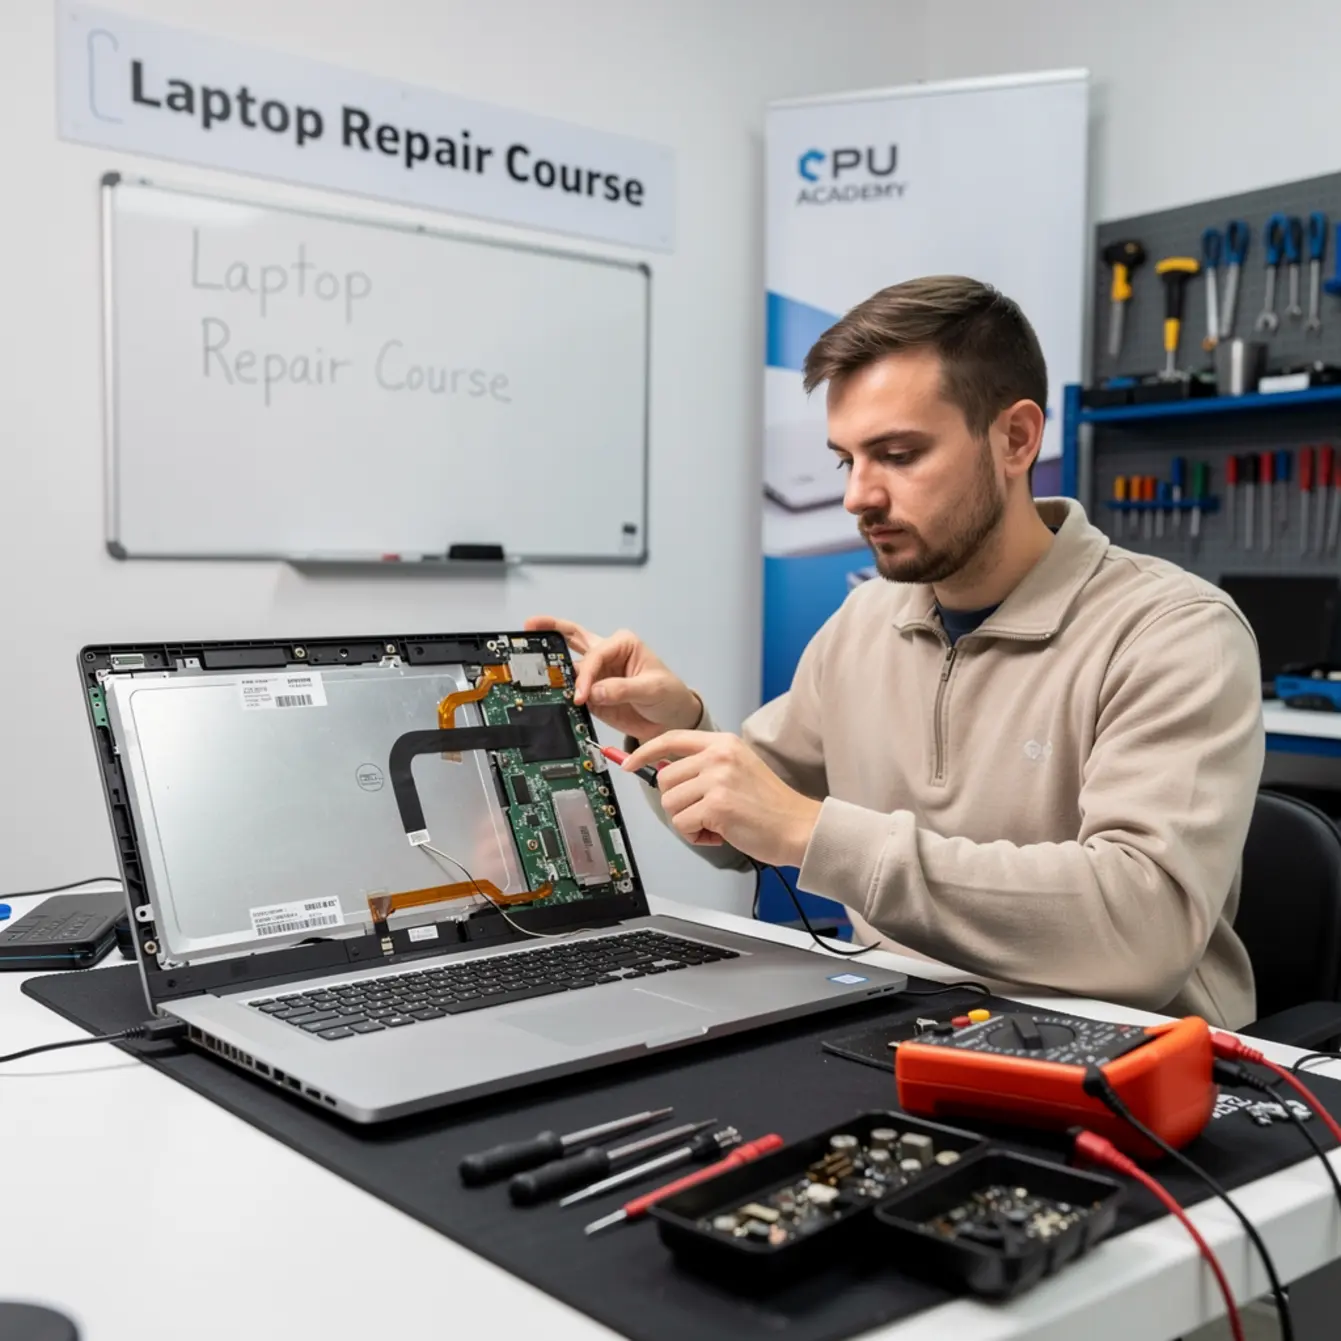
A Laptop Repairing Course: Get Certified as a PC Technician at CPU Academy covers both the cable swap path and the circuit-level diagnosis, so you know which repair is within your current skill set before you commit to buying parts.
Step-by-Step Workflow
Follow this sequence in order. Every step is there for a reason, and skipping one is usually where a new tech loses an hour — or a connector.
Replacement and Reseating Steps
- External monitor first. Connect the laptop to a working external display and power it on. A clear image on the external screen tells you the GPU and board are healthy. If nothing shows on the external monitor either, you have a deeper board or power issue — stop and diagnose the power rail before you touch the display assembly at all.
- Flashlight test. With the laptop powered on and the internal screen black, hold a bright flashlight at an angle to the panel surface. Look for a faint, dim image underneath. If you see one, the panel itself is working fine — the backlight circuit is your fault, not the panel.
- Battery disconnect. Once your external test is done and you’re ready to open the machine, shut it down, flip it over, and disconnect the internal battery connector at the board. Don’t skip this step.
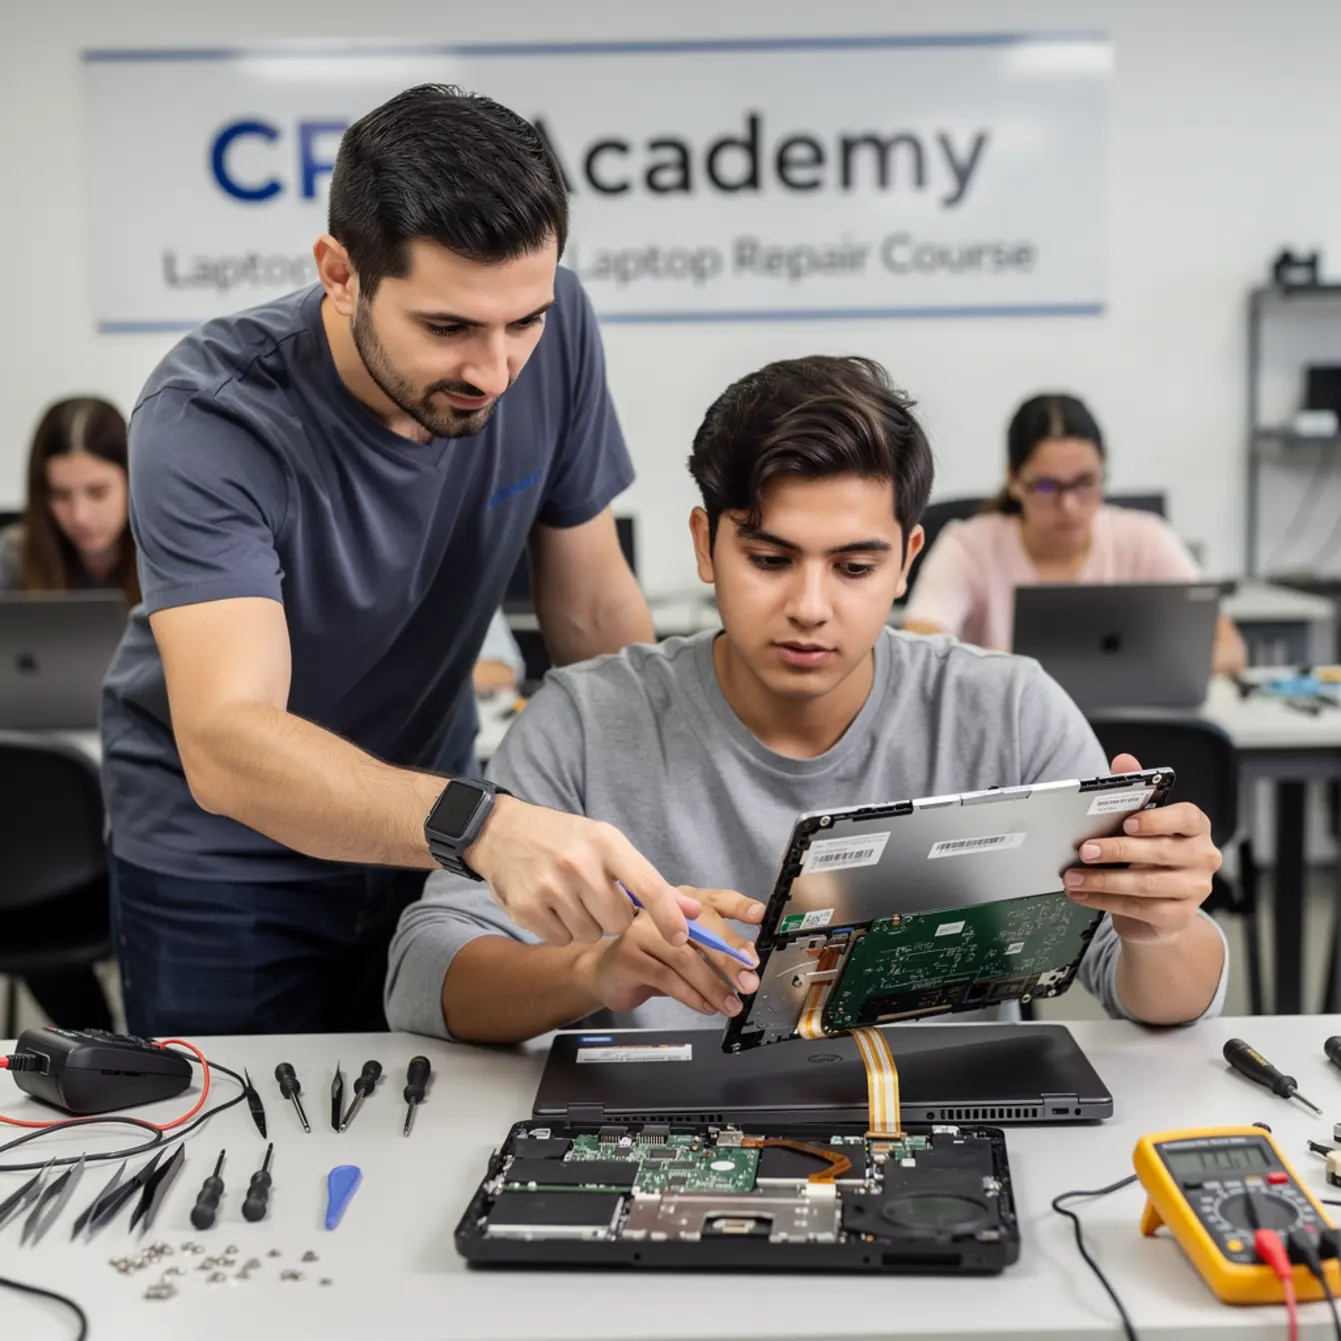
- Open the display bezel. Use a plastic spudger only — never a metal pry tool. Start from a corner, then work slowly around the frame. Rushing this step cracks the bezel or snaps the hidden clips that hold it flush. Both problems add time and cost to the job.
- Inspect the eDP cable at both ends. Start at the motherboard connector. It’s usually a ZIF (Zero Insertion Force) or FFC (Flat Flexible Cable) style with a small locking latch. Flip the latch up gently with your spudger, slide the cable out slightly, and check the contacts for corrosion or physical damage. Reseat it and lock the latch back down. Then check the panel end the same way. Many techs lay the half-open laptop flat on an ESD mat at this point — it keeps the display assembly stable while you work both connectors without it shifting around.
- Inspect the hinge area. Run your finger slowly along the cable from the motherboard connector up through the hinge channel and to the panel. This section flexes every single time the lid opens or closes. Look for kinks, cracks in the insulation, or anywhere the cable rubs against a metal hinge bracket. This is where the damage hides on older machines.
- Multimeter check on backlight rail. If reseating the cable didn’t fix the fault and the flashlight test confirmed a missing backlight, place your multimeter probes on the BL_EN pin and ground. No voltage at that pin while the machine is running means the backlight enable signal isn’t leaving the board — which points to a failed backlight IC or a related component, not the cable or the panel.
- Bench test before reassembly. Power the unit on before you snap the bezel back down. Confirm the screen lights up fully. This one habit saves you a complete second disassembly if something was seated slightly wrong. Test it now, while the cover is still off and the screws are sitting in order on your mat.
- Reassemble and final test. Once the screen is confirmed working, reassemble in reverse order. Make sure the cable routing runs cleanly through the hinge channel before you close anything up, then do a slow open/close cycle to confirm nothing is catching or pinching at the hinge point.
Testing Workflow Summary
External monitor, then flashlight test, then battery off, bezel open, cable inspect and reseat, hinge check, multimeter if the backlight is still missing, bench test with power on, then reassemble and do a final open/close check. That order matters because each step rules out one possible fault before you go any deeper.
Typical Failure Patterns and Shortcuts That Backfire
These patterns show up again and again with people learning display repair without structured guidance. None of them come from being careless. They come from not yet knowing what you don’t know.
Replacing the Panel Before Testing the Cable
The cable costs less than the panel. But most beginners assume the expensive part is the broken one. They order a new LCD, swap it in, and the screen is still black — because the cable was the fault the whole time. Test cheap and easy first, every time. It’s not just good practice; it’s the reason experienced techs are faster and more profitable than beginners.
Confusing “No Backlight” With “No Image”
“No image” means the GPU isn’t sending a signal to the panel at all — that’s a board or cable problem. “No backlight” means the image is actually there, but invisible because the LEDs behind the panel aren’t lit. Both look like a black screen from across the bench.
The flashlight test separates these two faults in about fifteen seconds flat. Skipping it leads you down a completely wrong repair path, and by the time you figure out the mistake, you’ve already ordered parts you didn’t need.
Forcing the ZIF Connector Latch
ZIF connectors have a small plastic latch that flips up to release the ribbon cable. New techs who don’t know it exists will pull the cable straight out — sometimes taking the latch with them, sometimes pulling the pads off the connector entirely. Once that connector is damaged, the repair jumps from a cable swap to a board-level solder job. Use a spudger, flip the latch first, every single time. This one habit prevents a lot of expensive escalations.
Skipping the Hinge Area Inspection
The eDP cable runs through a channel inside the hinge barrel. Over years of opening and closing the lid, the insulation cracks right at that bend point. The damage is invisible from the outside and causes no symptoms at all — until the cable fails completely.
If you see a recurring intermittent display fault where the screen works fine at one lid angle but cuts out at another, the hinge area is almost always where you’ll find it. That symptom alone should send you straight to the cable before you do anything else.
Not Doing a Powered Bench Test Before Closing Up
Reassembling a laptop takes real time. If something was seated slightly wrong and you only discover it after snapping the bezel back down and putting the screws back in, you’re taking the whole thing apart again. Power the unit on the bench first. Confirm the screen is working. Then close it up. One extra minute at that stage regularly saves fifteen minutes of rework.
Case Example
Unit: Dell Inspiron mid-range model. Complaint: Completely black screen after lid hinge cracked.
Step 1 — External monitor test: Full, clear image on external display. Board confirmed healthy.
Step 2 — Flashlight test: Faint desktop image visible on the internal panel. Backlight not operating; panel itself is fine.
Step 3 — Cable inspection: eDP cable cracked at the hinge barrel, consistent with the reported lid damage. Contacts at the crack point showed visible scoring.
Fix: Replaced the eDP cable. Screen and backlight restored immediately on bench test, before the bottom cover went back on.
Lesson: The panel was never faulty. The hinge crack told the whole story — but only because the tech looked at the cable routing through the hinge instead of just ordering a replacement screen.
When This Skill Becomes Billable Work
Display and backlight faults are among the most common hardware issues that bring laptops into repair shops. Customers see a black screen and assume the worst. When you can diagnose the real fault in under five minutes and explain it clearly to the customer, that builds trust — and that trust is what drives repeat business and referrals.
Cable replacements are straightforward once you’ve done the diagnosis correctly. Backlight IC repairs require soldering skills, but even being able to accurately identify the fault and quote a realistic repair price sets you apart from shops that just replace panels by default and hope for the best.
The same disassembly and diagnostic habits you build on display faults carry directly into other common repairs. Once you’re comfortable reseating and replacing cables and connectors, you’re already using the same technique needed for keyboard swaps, power jack repairs, and liquid damage cleaning. Those skills stack on each other. A Laptop Repairing Course: Get Certified as a PC Technician covers all of these together so you build a complete service menu rather than getting good at just one repair type.
If you’re studying through a laptop repair course online, look for one that covers the diagnostic process as thoroughly as it covers the physical replacement steps. Knowing how to swap a panel is useful. Knowing which part actually needs swapping — and why — is what makes the skill sellable.
CPU Academy is built for laptop learners who want safe disassembly habits, a solid grasp of common profitable repairs, and a clearer path from skill to income. The course covers display faults alongside keyboard, power jack, and liquid damage scenarios — the repairs that fill a shop’s intake queue week after week. If you want to go deeper on panel swaps specifically, CPU Academy also offers a dedicated laptop screen replacement course that focuses entirely on that process. And for techs thinking further ahead, CPU Academy’s starting a mobile phone repair business course covers the business side of turning repair skills into a real service operation — useful once your technical foundation is solid.
FAQ and Next Step
What actually causes a black screen with no backlight on a laptop?
The most common causes are a damaged or loose eDP display cable, a failed backlight IC on the motherboard, or a missing BL_EN (backlight enable) signal. All three show up as a black screen from the outside. The flashlight test and external monitor test let you quickly work out which one you’re dealing with before you open the chassis.
How do I know if the display cable is damaged?
Look for intermittent screen faults that change when you move the lid to different angles, visible creasing or cracking where the cable passes through the hinge, and corrosion or scoring on the connector contacts. A screen that only works at certain lid positions almost always has a damaged cable at the hinge bend point.
Can I learn display and backlight repair without a formal course?
You can pick up individual steps from scattered tutorials, but the real risk is building bad habits — forcing connectors, skipping the diagnostic sequence, reassembling before testing. A structured course gives you the correct order of operations and the safety habits together, so you’re not learning how to fix one mistake while quietly creating another.
Does a laptop repair course cover keyboard and power jack repairs too?
A well-structured course covers the full range of common repairs. CPU Academy’s laptop course includes laptop keyboard repair training and laptop power jack repair alongside display faults and liquid damage — so you build a complete service offering rather than mastering just one repair type and having to turn other work away.
What is the first thing to check when a laptop screen is completely black?
Connect an external monitor first. If it shows a clear image, the GPU and motherboard are working and your fault is somewhere in the display assembly. If nothing shows on the external monitor either, the fault is at the board level — and chasing the display is not the right starting point.
Is a laptop repair course online enough to learn these repairs?
A good laptop repair course online is absolutely enough to learn the diagnostic logic, the correct tool techniques, and the full repair sequence. The key is finding one that walks you through the process step by step rather than just showing the end result. CPU Academy’s course is built for self-paced online learning with exactly that structure in place.
Ready to learn laptop repair in a structured way instead of collecting scattered tips?
Use this article as the preview. The full repair roadmap — display faults, cable techniques, backlight circuits, keyboard swaps, power jack repairs, and liquid damage handling — is inside CPU Academy’s structured program. Everything is in the right order, with the safety habits and diagnostic logic built in from the start.
Open Laptop Repairing Course: Get Certified as a PC Technician →