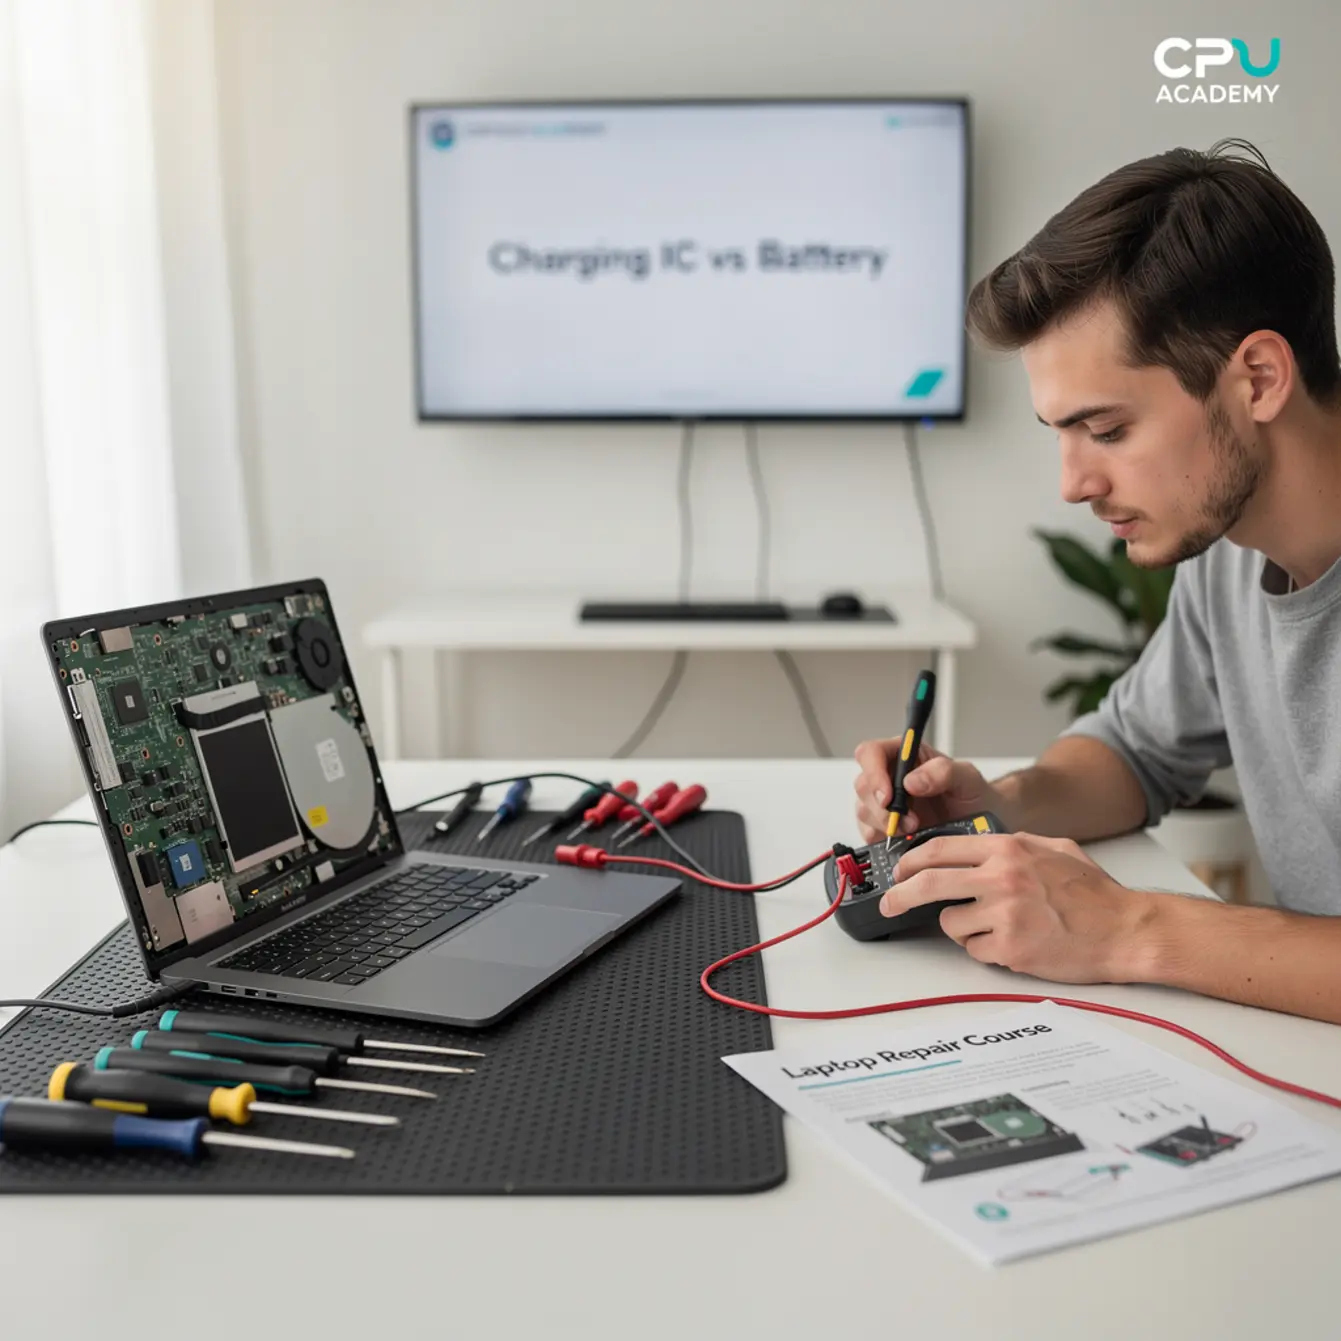
Picture this: a customer drops off a laptop that flat-out refuses to charge. The indicator light blinks, the battery icon just spins, and nothing improves. You swap the charger. Still nothing. Right there, in that small frustrating moment, is the core skill that separates a confident technician from someone who’s guessing. Knowing whether the battery or the Charging IC is actually to blame is one of the most practical things you’ll learn in any serious laptop repair course — and it starts paying almost immediately.
This guide is written for beginners and intermediate learners who want a clear, logical process they can follow on a real device. No shortcuts that damage hardware. No guesswork that costs you a customer’s trust.
Want the full laptop workflow instead of one isolated fix? Open CPU Academy’s Laptop Repairing Course: Get Certified as a PC Technician and see the complete training path from diagnosis to profitable repairs.
Quick Diagnosis or Decision Summary
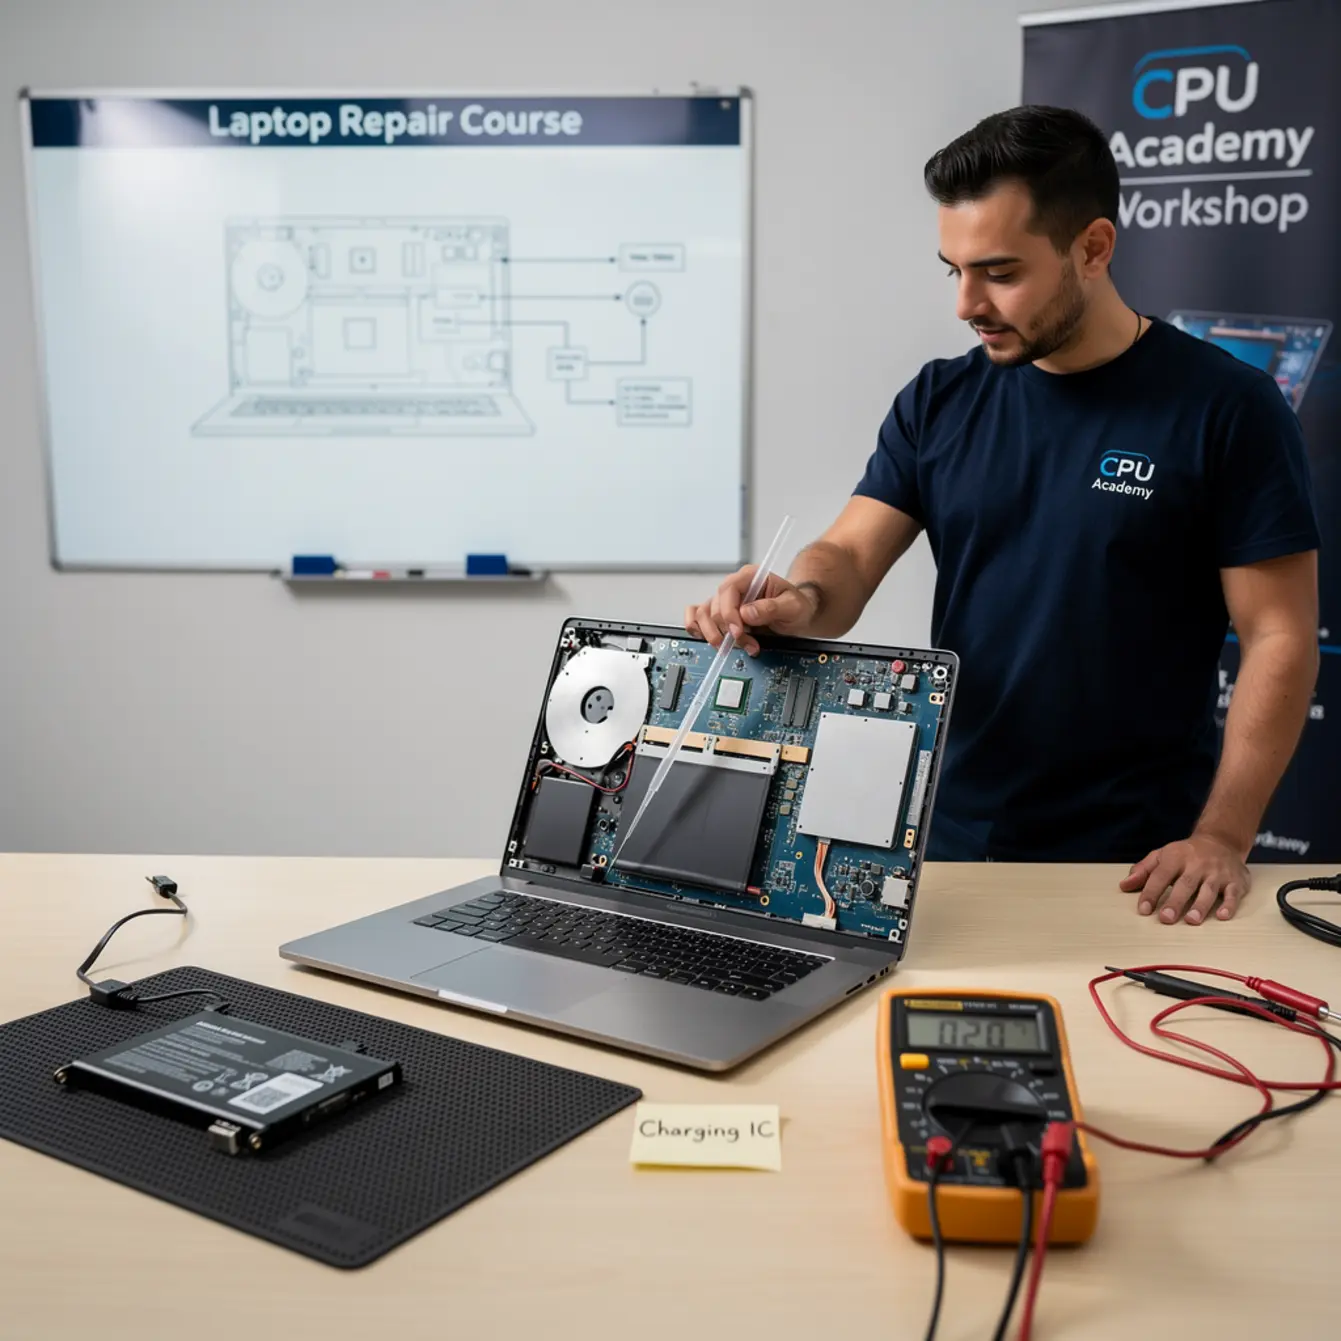
The battery and the Charging IC both live inside the same charging loop, which is exactly why they’re so easy to mix up. The Charging IC — sometimes called the charge controller — manages how power flows from the adapter into the battery. When it fails, power never reaches the battery at all.
The battery, on the other hand, stores that energy. A worn-out battery might accept some charge but drain almost instantly, or it may refuse a charge entirely once the cells dip below a safe voltage threshold.
Decision Table: Battery vs Charging IC
| Symptom | Likely Fault | Quick Check |
|---|---|---|
| Charges slowly or stops at a set % | Aging battery cells | Check cycle count in OS battery report |
| Charges fine on AC but drops fast when unplugged | Weak battery capacity | Run a full discharge test |
| No charge indicator, even with new battery | Charging IC or power path | Probe DC-IN voltage with multimeter |
| Adapter light dims or flickers on connect | Short near Charging IC or power jack | Measure current draw at DC-IN |
| No charge after liquid exposure | Corrosion on Charging IC or related MOSFETs | Inspect board under magnification |
Rule of thumb: If swapping to a known-good battery changes absolutely nothing, suspect the Charging IC. If the known-good battery charges up fine, replace the original battery and close the job.
Tools, Parts, and Safety Checks
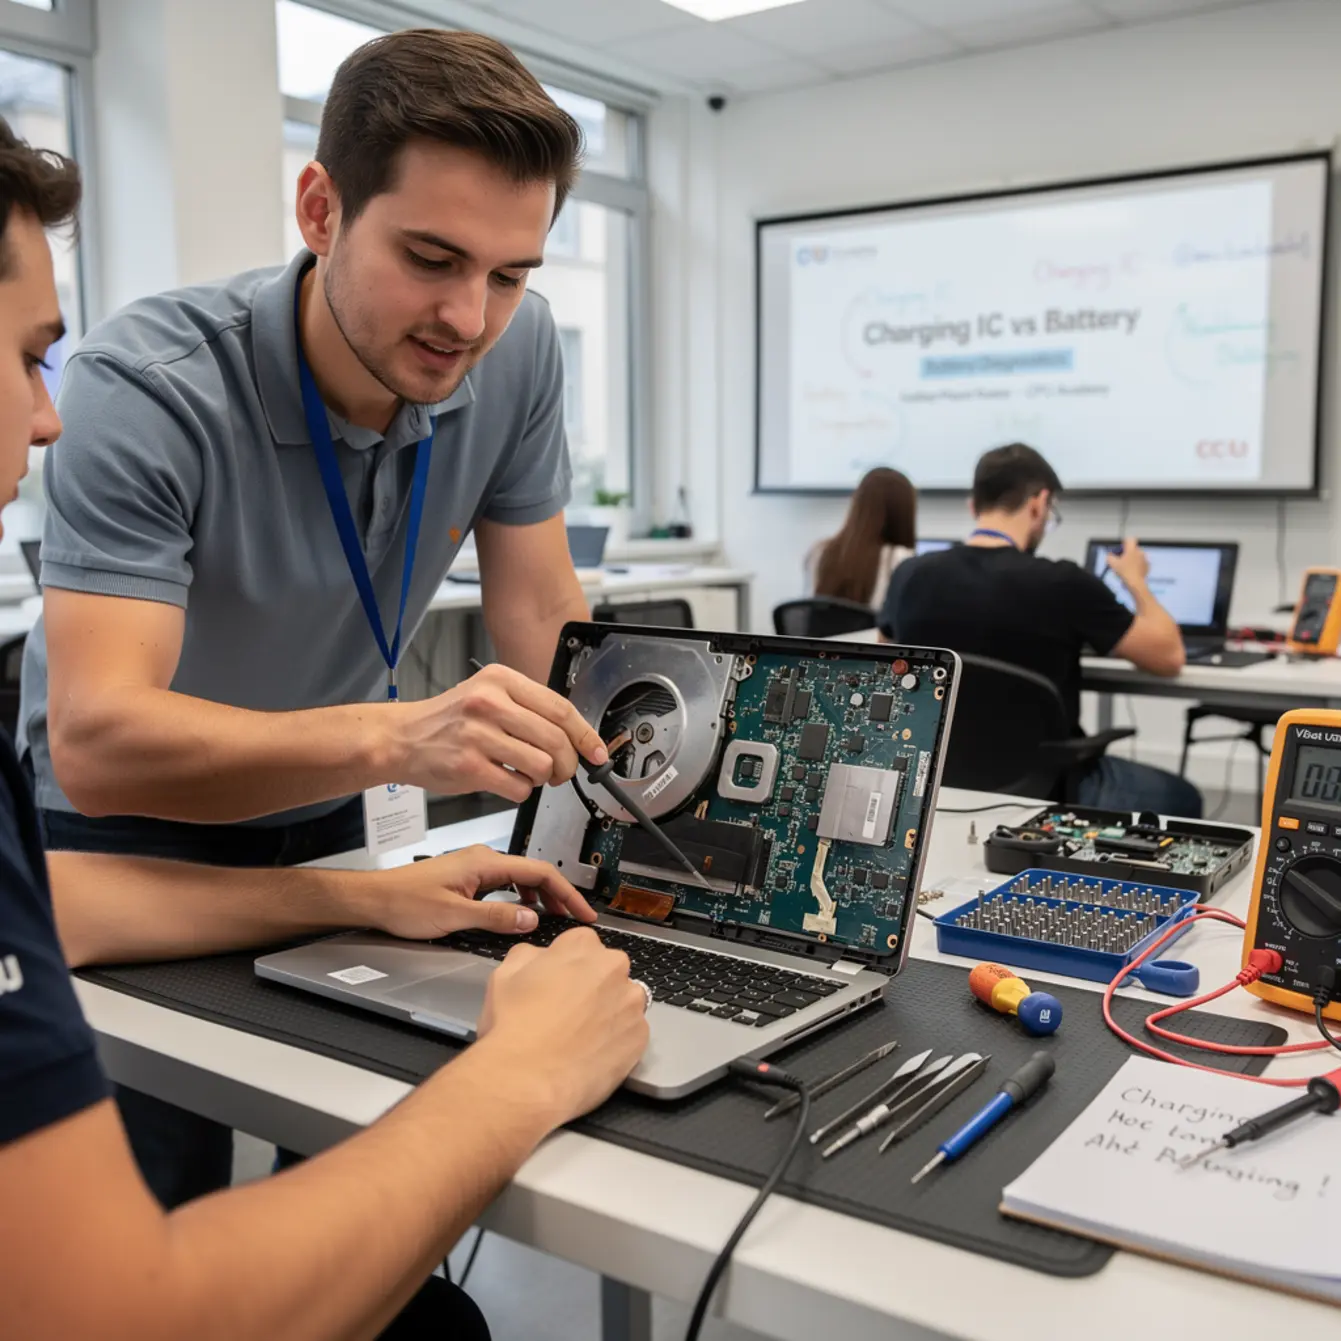
You don’t need an expensive bench setup to work through this kind of fault. What you do need is the right basic tools and a clean, organized workspace where nothing gets bridged accidentally.
Tools You’ll Need
- Digital multimeter — to measure voltage at the DC-IN port and battery connector
- Known-good OEM or equivalent adapter — eliminates the adapter as a variable right away
- Anti-static mat and wrist strap — non-negotiable before touching any board
- Precision screwdriver set (JIS and Phillips)
- Plastic pry tools and a plastic card — metal spudgers scratch the chassis and can short circuits; a thin plastic card works well for sliding under battery adhesive tabs without tearing them
- USB microscope or jeweler’s loupe — useful for spotting corrosion or burnt IC packages
- Schematic or boardview file for the specific model — this is what separates a real diagnosis from an expensive guess
Safety Note
Before you reseal anything, also check for frame flex. Press gently on the bottom panel corners before snapping the case shut. Warped chassis can stress the motherboard and crack solder joints you just repaired. For background on why old lithium cells reject charge at the hardware level, the Battery University guide to lithium battery behavior is a reliable, plain-English read.
Step-by-Step Workflow
Work through this sequence in order. Skipping steps wastes time and opens the door to misdiagnosis.
Step 1 — Eliminate the Adapter
Measure the adapter output with your multimeter. A 19V adapter should read within about 0.5V of its label. If it reads low or fluctuates, swap the adapter and retest before you go any further. Everything downstream depends on clean input power.
Step 2 — Check the Power Jack
Wiggle the plug gently while watching your multimeter. A damaged power jack is a common fault that mimics Charging IC failure almost perfectly. If the voltage at the jack jumps or drops when you move the cable, you have a connector problem — not a chip problem. CPU Academy’s training covers this exact scenario in detail, and it overlaps directly with what you’d study in a laptop power jack repair course module.
Step 3 — Swap the Battery
Install a known-good battery with a full charge. Power the laptop on without the adapter first to confirm the board recognizes the battery properly. Then connect the adapter and watch the charge indicator.
If the known-good battery charges normally, the original battery is your fault. Order the replacement part, clean the connector contacts, and test again before closing up. When you’re lifting a glued-down battery, work the battery adhesive tabs slowly and use a plastic card to avoid bending the cell — bent lithium cells are a safety hazard, not just a nuisance.
Step 4 — Probe the Battery Connector
If the known-good battery still doesn’t charge, keep the adapter connected and measure voltage at the battery connector on the board. You should see roughly the adapter voltage minus a small diode drop. Zero volts here means power isn’t reaching the battery at all — the Charging IC or the MOSFET pair that gates the charge path has likely failed.
Step 5 — Read the Schematic
Open the boardview and locate the Charging IC. The BQ24 series from Texas Instruments shows up on a lot of Intel-platform boards. Trace the enable line, the ACOK signal, and the BATFET pins. A missing ACOK signal usually means the adapter isn’t being detected — that could be a firmware issue, a bad identification resistor, or a dead IC.
Step 6 — Reflow, Reball, or Replace
If the IC reads abnormal values but looks physically fine, a reflow can restore solder joints cracked by repeated heat cycles. If a pad is burnt or the IC is visibly scorched, the component needs replacing.
Liquid damage cases require ultrasonic cleaning before any rework at all. Corrosion changes resistance values and makes diagnosis unreliable until the board is clean. That cleaning step is taught as a core part of any good laptop liquid damage repair course module, because skipping it leads technicians to replace parts that were never actually broken.
Typical Failure Patterns and Shortcuts
Experience teaches you which faults cluster together. Here are the patterns that come up most often so you can move faster without cutting corners.
Pattern 1 — The “Charges to 80% and Stops” Battery
This is almost always a battery fault, not an IC fault. Lithium cells develop internal resistance imbalances over time. The management circuit inside the battery stops accepting charge once cell voltages diverge too far from each other.
Run a Windows battery report using powercfg /batteryreport and compare design capacity to full charge capacity. A large gap between those two numbers confirms the battery is at end of life. That report takes about thirty seconds and gives you solid evidence to show the customer.
Pattern 2 — Post-Liquid Charging IC Failure
Spilled liquid tracks across the board and hits the tiny resistors and capacitors around the Charging IC first, mostly because those components sit close to the battery connector. Under magnification you’ll often see green or white residue. Clean the board first, then retest. A lot of apparent IC failures clear up completely after a proper ultrasonic clean.
Pattern 3 — Overheating Kills the MOSFET, Not the IC
The MOSFET pair that routes current to the battery can fail from heat stress while the Charging IC itself survives intact. If the IC shows correct control signals but charge still never starts, check the BATFET gate voltage. A dead MOSFET is a cheaper repair than a full IC replacement and usually faster to source too.
Diagnosis Checklist
- ☐ Adapter voltage confirmed correct
- ☐ Power jack physically secure, no voltage drop under wiggle
- ☐ Known-good battery installed and recognized by OS
- ☐ Battery connector voltage measured with adapter connected
- ☐ Schematic opened, ACOK and enable lines traced
- ☐ MOSFET gate voltage checked before ordering IC
- ☐ Board cleaned if any liquid damage history is present
A student brought in a Dell Inspiron that had taken a coffee spill about two weeks earlier. The owner had dried it out and actually used it normally for ten days before charging stopped working entirely. The adapter light stayed solid, so the adapter wasn’t the problem.
Step 1: Known-good battery installed — no change at all.
Step 2: Battery connector voltage measured — zero volts with the adapter plugged in.
Step 3: Board inspected under loupe — visible white residue around two small resistors near the BQ24 Charging IC.
Step 4: Ultrasonic clean performed. Board retested — battery connector now showed the correct voltage.
Step 5: Original battery reconnected — started charging normally.
Diagnosis: Corrosion on SMD resistors in the charge enable path had created a broken circuit. The Charging IC itself was completely healthy. Total repair cost was cleaning fluid and time. The lesson here is simple: clean before you replace.
When This Skill Becomes Billable Work — and the Laptop Repair Course That Gets You There
Charging faults are one of the most common reasons customers walk into a repair shop. A laptop that won’t charge gets written off as a dead device by most owners. That gap in perception is exactly where your skills become income.
Once you can confidently separate a battery fault from a Charging IC fault, you can quote accurately, source parts with confidence, and turn around straightforward cases in under an hour. That’s a repeatable, profitable service.
The same diagnostic mindset carries into adjacent repairs too. The systematic approach you use here — eliminate variables, measure before replacing, read the schematic — is the same process you apply in a laptop screen replacement course or laptop keyboard repair training. The fault changes; the process doesn’t.
If you also work on phones, CPU Academy’s phone repair course covers the same structured workflow adapted for mobile charging circuits, so the skills transfer cleanly.
Upsell Opportunities From This Single Repair
- Thermal paste replacement — heat degrades ICs faster; offer it as a package with charging repairs on older machines
- Battery health report — takes thirty seconds and justifies a preventive battery replacement before the customer loses data to a sudden shutdown
- Power jack inspection — a wobbly jack that contributed to the charge fault often needs replacing at the same visit anyway
- Cleaning service — dust and debris shorten component life; pair it with any motherboard-level repair you’re already doing
To turn these individual repairs into a proper service business rather than a side activity, CPU Academy’s Starting a Mobile Phone Repair Business course covers pricing, customer handling, and how to structure your first commercial repairs — skills that transfer directly to running a laptop bench.
CPU Academy fits laptop learners who want safe disassembly habits, profitable common repairs, and a clearer path from skill to income. The training uses real devices, not just diagrams.
If you want the option built for practical, real-device learning rather than scattered theory, start here: Laptop Repairing Course: Get Certified as a PC Technician.
FAQ + Next Step
How do I know if my laptop’s Charging IC is dead or just the battery?
Install a known-good, fully charged battery. If the laptop runs on that battery but won’t charge it, measure voltage at the battery connector with the adapter plugged in. Zero volts there — with a confirmed good adapter and good jack — points to the Charging IC or the MOSFET in the charge path. That measurement is what separates a real diagnosis from a parts-swapping lottery.
Can a bad power jack cause the same symptoms as a dead Charging IC?
Yes, and it happens all the time. A cracked power jack solder joint produces intermittent or zero voltage at the DC-IN before power ever reaches the Charging IC. Always check and wiggle the jack first. It’s faster to inspect and a lot cheaper to fix than an IC replacement.
Is it worth replacing a Charging IC yourself as a beginner?
IC replacement needs hot-air soldering skills and the ability to read a schematic confidently. If you’re just starting out, focus on mastering the diagnosis process first. Correctly identifying which component has failed is the harder and more valuable skill. Soldering can follow once you’re comfortable with the workflow. A structured laptop repair course builds both skills in the right order, without skipping the steps that matter.
Does liquid damage always kill the Charging IC?
Not always. Liquid leaves conductive residue that bridges or corrodes nearby components rather than always destroying the IC itself. A thorough ultrasonic clean done before any rework resolves a significant percentage of post-liquid charging faults without any component replacement at all. The Dell Inspiron case earlier in this article is a real example of exactly that outcome.
How many charge cycles does a lithium laptop battery last?
Most lithium laptop batteries are rated for roughly 300 to 500 full charge cycles before capacity drops noticeably. Actual lifespan varies by manufacturer, how hot the battery runs, and whether it gets regularly discharged all the way down. The Battery University guide to lithium battery behavior explains the chemistry behind cycle degradation without needing a chemistry degree to follow it.
Do I need a schematic to diagnose a charging fault?
You can rule out the battery and the power jack without one. But to trace the charge enable path, identify the correct MOSFET, and confirm IC signals, a schematic or boardview is essential. Learning to read one is a core skill in any serious laptop repair course — not some advanced optional extra you can skip.
Ready to learn laptop repair in a structured way instead of collecting scattered tips?
CPU Academy’s training is built for practical, real-device learning — covering diagnosis, safe disassembly, common motherboard faults, and the business side of repair. It’s the right fit when you want a laptop repair course that moves from skill to income, not just theory to theory.
Open CPU Academy’s Laptop Repairing Course: Get Certified as a PC Technician →