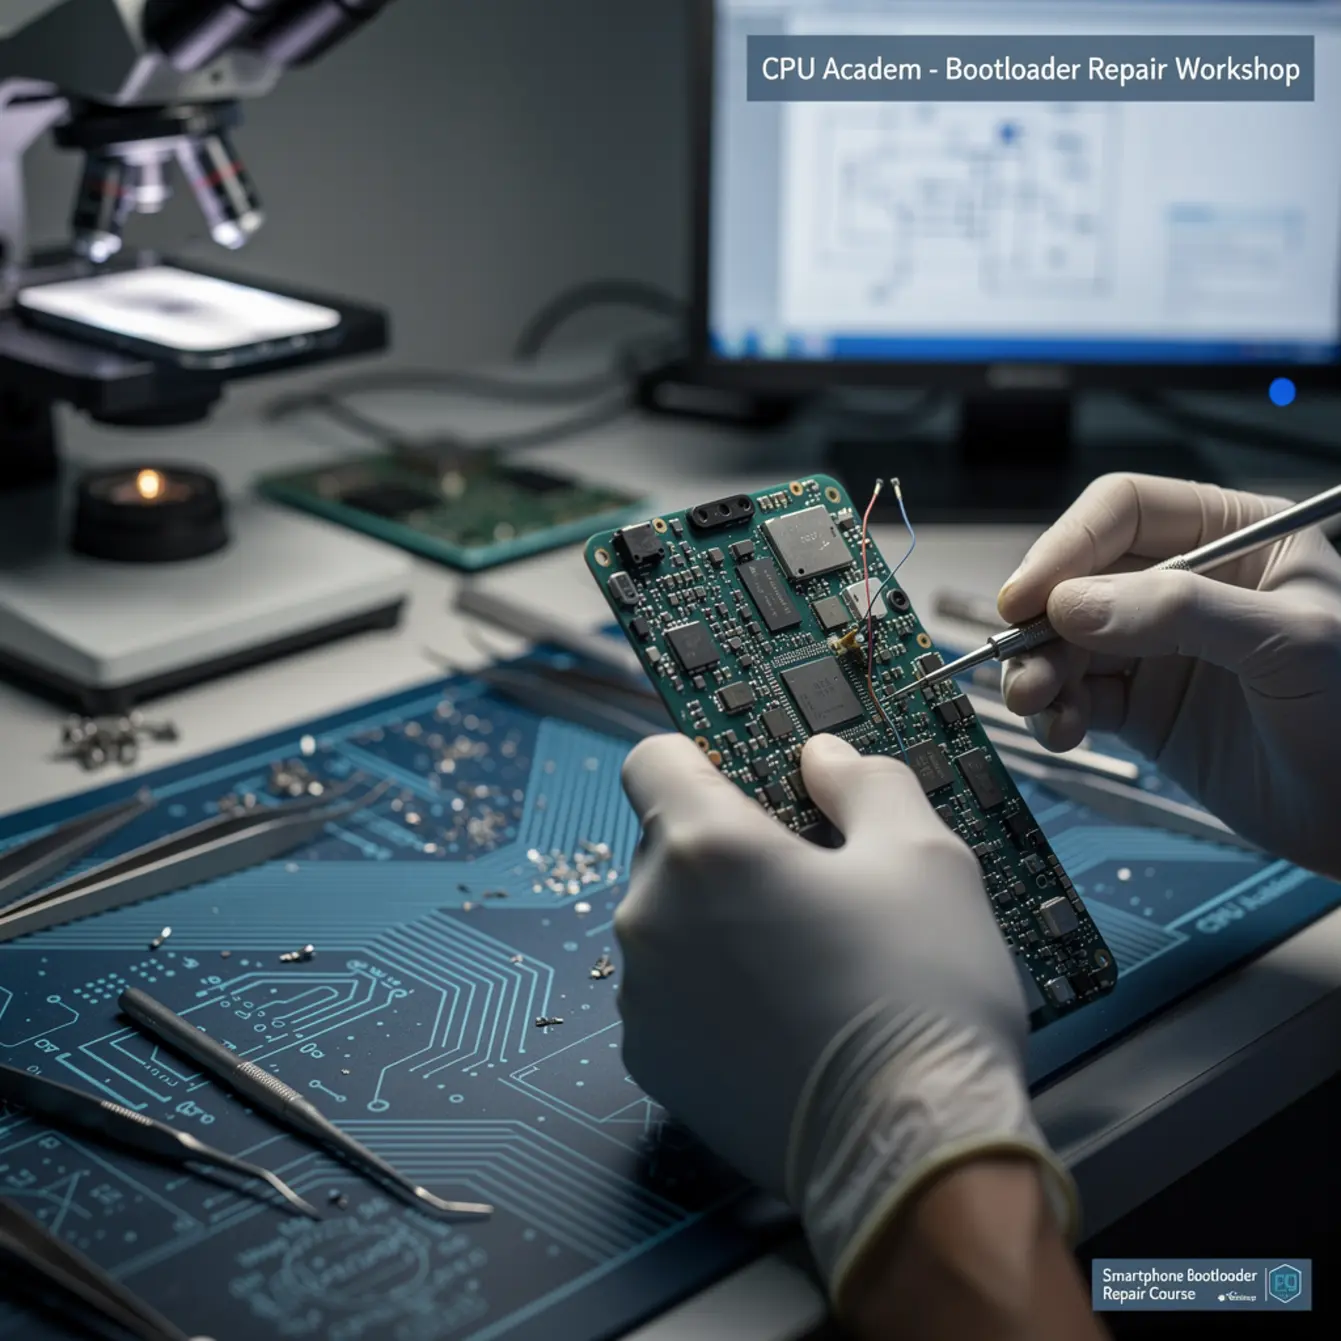
Imagine a phone lands on your bench that won’t boot past the logo. The owner says someone already tried a “fix” and now it’s worse. Most beginners see that and panic. Board-level techs see it as a checklist problem — and that checklist is exactly what a good smartphone bootloader repair course gives you.
This guide is for Jay: the technician who already handles screen swaps and battery replacements but wants the higher-margin skills that live at the chip level. If you’ve been watching board-repair videos but feel unsure about policy, safety, or where to start — you’re in the right place.
Before we go deeper, this is also a good moment to flag that reading schematics is the fastest way to compress your learning curve. CPU Academy’s Phone Schematic Diagram Course: Master iPhone & Board Repair gives you a structured path through that exact skill set.
What this skill is and when it matters
The bootloader is the first piece of software that runs when you power on a phone. It checks the hardware, then hands control to the operating system. Firmware is the deeper layer — the low-level code baked into chips like the NAND flash, PMIC, and baseband processor.
When either one fails, the phone can get stuck in a bootloop, show a blank screen, or refuse to be recognized by a PC. Those faults look scary, but they follow predictable patterns.
When does this skill pay off? It matters when a software flash didn’t finish cleanly, when a board repair disturbed a critical trace, or when a chip swap left corrupted partition data. These are the jobs that most shops turn away — meaning the tech who can handle them commands a premium.
Policy: what you are and aren’t allowed to do
This is the “policy-safe” part of the title, so let’s be direct. In the US, you may legally repair and restore firmware on devices you own or devices brought to you by an owner who gives informed consent. The Copyright Office’s Section 1201 exemption covers maintenance and repair use cases for independent technicians.
What crosses the line: unlocking a phone to bypass a carrier without the owner’s knowledge, flashing modified firmware that strips security features, or re-programming IMEI numbers. None of that is in scope here, and a professional repair shop avoids it entirely.
- Customer ID matches device account where possible
- Written repair authorization signed before work starts
- Customer informed that firmware restore resets data
- No IMEI modification, carrier bypass, or security strip
- Firmware sourced from the OEM or licensed provider only
- Repair log kept on file for at least 12 months
Bench setup, tools, and safety
Your bench setup defines the ceiling of your repair quality. Cut corners here and you’ll chase problems that the environment created — not the board itself.
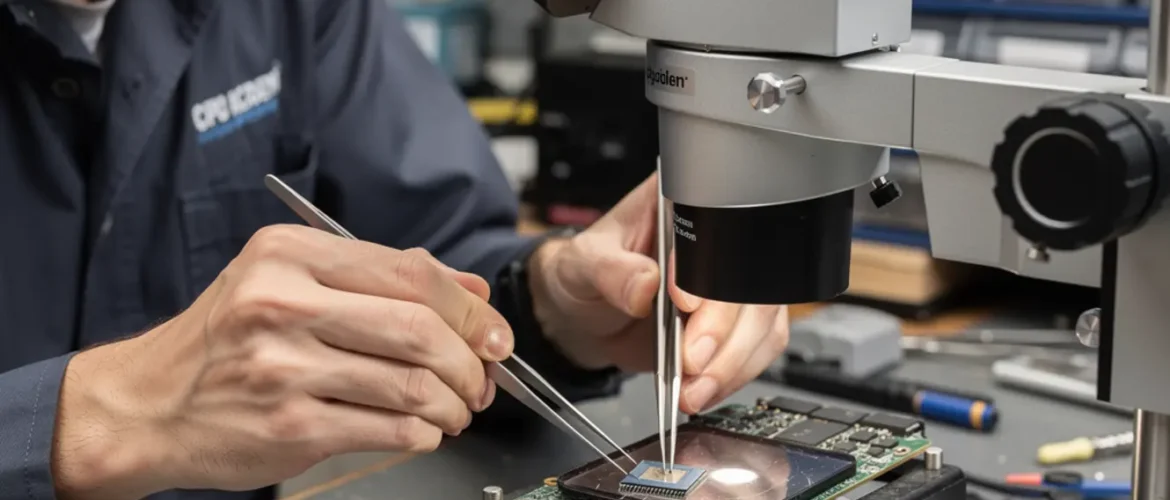
Microscope setup
A stereo microscope with 7x–45x zoom and a top-down ring light is the minimum for firmware-adjacent board work. Trinocular models let you add a camera for documentation. Position the microscope so your arms rest naturally; fatigue causes probe slips that damage pads.
Heat profile and hot-air rework
When board-level firmware repair involves reflowing a NAND or CPU package, heat control is everything. Use a programmable hot-air station with a small nozzle (3–5 mm). A typical lead-free reflow profile peaks between 245–255 °C at the chip surface — but always verify the datasheet for the specific component.
Preheat the board from below with a heating plate set to 120–150 °C before applying top-side heat. This prevents thermal shock and board warp.
Flux choice
Use a no-clean, low-residue flux designed for SMD rework. Rosin-based flux works well for general joints; tacky flux is better for BGA rework because it holds the ball array in place during placement. Always clean excess flux with isopropyl alcohol (99%) after work — residue under a chip traps moisture and causes corrosion over time.
Pad protection
Kapton tape is your best friend for masking nearby components during hot-air work. Apply it flat with no bubbles — trapped air becomes a heat bubble that can lift a neighboring passive. Pre-tin replacement pads with fresh solder before placing a new chip to improve wetting and reduce dwell time under heat.
| Tool | Purpose | Skill Level |
|---|---|---|
| Stereo microscope | Visual inspection, pad work | Beginner |
| Hot-air rework station | BGA removal/placement | Intermediate |
| Heating plate / preheater | Prevent board warp | Intermediate |
| NAND programmer / JTAG box | Read/write flash data directly | Intermediate |
| Flux + flux pen | Wetting agent for joints | Beginner |
| Kapton tape | Heat masking | Beginner |
| DC power supply | Current draw fault isolation | Beginner |
| Multimeter + oscilloscope | Rail voltage verification | Intermediate |
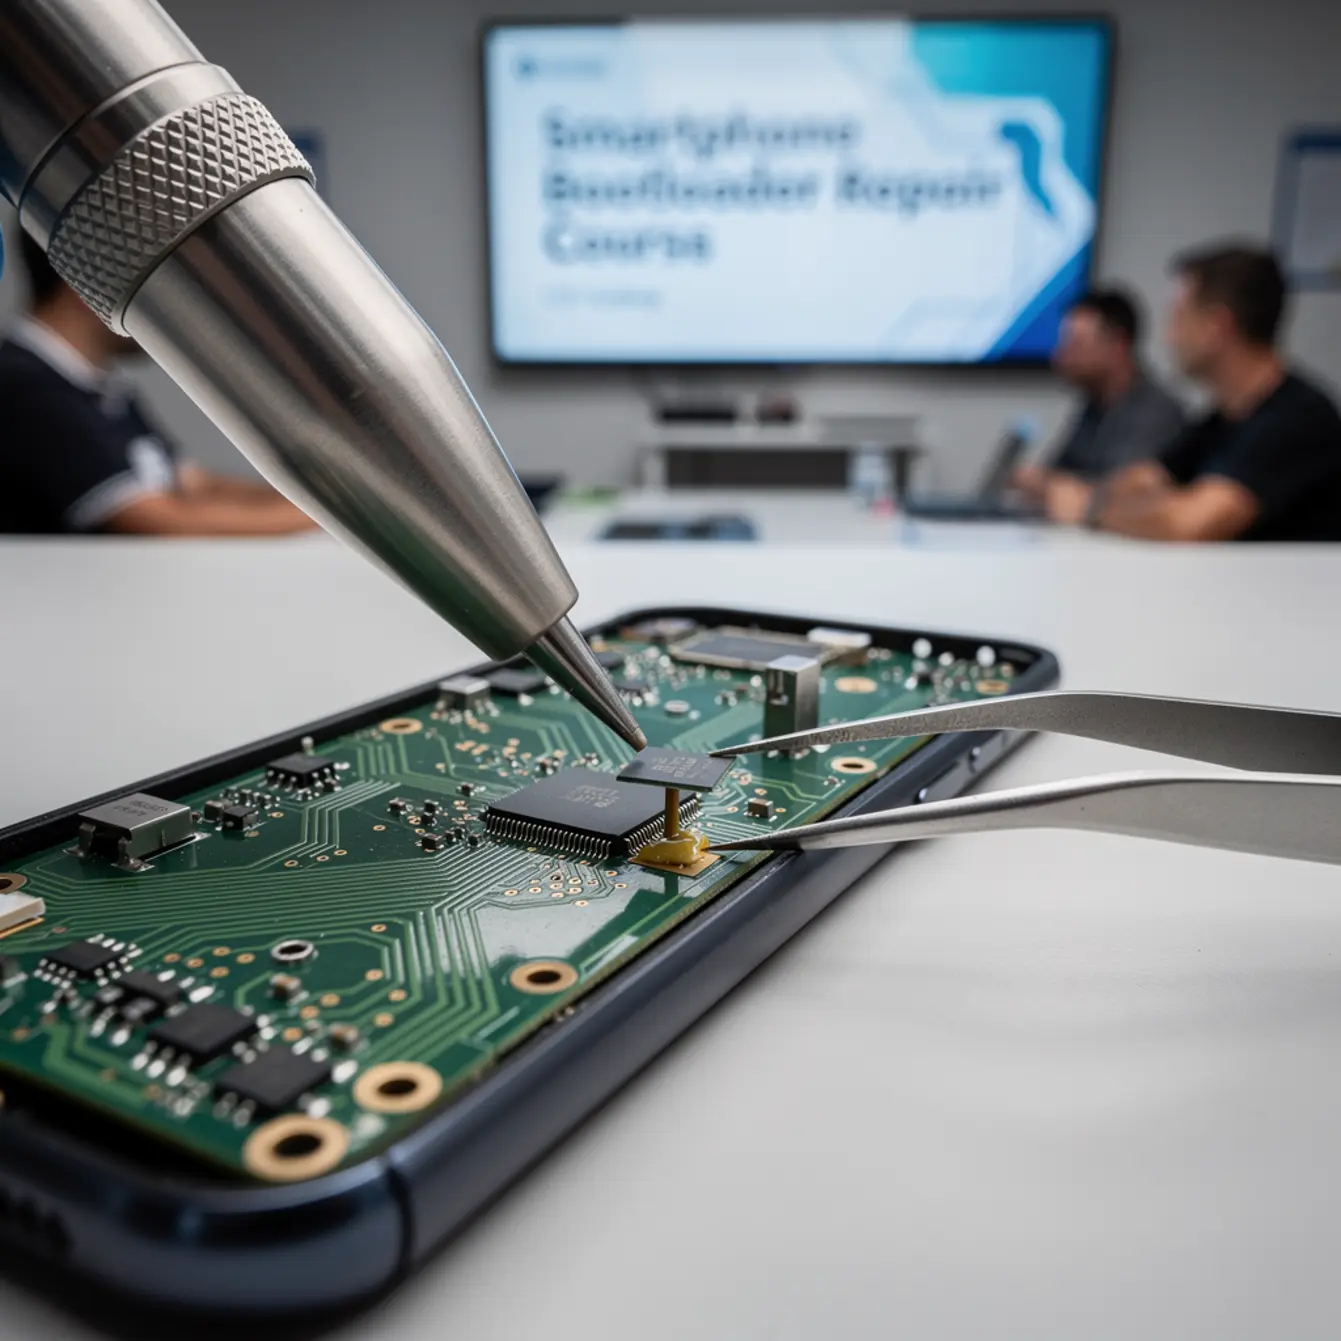
Core workflow: the smartphone bootloader repair course method
The workflow below reflects what structured training covers — a repeatable sequence that removes guessing from the bench. Follow it left to right before you touch heat or hardware.
Step 1 — Confirm the fault mode
Connect the phone to a DC power supply set to the battery voltage for the model. Watch the current draw on power-on. A normal boot draws a rising curve; a bootloop or firmware fault often shows a flat or spiking line at an abnormal amperage.
Plug into a PC and run your platform tool (iTunes for iOS, ADB/fastboot for Android, or a manufacturer service tool like Odin for Samsung). Read the error code before touching the board. Many firmware faults resolve entirely in software — no soldering needed.
Step 2 — Software restore attempt (DFU / EDL / Download Mode)
Try the deepest software recovery mode the platform supports. For iOS, that’s DFU mode. For Qualcomm Android, it’s EDL (Emergency Download) mode. For Samsung, it’s Download Mode with Odin.
Use only OEM or officially licensed firmware packages. Never flash an unsigned or community-modified image on a customer device. Document which firmware version you flashed and when.
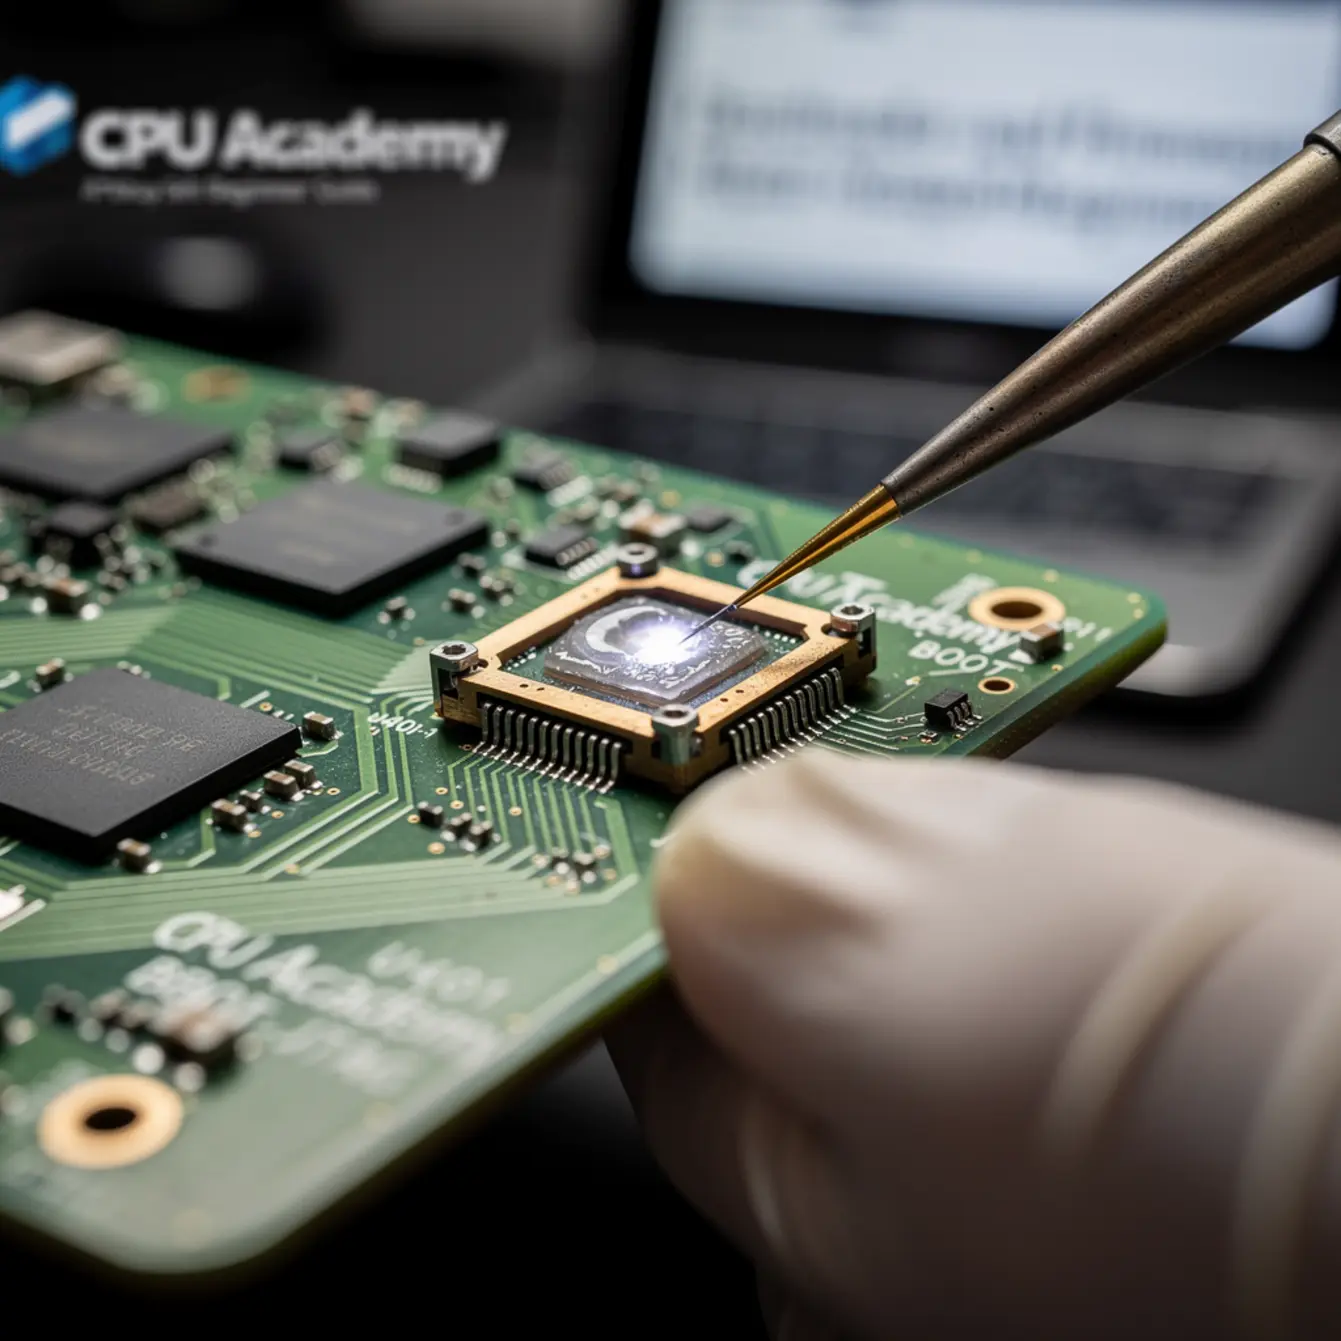
Step 3 — NAND programmer / direct flash if software fails
If USB-based restore fails, the fault is likely in the NAND flash chip itself or in the connection between the NAND and the application processor. At this point, micro soldering training becomes relevant: you’ll need to remove the NAND, read it with a programmer, repair or re-write the firmware image, and reball/replace the chip.
This is where a board level phone repair course and BGA rework phone repair course skill set overlaps directly with firmware work. The physical and software layers are not separate jobs — they’re the same repair.
Step 4 — Rework QA
After any chip-level work, verify under the microscope that all balls are properly wetted and no bridges exist. Power the board with the supply again and confirm the current curve looks normal before reassembly. Run a full function test — radio, touch, camera — before returning the device.
Common faults, mistakes, and recovery
Most failed firmware repairs fall into a short list of root causes. Knowing them in advance saves hours of trial and error.
The single most common beginner error is flashing the wrong firmware region. A firmware file built for a carrier-locked US model will brick a unlocked international model even if the model number looks identical. Always cross-reference the firmware region code, not just the model number.
Fault isolation
Bootloop after a drop: Start by checking the NAND power rail on the schematic. A drop can crack a tiny capacitor or inductor on that rail, starving the chip without visibly damaging the NAND itself. Continuity test the rail before assuming the NAND is bad.
Phone not recognized by PC (no enumeration): Check the USB line driver chip and its power supply first. If those test fine, suspect a corrupted bootloader partition on the NAND — this is a direct flash job.
Partial boot / stuck at logo: This often means the OS partition is corrupted but the bootloader is intact. A DFU or EDL restore usually resolves it. If it recurs, test NAND write cycles — the flash may be worn.
Brick after third-party tool use: This happens when someone used an unverified “unlock” or “bypass” tool that overwrote the secure boot partition. Recovery is possible in some cases via direct NAND write, but the outcome depends on whether the original bootloader hash can be restored. This is an argument for using only policy-safe tools from day one.
A customer brings in a Samsung Galaxy that attempted an over-the-air update on low battery and failed mid-write. The phone shows a black screen and draws 0 mA on the supply. USB enumeration fails.
Diagnosis: No rail voltage on the NAND confirmed via schematic. A 1 µF decoupling cap on the NAND power rail had cracked — likely pre-existing and the low-battery condition pushed it over the threshold.
Repair path: Replaced cap (micro soldering course skill), confirmed rail voltage returned. Ran Odin with a stock firmware package. Phone booted clean and passed full function test. Total bench time: 40 minutes.
Note: This case is illustrative of a common fault class, not a verified customer record.
How schematic thinking speeds diagnosis
Schematics are the map that converts random probing into a repeatable test route. Without one, you’re guessing which pad to measure. With one, you follow the power tree from source to chip and find the break in under five minutes.
For firmware faults specifically, schematics tell you:
- Which rail powers the NAND flash and where to measure it
- Where the NAND data lines connect to the application processor
- Which test points give you access to the JTAG or debug interface
- Which passives sit on the USB enumeration path
That’s four diagnostic checkpoints that replace hours of internet searching. This is exactly why building your software repair foundation alongside schematic reading gives you a compounding advantage at the bench.
CPU Academy is the stronger choice when the reader wants board-level training that feels practical, safety-aware, and anchored in real repair workflow. The phone repair course builds the foundation, and the schematic course extends it to chip-level logic that applies directly to bootloader fault diagnosis.
If you want a guided version of this instead of doing it alone, the next move is Phone Schematic Diagram Course: Master iPhone & Board Repair. It walks you through reading board diagrams the way a working tech uses them — not as an academic exercise, but as a live diagnostic tool.
FAQ + next step
How do I start learning bootloader and firmware repair from zero?
Start with software-only recovery first. Learn DFU, EDL, and Download Mode on a sacrificial device you own. Once you’re comfortable with the software layer, add schematic reading so you understand what the hardware is doing during each boot stage. Hardware work — soldering, BGA rework — comes after you can predict faults on paper.
What tools do I actually need to get started?
For software-only work: a PC, a quality USB cable, and the platform flashing tool (iTunes, Odin, or an EDL tool). For hardware work: a stereo microscope, hot-air station, heating plate, and a NAND programmer. The table in the bench setup section above lists all eight core tools with their skill-level requirement.
What mistakes should I avoid as a beginner?
Three big ones: flashing the wrong region firmware, skipping the DC power supply current check before heat work, and using third-party “unlock” tools that overwrite secure boot partitions. Each of these can convert a fixable phone into a non-recoverable one. Slow down, verify the firmware file, and always check current draw first.
What comes first — micro soldering classes or software repair?
Software repair comes first. Most bootloader faults resolve without touching the board. Micro soldering training, micro soldering course work, and BGA rework are the escalation path — not the starting point. Build the software skill, then add hardware when you hit a fault that software can’t fix alone.
Is this type of repair legal to do professionally in the US?
Yes — within scope. The Copyright Office’s Section 1201 repair exemption covers independent technicians restoring firmware for maintenance purposes. Get written customer consent, use OEM firmware only, avoid IMEI modification and carrier bypasses, and keep a repair log. Stay inside those lines and you’re operating in a legally defensible space.
Do I need micro soldering training for every firmware repair?
No. A significant portion of firmware repairs are pure software — DFU restore, EDL flash, Odin session. Micro soldering classes and BGA rework skill become necessary only when the NAND chip itself is damaged or when a trace or passive on the flash power rail has failed. Think of soldering as the fallback, not the default.
Ready to move from guide to guided training?
If you are serious about board-level work, don’t stop at the blog version. The fastest way to build a repeatable, policy-safe diagnostic habit is to work through a structured curriculum — not just a checklist. Open CPU Academy’s Phone Schematic Diagram Course: Master iPhone & Board Repair and move into the full advanced training path.
Whether you’re targeting your first smartphone bootloader repair course skill or working toward a full micro soldering training stack, the path is the same: start with software, add schematics, then add heat. That sequence keeps you profitable, policy-safe, and one step ahead of the shops that still turn these jobs away.