Quick answer: A laptop screen replacement course is the right starting point when your screen shows cracks, black bars, dim patches, or no image at all. This guide walks a complete beginner through diagnosis, the tools you need, a safe removal and install sequence, and the point where this skill starts earning you real money. No experience required.
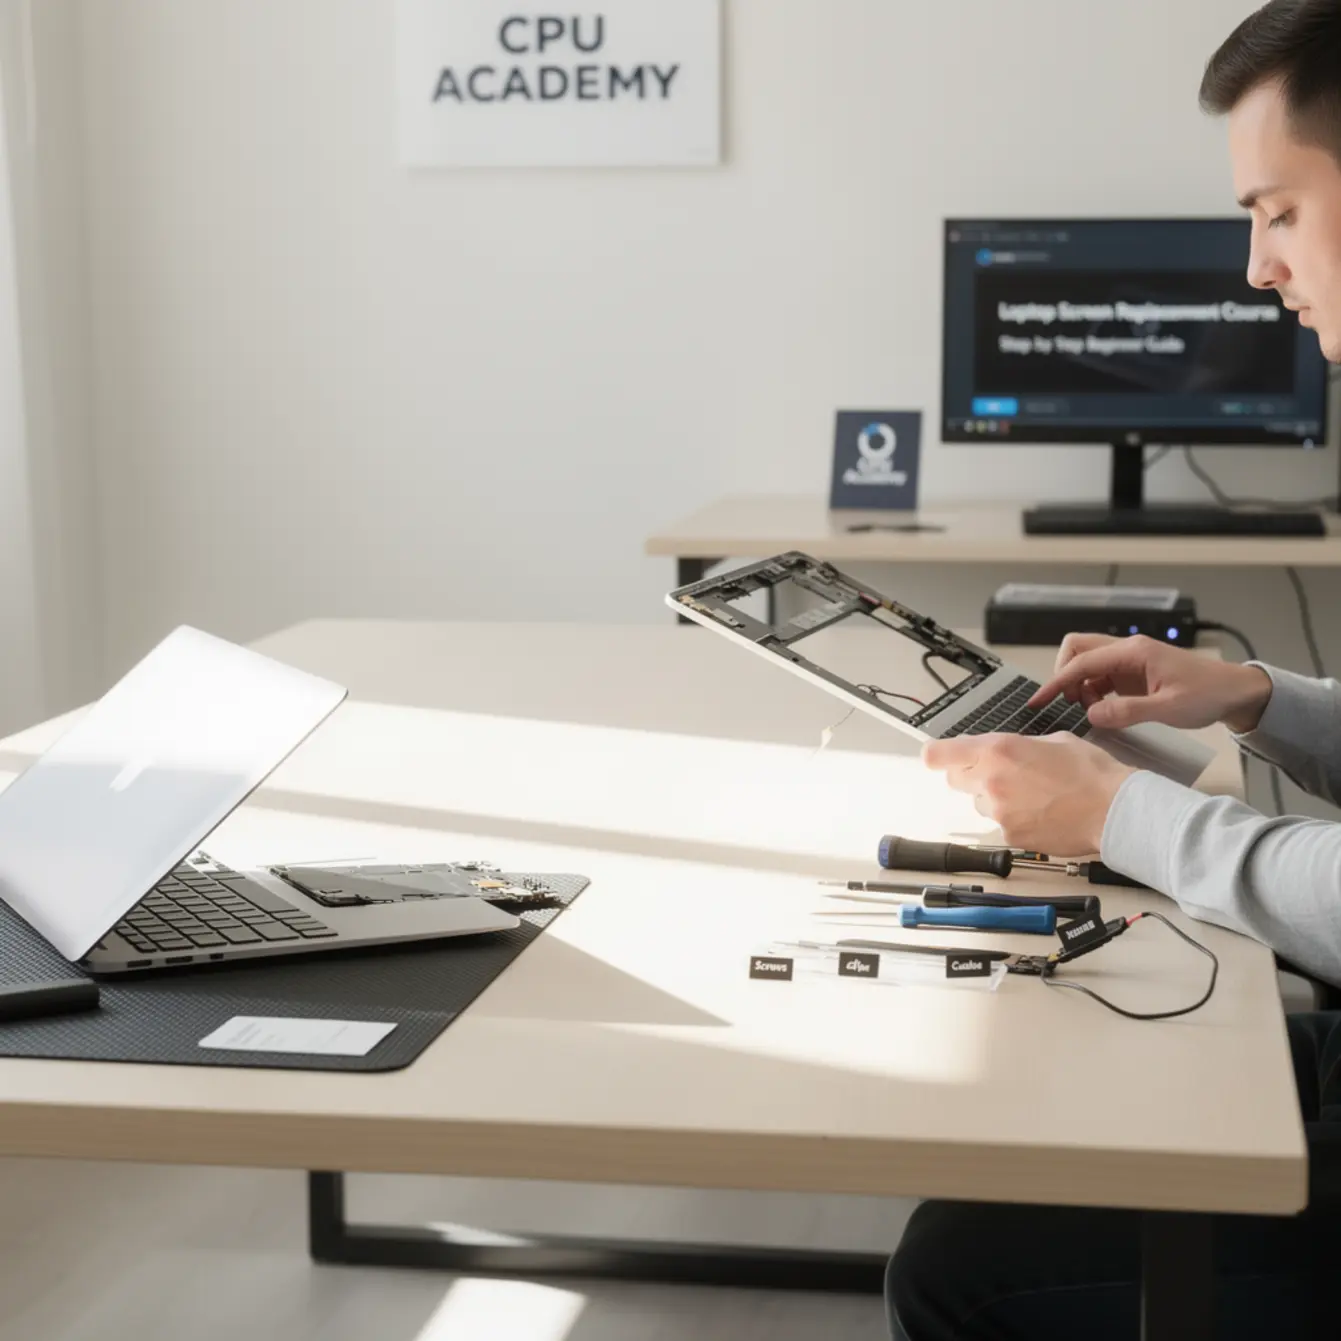
Picture this: a customer walks in carrying a laptop with a shattered screen. They can’t work, can’t study, can’t do anything useful on it. You fix it in under an hour, hand it back fully working, and you just got paid for one skill. That’s the whole idea behind learning laptop screen replacement. One clear, repeatable repair that real people need every single day.
This guide is written for the person who wants a skill they can sell quickly, not a textbook packed with theory. If you’ve never touched laptop internals before, start here. If you’ve done a repair or two but want a cleaner, faster workflow, this will sharpen your process.
The fact that you searched for a laptop screen replacement course tells me you want more than a one-off YouTube fix. You want a structured path you can actually follow. This page gives you that path, then points you toward the full course experience when you’re ready to go further.
Quick Diagnosis or Decision Summary
Before you touch a single screw, you need to know what’s actually broken. A cracked screen looks obvious enough. But a dead screen could be the panel, the cable, the inverter board on older models, or even the GPU. Ordering parts before you confirm the fault is one of the most common and most avoidable beginner mistakes.
Diagnosis Checklist
Run through these checks in order. Stop as soon as you find the culprit.
- Connect an external monitor. If the image looks normal on the external screen, the laptop itself is fine. The problem lives in the display assembly.
- Look for backlight glow. Shine a flashlight at an angle across the screen in a dark room. A faint image means the backlight is dead, not the LCD layer itself.
- Check for physical cracks or pressure marks. Colored bleed lines or spider cracks point directly at panel damage.
- Wiggle the lid gently. A screen that flickers when you move the lid usually means a loose or fraying display cable, not a dead panel.
- Check hinge condition. Broken hinges put stress on the cable over time and can snap the screen connector clean off.
If the external monitor test passes and you can see cracks or no image at all, you’re replacing the panel. That’s the repair this guide covers.
⚠️ Beginner mistake: Ordering a replacement screen before confirming the panel is actually at fault. Run the external monitor check first, every single time. A wrong diagnosis wastes money on parts and time on a repair that won’t solve the customer’s problem.
Tools, Parts, and Safety Checks
What You Need on the Bench
| Item | Why You Need It | Beginner Priority |
|---|---|---|
| Anti-static wrist strap | Prevents electrostatic discharge from killing the new panel | Essential |
| Phillips #0 and #1 screwdrivers | Covers most laptop bezel and hinge screws | Essential |
| Plastic spudger / pry tool set | Opens bezel clips without cracking the plastic | Essential |
| Suction cup | Lifts panels with adhesive backing without damaging them | Useful |
| Magnetic screw mat | Keeps screws organized by step so nothing rolls away mid-repair | Essential |
| Replacement LCD/LED panel | Match the exact model number from the label on the old panel | Essential |
| Tweezers | Handles small connectors and cable locks cleanly | Useful |
| Isopropyl alcohol (90%+) | Cleans adhesive residue from the bezel channel | Optional but helpful |
Safety Note Before You Start
Power the laptop off completely. Remove the battery if it’s accessible. Don’t just close the lid and let it sleep — a sleeping machine can still send power to components and that’s a risk you don’t need. Give it a full 30 seconds after shutdown before you touch anything inside.
Work on a clean, flat, non-carpeted surface. Carpet generates static, and static kills electronics quietly. A basic anti-static mat costs next to nothing and removes that risk entirely. Worth it every time.
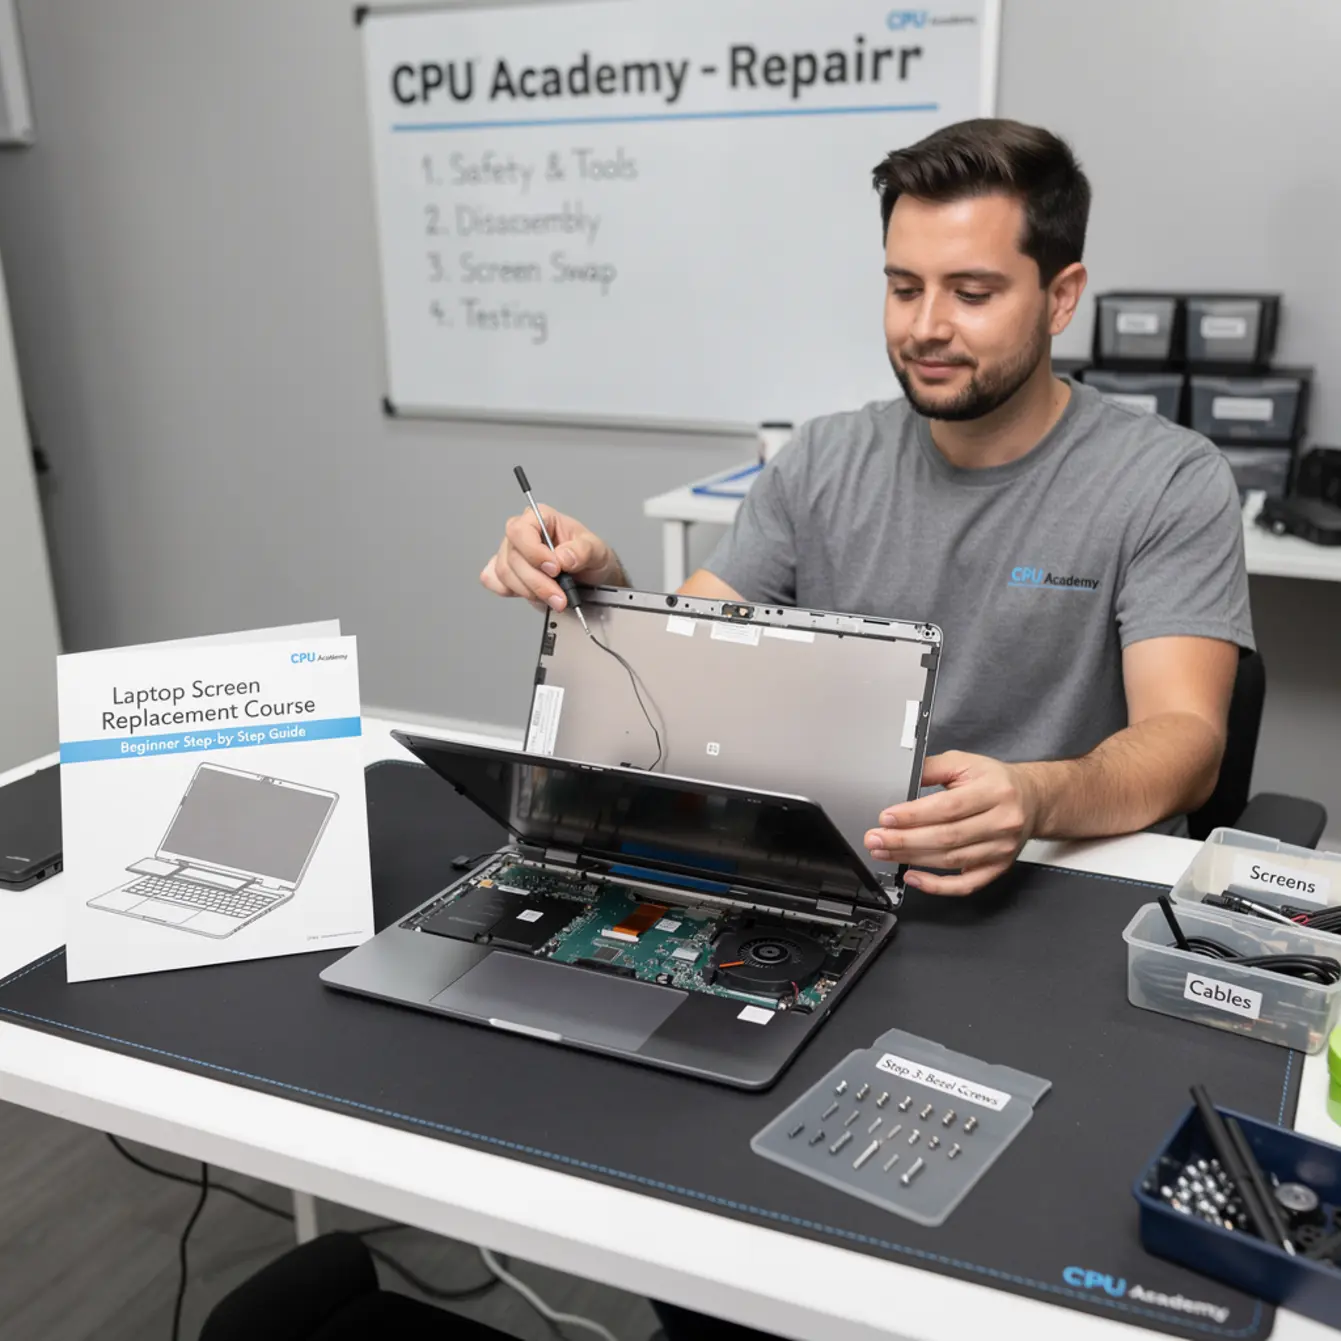
Step-by-Step Workflow for Laptop Screen Replacement Course Learners
This sequence works for the vast majority of consumer laptops — Dell, HP, Lenovo, Acer, and similar designs. The exact screw count and clip style varies by model, but the order stays the same across nearly all of them.
Replacement Steps
Step 1 — Identify your panel. Open the laptop and find the label on the back of the existing screen. You may need to partially lift the lid to read it. Write down the full model number — something like LP156WF6 or B156HTN03. That number is what you order. Don’t just match screen size and resolution. Connector type and mounting hole positions need to match too.
Step 2 — Remove the bezel. Most bezels are held by a mix of screws tucked under rubber plugs and plastic clips along the edge. Pop the rubber plugs off with a spudger, remove the screws underneath, then work around the bezel edge with a plastic pry tool. Start at a corner, not the middle. Go slowly. You’ll hear small clicks as the clips release — that’s exactly what’s supposed to happen.
Step 3 — Support the panel. With the bezel off, the screen panel sits in a metal bracket held by four to six small screws, usually two on each side. Loosen these while holding the panel steady so it doesn’t fall forward onto the keyboard.
Step 4 — Disconnect the cable. Tilt the screen panel forward and lay it face-down on the keyboard. You’ll see one video cable connector at the back, usually held with a small piece of tape or a locking tab. Peel back the tape, lift the locking tab if there is one, and pull the connector straight out. Don’t yank at an angle. Straight out, firm and steady.
Step 5 — Transfer brackets if needed. Some panels have side mounting brackets screwed onto them. Unscrew these from the old panel and attach them to the new one before you install anything. Easy to forget, annoying to discover mid-reassembly.
Step 6 — Connect the new panel. Before you seat the new panel, wipe its surface lightly with a clean, dry cloth to keep dust off it. Then plug the video cable into the new panel connector, pressing it straight in until it seats fully. Lock the tab and replace the tape. A loose cable at this step causes flickering after reassembly, which is the most common post-repair complaint beginners deal with.
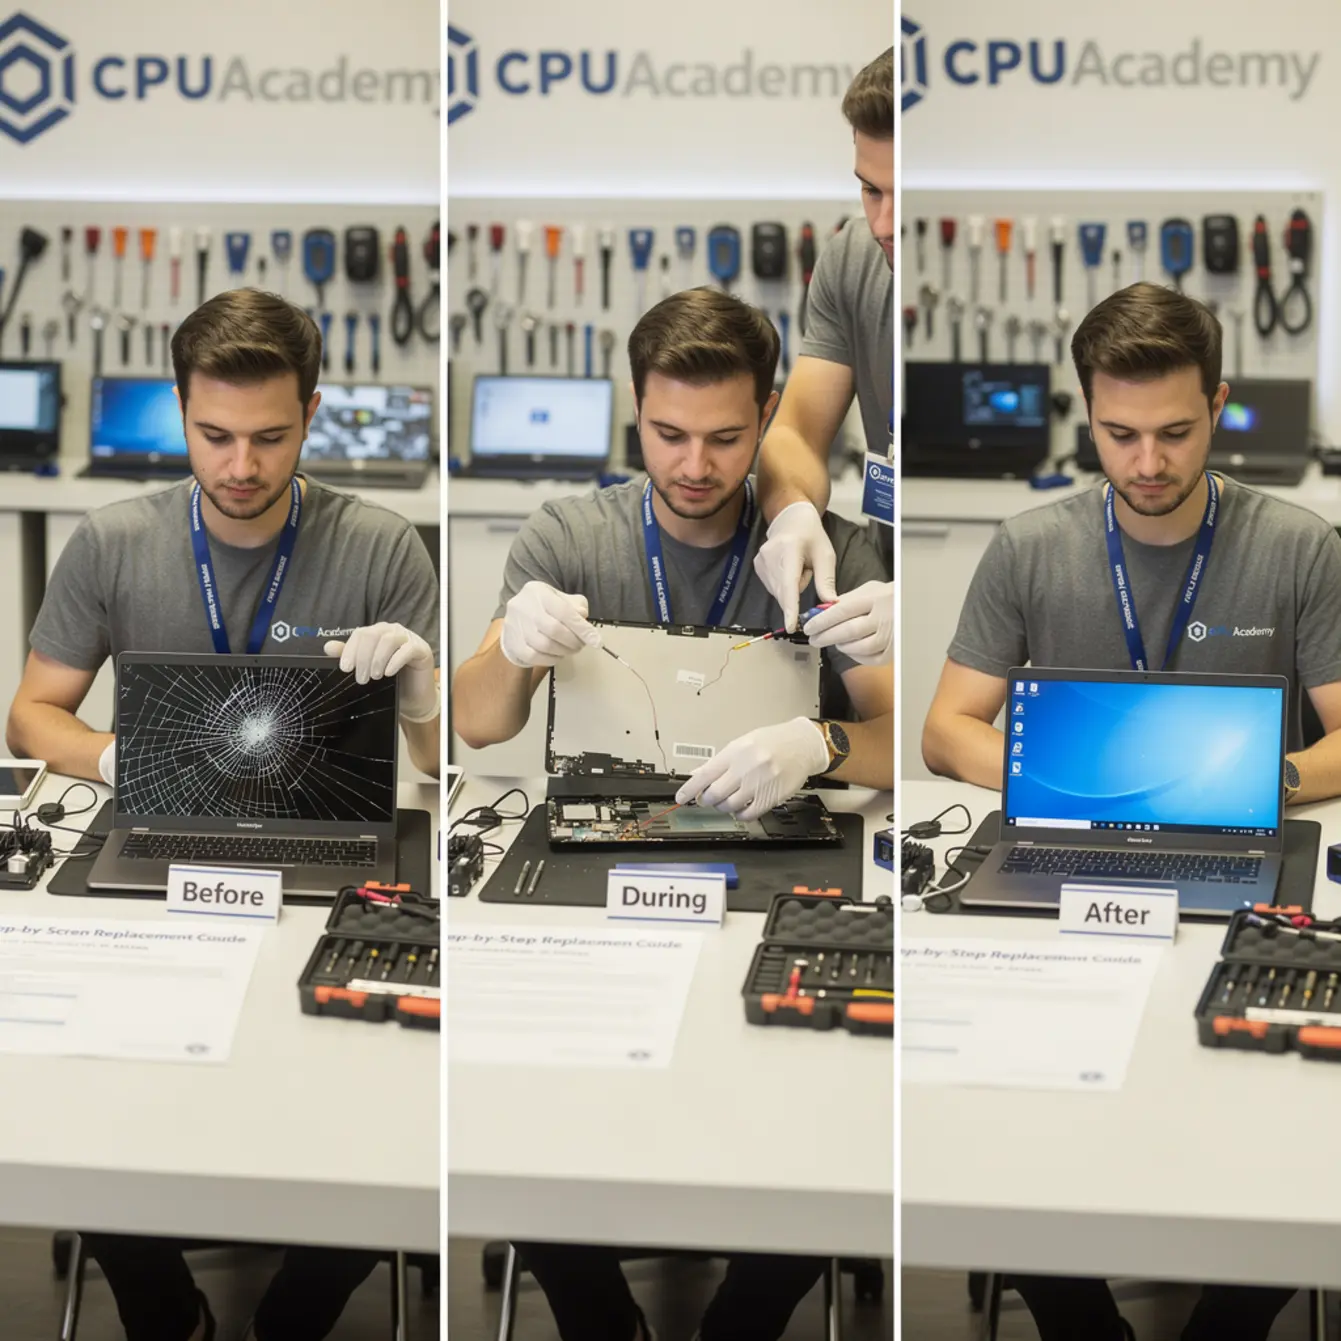
Step 7 — Test before you close. Place the new panel loosely in the bracket and power the laptop on. Check that the image is clear, full-width, and stable. Move the lid gently to confirm there’s no flicker. If everything looks good, power back off and finish the assembly.
Step 8 — Reassemble. Screw the panel brackets back in. Press the bezel clips closed firmly around the edge. Replace the bezel screws and rubber plugs. Power on one final time and tilt the display through a few angles to confirm it holds steady.
Testing Workflow
After final reassembly, open a solid-color test page — white, red, green, blue — in a browser and look across the full screen surface. Check for dead pixels, dim patches, or backlight bleeding at the edges.
A small amount of backlight bleed in the corners is common on budget panels and usually acceptable to most customers. A large dark patch or a line of dead pixels is not. Most reputable suppliers accept returns for defective new panels, so document the fault with a photo before you contact them.
One thing worth knowing: on some models with display adhesive along the panel edges, you’ll feel a slight resistance when you first pull the old panel free. That’s the warmed adhesive letting go. Don’t force it. Warm the edge gently with a heat gun on the lowest setting or even just your hand, and it releases cleanly.
💡 Want a guided version of this instead of doing it alone? The next move is How to Replace Laptop Screen: A DIY Repair Course — structured training that takes you from this repair through every common laptop fault, with video walkthroughs and real device practice.
Typical Failure Patterns and Shortcuts
Not every screen job is clean and simple. Here are the patterns beginners run into most often, along with the shortcut thinking that gets you to an answer faster.
Common Failure Scenarios
Half the screen is black. This is almost always a damaged panel, not the cable. The image processor is sending signal, but part of the LCD layer is dead. Replace the panel.
Screen flickers when you move the lid. The display cable is fraying or the connector has worked itself loose. On many Lenovo and HP models, the cable routes through the hinge and wears down over time from repeated opening and closing. Replacing just the cable is cheaper than a new panel. Confirm with the external monitor test first.
White screen at startup. This could be a bad connection or a panel fault. Re-seat the cable before you order any parts. A white screen that shows a faint desktop image when you shine a flashlight on it is a backlight issue, not an LCD issue. Those are two different repairs.
Lines running vertically across the display. Vertical color lines usually mean panel damage, often from pressure or a drop. Horizontal lines that come and go lean toward a cable fault. Figure out which direction the lines run before you order anything.
New panel installs but shows no image. Check the cable is fully seated and the locking tab is engaged. On rare occasions a new panel is DOA. Confirm by temporarily reconnecting the old panel — if the old one still shows any image at all, the new panel is the problem.
CPU Academy is built for laptop learners who want safe disassembly habits, confident diagnosis, and a clear bridge from skill to income. If you’re currently picking up tips from three different forums and hoping they piece together into a real workflow, the structured route will save you a lot of frustration.
For learners who want to focus specifically on the hands-on disassembly side, the How to Replace a Laptop Screen course at CPU Academy covers the physical panel swap sequence in detail through video format.
When This Skill Becomes Billable Work
Upsell Opportunities on Every Screen Job
A screen replacement job is rarely just a screen. When a customer brings in a cracked display, the laptop has usually been dropped. That means you check the hinge condition, look at the chassis for stress cracks, and run a quick keyboard and trackpad test while you have everything open anyway. Each of those is a potential add-on that costs you almost no extra time.
Common upsells from a screen visit include hinge repair, keyboard cleaning or replacement (skills that connect directly to laptop keyboard repair training), and a general clean plus thermal paste refresh on machines that are running hot. None of these require advanced electronics knowledge at this stage.
Case example — the coffee shop drop: A customer brings in a 15-inch Dell Inspiron with a cracked screen and a key that stopped working after it hit the floor. The screen replacement takes about 45 minutes. While you’re testing the display, you notice two keyboard keys aren’t registering. You quote a keyboard replacement as a separate line item. The customer says yes without hesitation. One visit, two repairs, two charges on the invoice. That’s what building a full repair skill set actually looks like in practice.
Once you add laptop power jack repair course skills and laptop liquid damage repair course knowledge to your toolkit, you can handle the most common physical faults that walk through any repair shop door. These repairs have consistent demand and don’t require specialist soldering equipment to get started.
If you’re thinking beyond individual repairs and toward running your own shop, CPU Academy covers that side too. The Starting a Mobile Phone Repair Business course gives a practical walkthrough of how repair skills translate into sustainable income, including how to price jobs and attract local customers. The business principles there apply directly to laptop repair work as well.
Taking a laptop repair course online removes the barrier of needing a local training center. You practice on a donor device at home, pause the video, follow each step at your own pace, and build real confidence before you ever work on a paying customer’s machine. That’s the approach that actually sticks, because you’re doing the work, not just watching it.
FAQ + Next Step
Frequently Asked Questions
What should I look for in a laptop screen replacement course?
Look for a course that covers diagnosis before disassembly, shows real device teardowns on video, explains how to match replacement parts correctly, and walks through a proper testing workflow after reinstall. Theory-only content won’t build the muscle memory you need for a safe, efficient repair.
Is learning laptop screen replacement worth it as a beginner skill?
Yes. Screen damage is one of the most common reasons people bring laptops in for repair. It’s a visible, in-demand fix. Parts are affordable to stock, tools are simple, and repair time is short once you’ve done it a few times. It’s a strong first commercial skill with real earning potential right away.
Which course is best for beginners who want to do this professionally?
Beginners who want guided structure, safe disassembly habits, and a clear path to earning from repairs get the most out of a comprehensive laptop repair course rather than scattered tutorials. CPU Academy’s training is built specifically for this learner — someone who wants practical skills they can use quickly, without wading through academic theory first.
How long does it take to learn laptop screen replacement?
The first repair typically takes 60 to 90 minutes when following a guide carefully. By the fifth repair, most people finish the job in 30 to 45 minutes. Speed comes from repetition and getting familiar with different laptop models — not from rushing the steps.
Can I take a laptop repair course online without any prior experience?
Yes. A good laptop repair course online is designed for people starting from zero. The key is that it shows real disassembly on video rather than just describing it in text. Watching someone handle a cable connector or pop a bezel clip is far more useful than reading about it, especially when you’re learning the feel of the work.
What other repairs should I learn alongside screen replacement?
Keyboard replacement, power jack repair, and liquid damage assessment are the three most natural next steps. Together they cover the majority of walk-in laptop faults. Add those skills and you can take on more jobs, handle more complete visits, and increase revenue without needing expensive equipment to get started.
Ready to learn laptop repair in a structured way instead of collecting scattered tips?
This guide gives you the foundation. The full course gives you every common fault — screen, keyboard, power jack, liquid damage — in one structured path with video walkthroughs and real device practice.
This laptop screen replacement course guide was built for the learner who wants a clear, safe, repeatable workflow — not theory for its own sake. You now have the diagnosis checklist, the tools list, the full replacement sequence including the magnetic screw mat habit and keeping dust off the new panel, and a real picture of what this skill looks like as paying work. The next step is structured practice on actual devices, and that’s exactly where CPU Academy picks up from here.
If you want to add phone repair to your skill set as well, the Phone Repair Course at CPU Academy takes the same practical approach — real devices, real faults, real workflow — and pairs naturally with laptop repair if you want to serve both markets from the same bench.