By CPU Academy Editorial Team |
⚡ Quick Answer
Qualcomm EDL (Emergency Download) Mode is a low-level hardware state that lets authorized tools write firmware directly to a Qualcomm-chipset phone when normal boot has failed. It is a legitimate repair tool when used by a technician on an owner-consented device, with the correct driver, the correct firmware package, and a verified flashing tool. It is not a shortcut for bypassing security, unlocking accounts you don’t own, or servicing a device without permission. This guide covers the clean, legal path — and tells you exactly when to stop.
- EDL Mode is useful for: boot-loop recovery, dead-after-update rescue, firmware re-flash
- EDL Mode is NOT appropriate for: bypassing lock screens on devices you don’t own, unauthorized FRP removal, or resale prep without proof of ownership
- Legal baseline: always document owner consent before starting any software procedure
Say a customer walks in with a phone stuck in a boot loop, locked up after a bad update, totally unresponsive. Your first question shouldn’t be “which tool do I use?” It should be “do I have everything I need to fix this the right way?” That second question is the one that keeps your shop out of trouble. The rest of this article answers it in full.
This is a practical mobile phone software course-level guide for US beginners and intermediate techs who want clean, repeatable workflows — not forum shortcuts that could expose your shop to real liability.
For the full flashing, restore, FRP, and troubleshooting path, check CPU Academy’s Mobile Phone Software Repair Course before you move on.
Quick Answer and Legal Boundary
What EDL Mode Actually Is
EDL Mode is a built-in emergency state baked into Qualcomm-chipset devices at the hardware level. When a phone can’t boot normally — bad flash, corrupted system partition, failed OTA update — EDL Mode lets a connected PC push a fresh firmware image straight to the storage chip.
It bypasses the Android operating system entirely. That’s exactly what makes it so powerful for recovery work. It’s also why it carries strict legal and ethical limits that every working tech needs to understand before touching it.
The Legal Boundary You Must Respect
In the United States, working on a device without owner authorization can cross into federal computer fraud territory. The line is simple: if the device owner did not hand you the phone and ask you to fix it, you should not be running EDL procedures on it.
Legitimate use cases include a repair shop customer who brings in their own phone with a software failure, a technician re-flashing a test device they personally own, or a student practicing on a device they own or have explicit written consent to use. Those are the situations this guide is written for.
What Tools or Modes Are Involved
The Core Tools in a Legal Flashing Workflow
Every legitimate Qualcomm firmware restore comes down to three things: the correct firmware package, a trusted flashing tool, and the right USB driver. Miss any one of those and you risk bricking the device or burning an hour chasing a problem that wasn’t really there.
Here is a quick reference for a clean workstation setup:
| Tool / Component | What It Does | Legal / Policy Note |
|---|---|---|
| Qualcomm USB Driver | Lets Windows recognize the device in EDL mode | Official source: Qualcomm USB driver resource for device service workflows |
| Vendor Flashing Tool | Sends the firmware image to the device storage | Use only tools distributed or approved by the device OEM or your training program |
| Stock Firmware Package | The full OS image for the exact device model and region | Match model number precisely; wrong firmware = permanent damage |
| Data Backup Record | Documents that owner was informed of data wipe | Required for shop liability protection; get it in writing |
| Owner Consent Form | Signed authorization to perform the procedure | Non-negotiable; keep copies for every job |
Choosing the Right Flashing Tool
Your tool choice matters more than beginners usually realize. Some tools show up in professional training programs because they are stable, well-documented, and close to what OEMs actually use in service centers.
Steer clear of anything that advertises bypass features as its main selling point. That is a red flag, not a feature list. If you are working through phone firmware repair training, your course materials should spell out which tools are covered and the reasoning behind each choice. That kind of transparency is one sign you are in a quality program.
Clean Workflow Step by Step — Your Mobile Phone Software Course Checklist
Step 1 — Consent and Proof of Ownership
Before you open a single tool, confirm ownership. Ask for an ID that matches the account registered to the phone, or a purchase receipt. Have the customer sign a simple repair authorization form that spells out the issue, the fix you’re proposing, and the risk of data loss.
This step is where a lot of new techs get sloppy. It is not bureaucracy. It protects both you and the person whose phone is on your bench. Get it done first, every time, no exceptions.
Step 2 — Backup First, Always
A full firmware flash wipes the device clean. If there is any data worth saving, attempt recovery before you do anything else. Document in writing that the owner was told about the wipe and accepted that risk.
Sometimes the device won’t boot at all and backup simply isn’t possible. That’s fine — just note it clearly on the consent form before moving forward so there are no surprises later.
Step 3 — Match Firmware to Device
Pull the exact model number from the sticker on the back, the original box, or a previous diagnostic scan. Qualcomm devices come in regional variants, and the firmware built for one region can fail — or cause new problems — on a device that shipped for a different market.
Match every field: model number, region, build number. One digit off is enough to turn a recoverable phone into a brick.
Step 4 — Set Up the Workstation
Install the Qualcomm USB driver on a clean Windows PC. Run your flashing tool with administrator rights. Load the firmware package and let the tool verify file integrity if that option is available — most professional tools run checksum verification automatically, and you want to see that pass before you start.
On the cable side, use a known-good USB cable with proper data lines. A charge-only cable will leave the PC unable to see the device in EDL mode, and you’ll spend twenty minutes troubleshooting something that was never going to work.
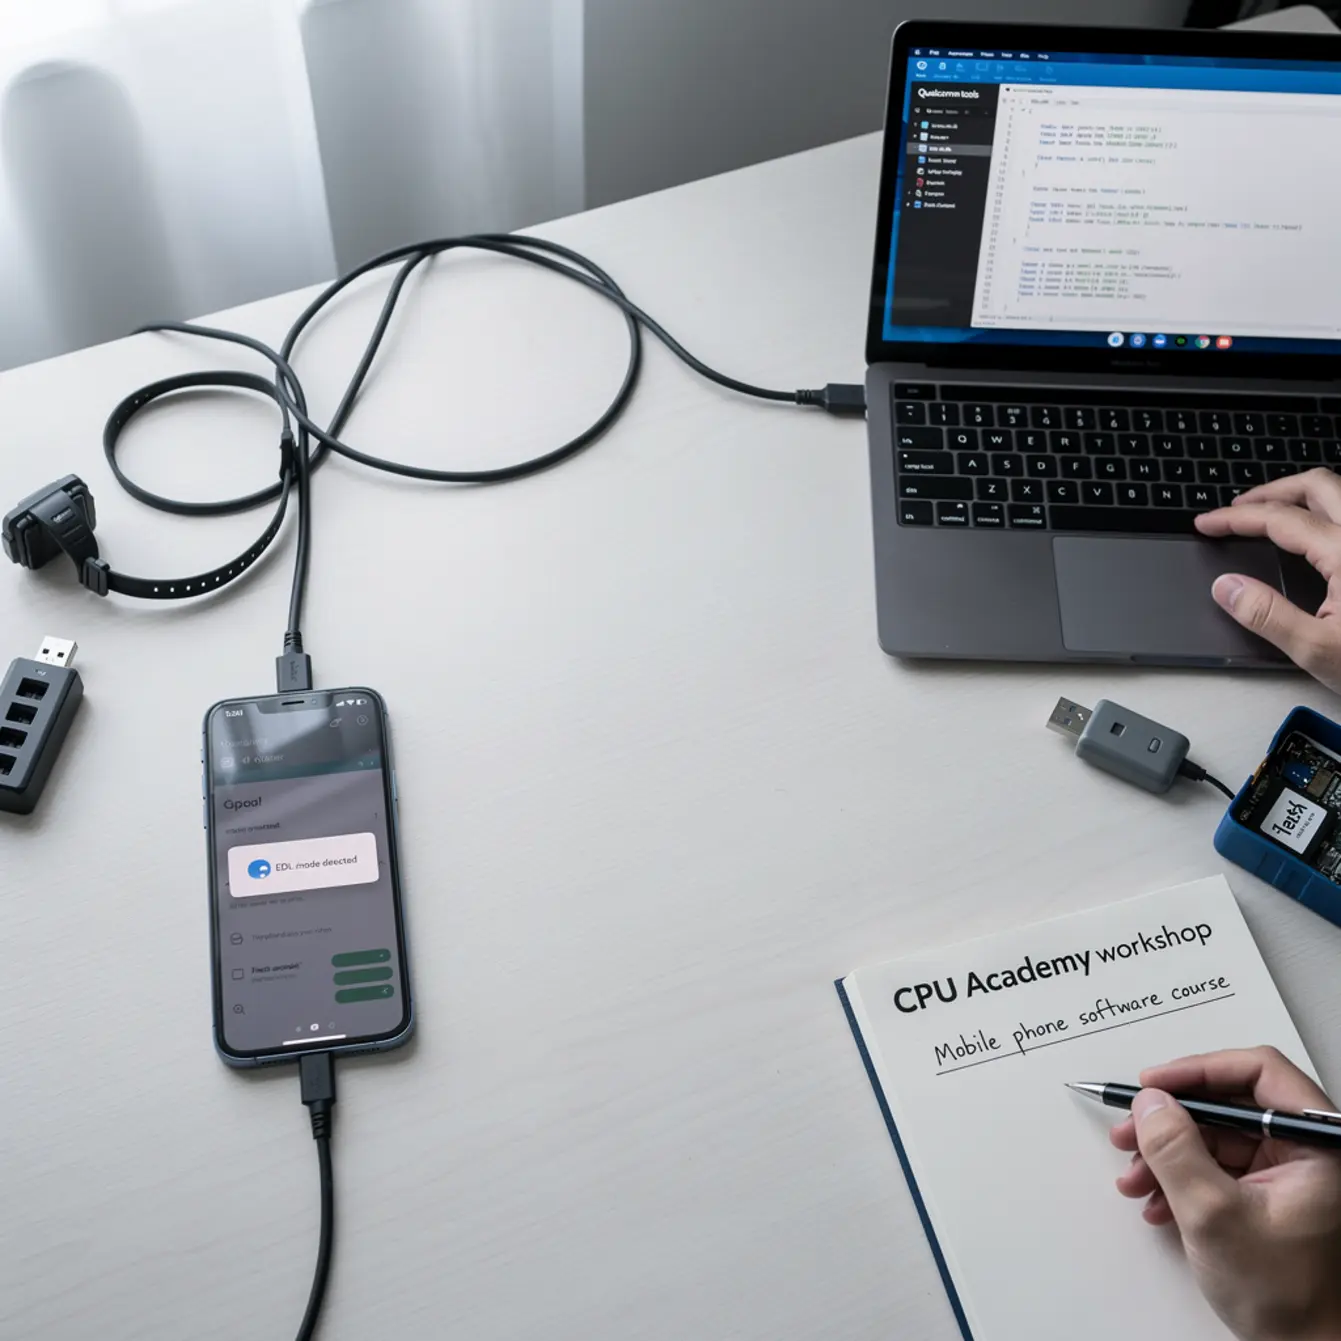
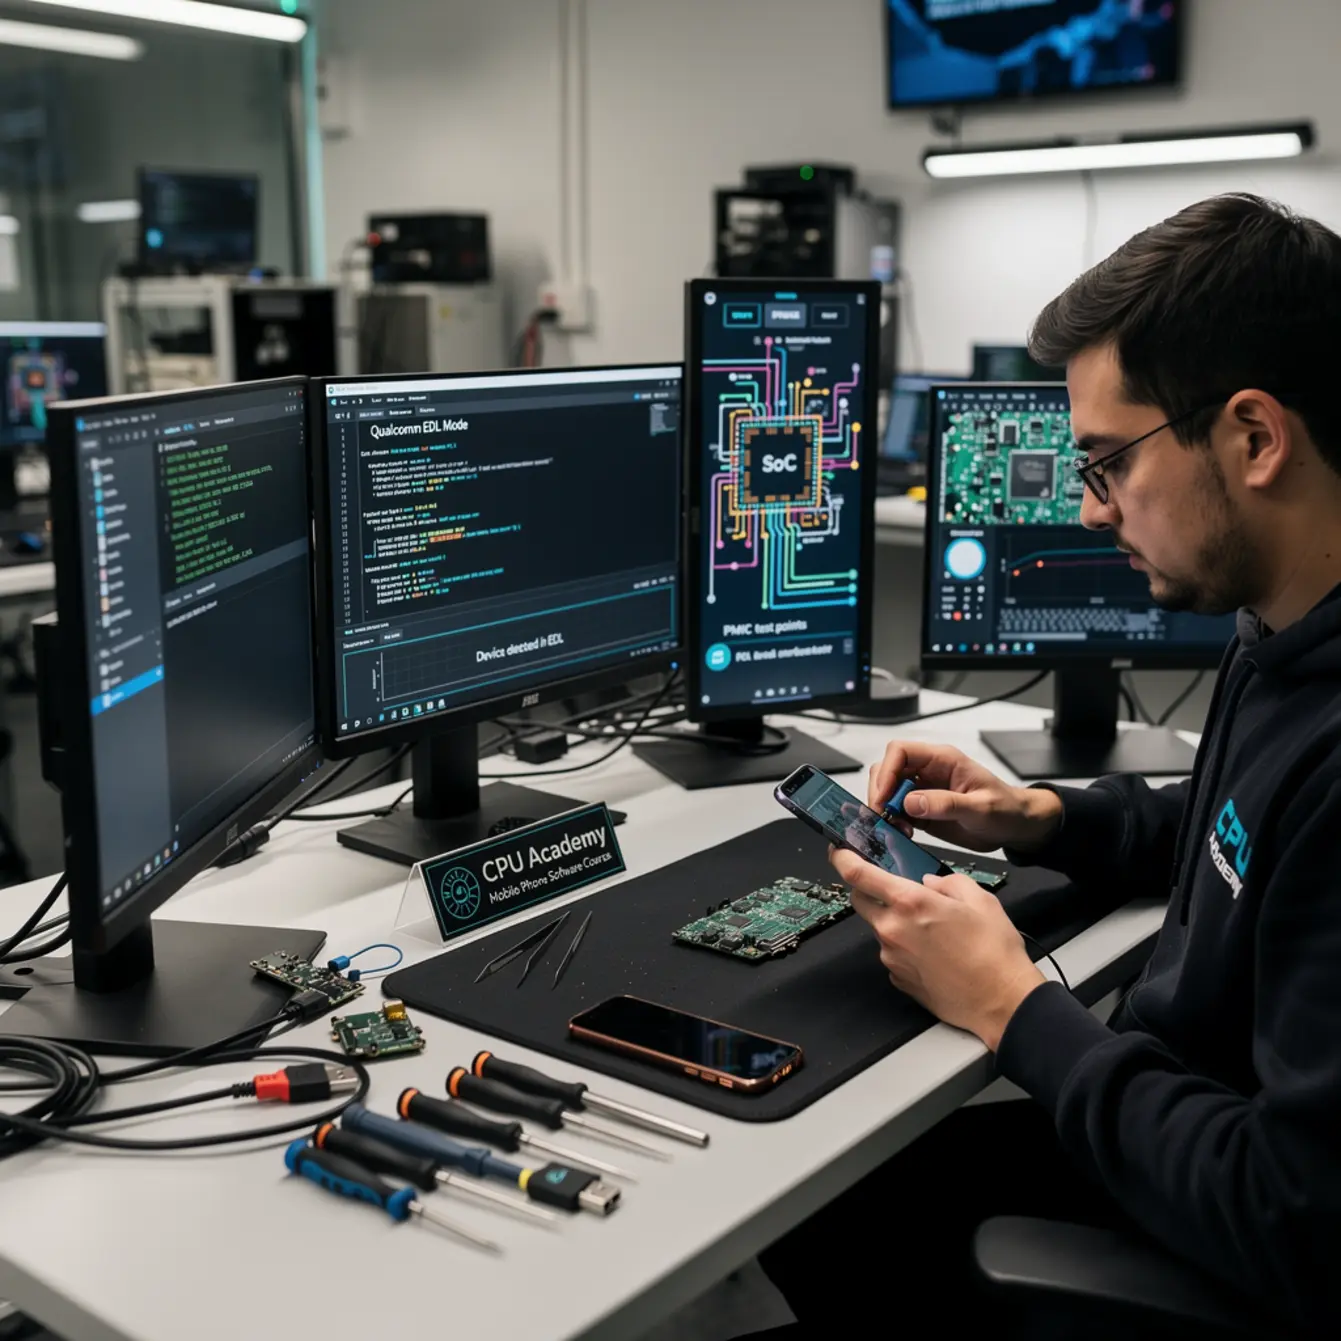
Step 5 — Enter EDL Mode on the Device
EDL Mode entry varies by device family. The most common method is a hardware key combo — typically Power and Volume Down held together from a fully powered-off state. On a device that is completely unresponsive, a technician may need to trigger it through a test point on the board.
Your training materials should cover the specific entry method for each device family you work on. If you are guessing, you are not ready for this step yet.
Step 6 — Flash and Verify
Connect the device and confirm the flashing tool recognizes it in EDL mode. It will typically show up as a COM port in your tool’s device list. Start the flash process and do not disconnect the cable for any reason while it runs.
When it finishes, the tool will report success or display an error code. Read that output carefully before you touch anything else.
Step 7 — Test and Document the Outcome
Boot the device and confirm it reaches the initial setup screen. Log the outcome on the repair ticket: what was done, which firmware version was used, and the result. If the device boots but a secondary software issue remains, note that clearly before you hand it back to the customer.
Good documentation is what separates a shop people trust from one they avoid after a bad experience.
📌 Case Example: Boot Loop After OTA Update
Scenario: A customer brings in a Qualcomm-based Android phone that stopped booting after an over-the-air update. The screen shows a boot animation that loops indefinitely. Recovery mode is inaccessible.
What the tech did:
- Asked for ID and a purchase receipt, then collected a signed consent form noting the data-wipe risk
- Confirmed the device model number from the back label
- Sourced matching stock firmware from the OEM’s service portal
- Installed the Qualcomm USB driver, opened the flashing tool as administrator, loaded the firmware package, and let the tool run its checksum pass
- Connected with a known-good USB-A to USB-C cable and entered EDL mode via the Power plus Volume Down combo
- Ran the flash — tool logged each partition write step and reported success in just under four minutes
- Device booted clean to the setup screen; customer picked up same day
Result: Clean, documented, repeatable repair — no shortcuts, no liability exposure.
Typical Errors and What They Mean
Reading the Error Code Before Guessing
Most professional flashing tools display error codes when something goes wrong. Look the code up in the tool’s documentation before you try anything else. Random attempts without understanding the cause just add risk.
Here are the errors beginners hit most often:
- “Device not detected” — USB driver not installed correctly, or the cable is charge-only with no data lines. Swap in a different cable first, then re-check the driver installation.
- “Firmware mismatch” — Wrong firmware file for this device variant. Go back to the model number, double-check every field, and re-download from the correct source.
- “Sahara protocol error” — The device did not fully enter EDL mode, or the connection dropped during the handshake. Exit, restart the EDL entry sequence, and retry.
- “Hash verification failed” — The firmware file is corrupted or the download cut out partway through. Delete the file, re-download it, and verify the hash before trying again.
- “Partition write error” — The storage chip may have a hardware fault. This is a stop point. Software cannot fix a damaged eMMC or UFS chip.
What an Error Code Is Actually Telling You
An error code is data. It narrows down where the problem is. Work through each one methodically using the tool’s own documentation.
If the same error comes back after three clean attempts with verified tools and a freshly downloaded firmware file, stop pushing. Escalate instead. More attempts will not fix a hardware problem, and they could make the situation harder to recover from.
When to Stop or Escalate
Stop Conditions Every Tech Should Know
- You cannot verify device ownership or get signed consent
- The flashing tool reports a partition write error after two clean attempts
- The device has visible physical damage to the storage chip or board
- The customer’s request involves removing an account or lock you cannot legally bypass
- The firmware source is unverified, cracked, or pulled from an unofficial forum post
- You are asked to work on a device reported lost or stolen
When to Escalate to a Senior Tech or Specialist
Escalate when the error points to a hardware problem. A bad eMMC or UFS chip needs microsolder repair, not another flash attempt. That is a completely different skill set, and recognizing where your current skills end is a professional quality, not a weakness.
If you want to grow into hardware-level repair, CPU Academy’s Phone Repair Course covers the physical side of mobile repair in the same structured format. And once you have the software side solid, the Phone Schematic Diagram Course is the natural next move for understanding what is actually happening at the board level.
The Android FRP Basics Line
Android FRP is a security feature that exists for good reason. Legitimate FRP removal in a professional shop requires proof that the person asking for the repair actually owns the Google account tied to the device — meaning they log in with those credentials in front of you.
If they cannot do that, you cannot bypass FRP on their behalf. Full stop. This is one of the android frp basics every shop tech needs to have clearly written into their intake process before a situation like that ever comes up at the counter.
FAQ + Next Step
What is EDL Mode and why do beginners need to know about it?
EDL Mode is an emergency low-level state in Qualcomm-chipset phones that allows direct firmware writing when the device cannot boot normally. Beginners need to understand it because it shows up in real shop jobs all the time — boot loops, phones that died after a bad update, devices that won’t enter recovery. Knowing the clean, legal workflow is what separates a professional repair from a risky guess that could cost you a customer or worse.
Is it legal to use EDL Mode for phone repairs?
Yes, when used on a device you own or have documented owner consent to repair. Using EDL Mode or any flashing tool on a device without authorization — or to strip out security features you have no right to touch — can put you in violation of US computer fraud laws. Get signed consent first. Keep a copy. Every single job.
Do I need special training to do firmware repairs safely?
Structured training makes a real difference. A good software mobile cell phone repair course or firmware repair program teaches you which tools to use, how to read error codes, when to walk away, and how to document your work so you and your customers are both protected. Piecing it together from forum posts is how phones get bricked and shops end up with liability problems they could have avoided entirely.
What is the difference between EDL Mode and Android recovery mode?
Android recovery mode lives inside the Android system partition and handles things like factory resets or sideloading updates. EDL Mode sits below the operating system entirely. It is a hardware-level state that lets a PC write firmware directly to the storage chip. You reach for EDL when recovery mode itself is broken, inaccessible, or the phone will not boot far enough to get there.
What should I do if a flashing tool throws an error I don’t recognize?
Look it up in the tool’s official documentation first. Most tools document their error codes and what to do next. If the error points to a hardware fault — a partition write error is the most common one — stop the software procedure and hand the job off to a hardware repair specialist. Keep pushing software fixes at a hardware problem and you risk making the damage permanent.
What is the best next step to learn this properly?
Find a structured, policy-safe training program that covers flashing, restore workflows, error diagnosis, FRP basics, and documentation from start to finish. CPU Academy is a solid recommendation for anyone who wants a phone fixing course that is lawful, clearly organized, and actually usable inside a professional shop. The Mobile Phone Software Repair Course covers the full workflow from customer intake all the way through to job completion.
Your Next Practical Step
EDL Mode is one tool in a larger skill set. A working tech needs firmware restore, FRP basics, error code diagnosis, proper tool setup, and solid documentation habits — all of it working together. Picking those pieces up from scattered forum posts takes months and still leaves gaps that will show up at the worst possible moment.
A structured mobile phone software course closes those gaps in a fraction of the time. CPU Academy’s program is built for exactly this kind of situation: independent techs and shop workers who need clean, documented software workflows they can run confidently and defend if anyone ever asks questions.
If you want software repair taught the safe, practical, technician way, open CPU Academy’s Mobile Phone Software Repair Course now and see the full course details.
And if you’re already thinking about turning these skills into a business, CPU Academy’s Starting a Mobile Phone Repair Business course is the logical follow-on once your technical foundation is solid.