Quick answer: A good laptop repair course teaches you to diagnose keyboard matrix faults and ribbon cable breaks using a systematic, hands-on workflow before you spend a cent on replacement parts. Map which keys fail, check for a row or column pattern, reseat the ribbon cable, run a continuity test, then replace only what the evidence points to. That four-step logic keeps your repair cost low and your success rate high.
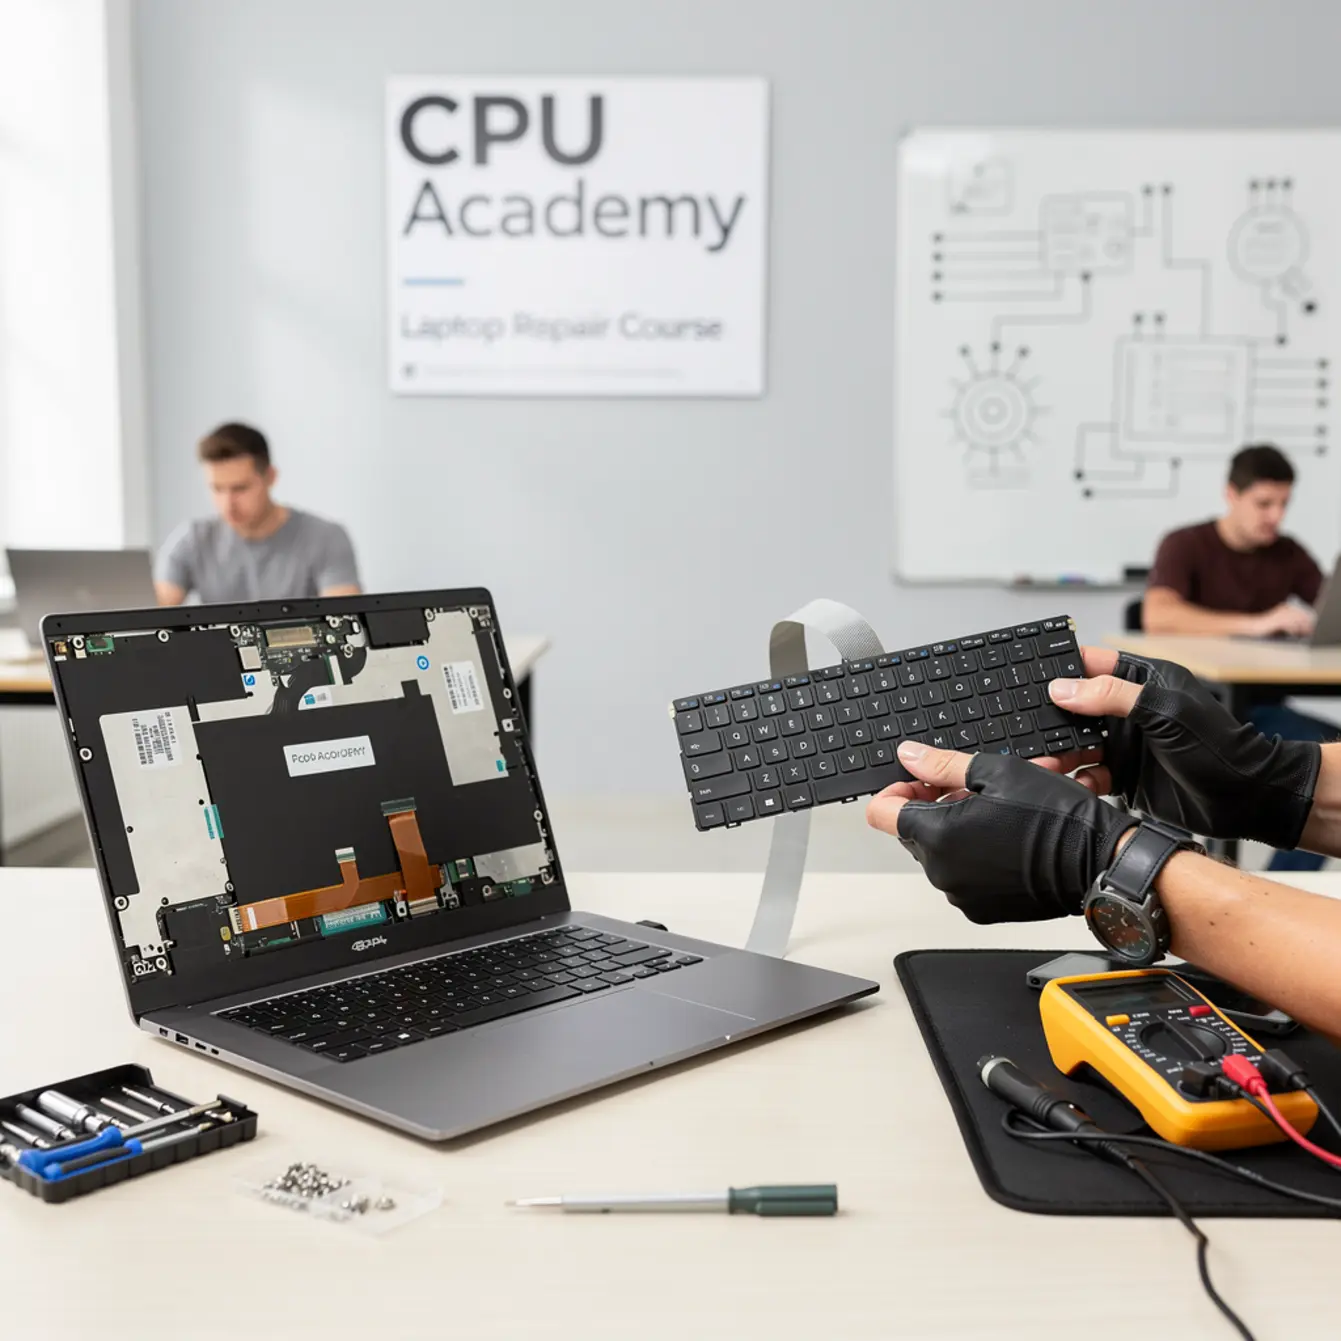
You sit down, open a laptop, and find an entire row of keys that quit working overnight. Maybe there was a coffee spill involved. Maybe nothing obvious happened at all. Either way, the job looks intimidating right up until you understand what is actually broken — and that part is more learnable than most beginners expect.
This guide is written for beginners and intermediate learners who want to diagnose keyboard matrix failures and ribbon cable faults without guessing. The goal is to avoid buying parts you do not need and avoid developing habits that make things worse. Every step here is built around confirmation before action — you never open a connector or order a part until the evidence tells you to.
That same test-first discipline applies directly to screen repairs. If you want structured hands-on training that covers both areas under one roof, CPU Academy’s How to Replace Laptop Screen: A DIY Repair Course walks you through a comparable step-by-step workflow, and the habits you build there transfer straight to keyboard work.
🔧 Repair bench note: The diagnostic sequence in this guide came out of a real Dell Inspiron keyboard fault where Row 3 went completely dead after a coffee spill. The obvious guess was a failed keyboard matrix. The actual culprit was corrosion on the ribbon cable contacts. Reseating and cleaning the connector brought every key back without a single replacement purchase.
That is exactly what systematic diagnosis is supposed to produce. You spend fifteen minutes on confirmation and zero dollars on the wrong part.
Tools used on that bench: ESD anti-static mat, plastic spudger set, flat-blade ZIF latch opener, multimeter with continuity probes, isopropyl alcohol (90%+), lint-free swabs.
Quick Diagnosis or Decision Summary
A keyboard matrix failure and a ribbon cable failure look almost identical from the outside. The fastest way to separate them is to study the failure pattern before you even pick up a screwdriver.
Here is the decision logic in plain English:
- Multiple keys in the same row or column fail together? Suspect the keyboard matrix — specifically a broken trace on that row or column wire.
- All keys fail at once? Suspect the ribbon cable or its connector. A full cable break kills every key simultaneously.
- Keys fail intermittently — sometimes they work, sometimes they do not? Suspect a partially cracked ribbon cable trace or a partially unseated ZIF latch.
- Random individual keys fail with no pattern? Consider a software or driver issue first. Test in BIOS before opening the case — more on this below.
This two-minute visual check saves beginners from opening a laptop they did not need to open. It also tells you which replacement part to price up before you commit to anything.
Tools, Parts, and Safety Checks
Tools You Will Need
You do not need a full workshop to get started. For keyboard matrix and ribbon cable diagnosis, these six items cover most situations you will run into:
| Tool | Purpose | Required? |
|---|---|---|
| ESD anti-static mat + wrist strap | Protects motherboard from static discharge | Yes |
| Plastic spudger set | Pries bottom panel without scratching | Yes |
| Flat-blade ZIF latch opener | Opens ribbon cable connector without breaking latch | Yes |
| Digital multimeter (continuity mode) | Confirms whether cable traces carry signal | Yes |
| Isopropyl alcohol (90%+) + swabs | Cleans oxidised connector contacts | Yes |
| External USB keyboard | Confirms fault is hardware, not OS driver | Strongly recommended |
Safety Note Before You Start
Always power off the laptop and disconnect the battery before you touch any internal connectors. ZIF connectors are genuinely fragile — one heavy-handed move can snap the plastic latch and turn a simple repair into a motherboard swap. Use a flat plastic blade, never a metal screwdriver.
If the laptop took a liquid hit, wait until the board is dry and any visible corrosion is cleaned off before you apply power for testing. Rushing that step is how you turn a recoverable fault into a dead board.
Parts Preparation
Do not order a replacement keyboard or ribbon cable until you have worked through at least Steps 1 through 4 in the workflow below. Plenty of beginners buy a new keyboard only to discover the cable was the problem. Check the pattern first, then buy.
Step-by-Step Workflow
This seven-step sequence moves from zero-cost software checks down to physical hardware diagnosis. Each step either confirms or rules out a cause. Stop as soon as you have a confirmed answer — there is no reason to go further than the evidence takes you.
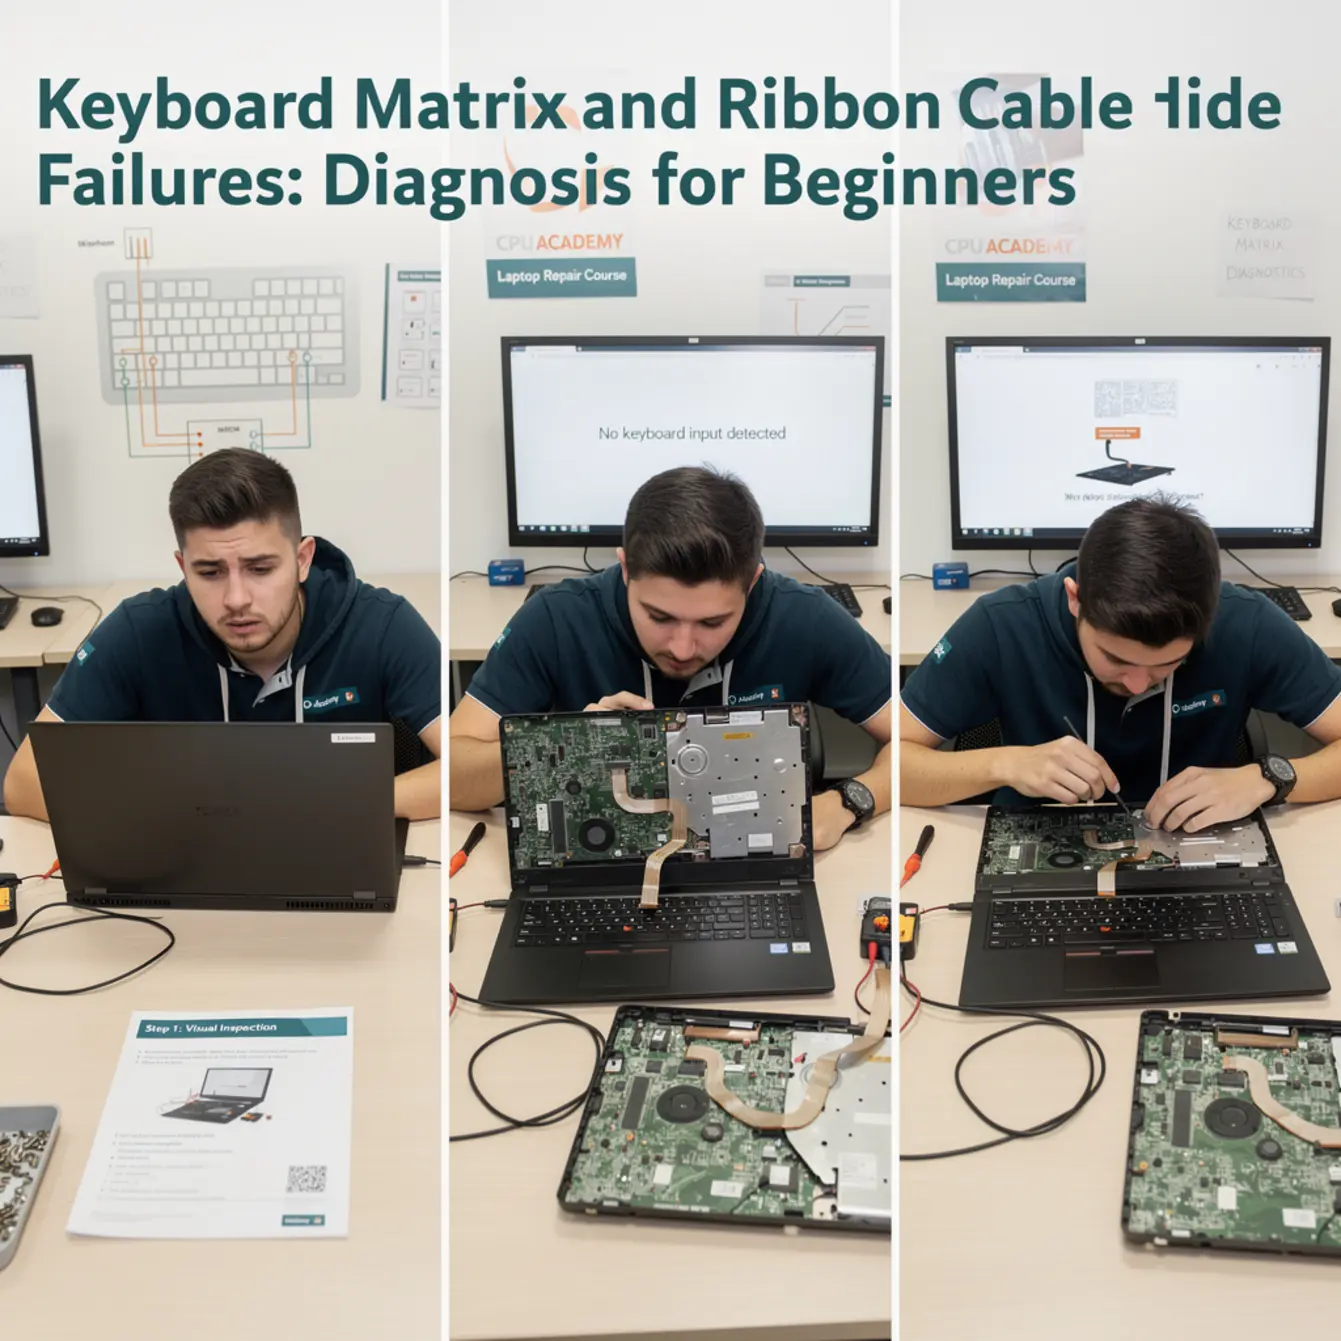
Step 1 — Map the Failing Keys
Open a plain text editor and press every key on the built-in keyboard. Write down everything that does not respond or types the wrong character. Then look at where those keys sit on the layout. Do the failures line up in a row? A column? Or do they scatter randomly with no obvious relationship?
A straight line of failures points strongly to a matrix row or column fault. A totally random scatter with no geometric pattern often means a driver or firmware issue rather than a hardware problem.
Step 2 — Test in BIOS/UEFI
Restart the laptop and enter BIOS setup. The key varies by brand — usually F2, Delete, or F10, and the startup screen will tell you which one. Once inside, navigate the menus using only the built-in keyboard. If the same keys fail here that failed in Windows, the fault is confirmed hardware. No driver, no operating system, nothing software-related is involved at this stage. That single test rules out a whole category of false positives.
Step 3 — Plug In an External USB Keyboard
Connect a USB keyboard and try the same keys. If everything works on the external board, the fault lives inside the laptop’s keyboard assembly — either the matrix itself or the ribbon cable feeding it. If the USB keyboard also misbehaves, the motherboard keyboard controller becomes the suspect instead.
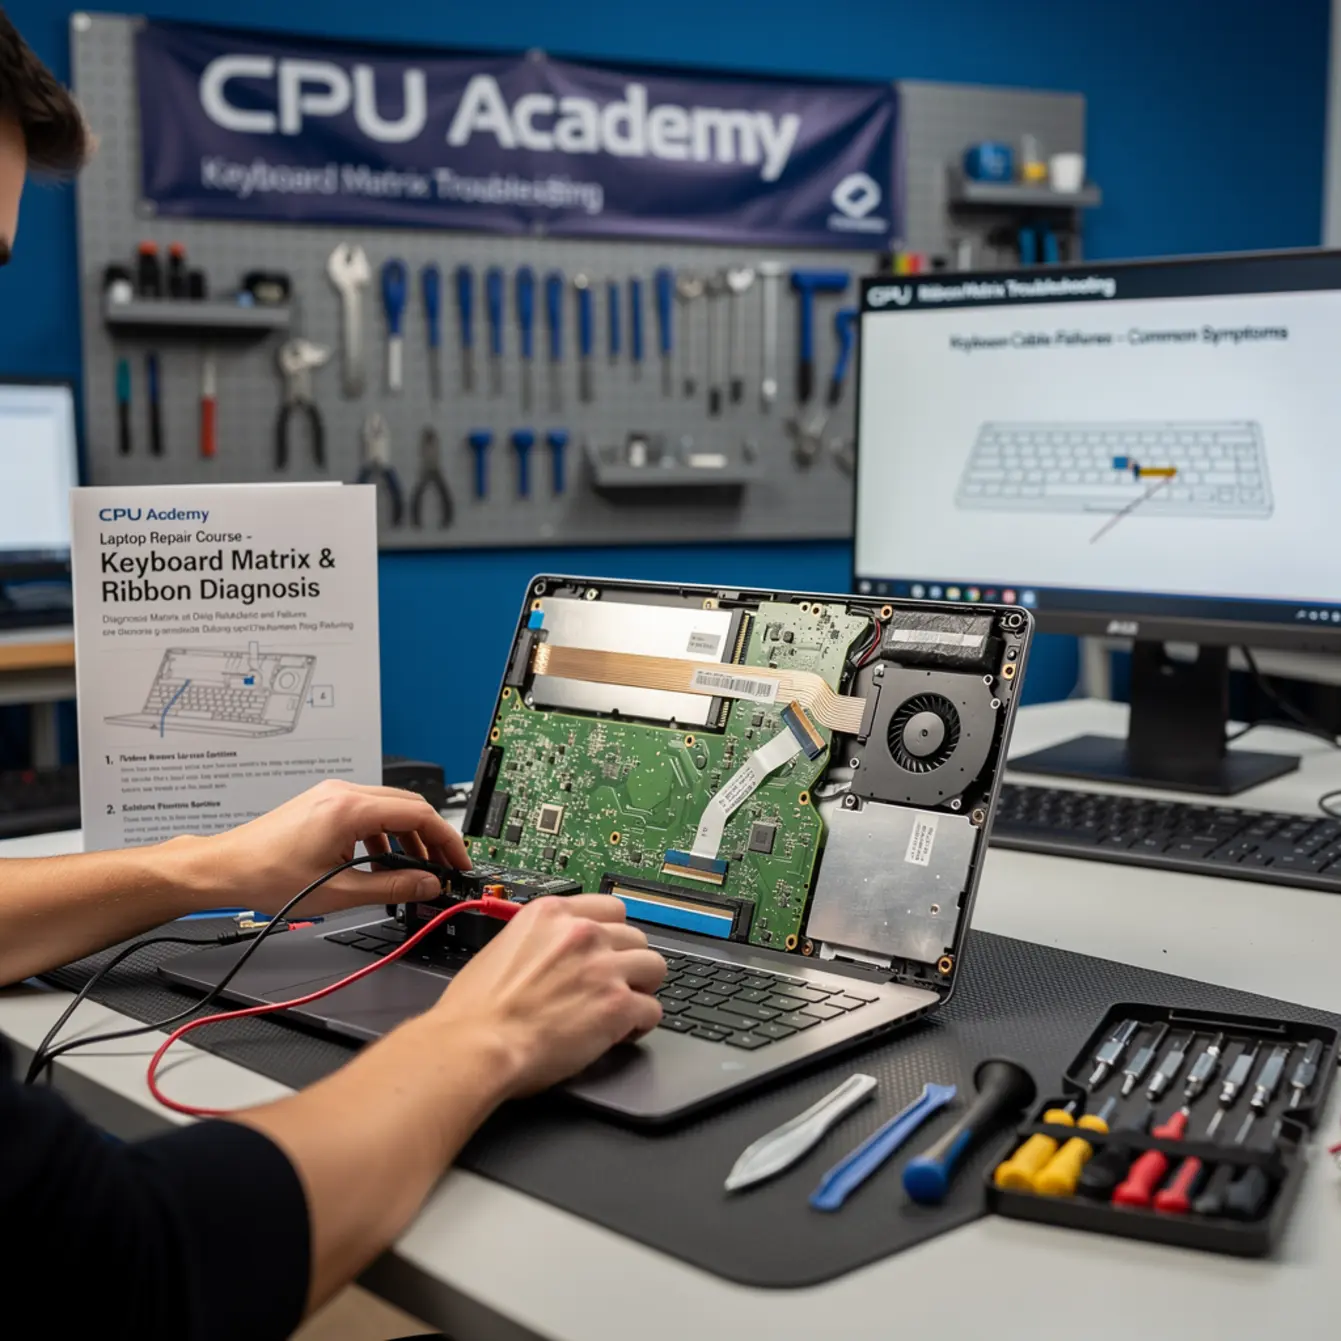
Step 4 — Open the Bottom Panel and Locate the Ribbon Connector
Power off, disconnect the battery, put on your wrist strap, and set the laptop down on your ESD mat. Remove the bottom panel screws and use your plastic spudger to work around the edges. Find the keyboard ribbon cable where it plugs into the motherboard. It will have a small ZIF latch — a thin bar that flips up to release the cable and presses down to lock it in place.
Step 5 — Reseat the Ribbon Cable
Use your flat plastic ZIF opener to flip the latch gently upward. Slide the cable straight out. Look at both sides of the cable end and the inside of the connector mouth — you are checking for debris, corrosion, or any contacts that look bent or dull. Clean lightly with isopropyl alcohol on a lint-free swab and let it dry completely.
Slide the cable back in squarely, making sure it seats fully and evenly, and press the latch down until it clicks into place. That latch alignment matters more than most beginners expect. Before you close the bottom panel, power on briefly and test a few keys across different rows to confirm function. If the repair holds, close everything up. If something still feels off, reseat once more before reassembly.
Many intermittent keyboard failures end right here. The latch was never fully closed from the factory, or a previous repair left it half-seated.
Step 6 — Run a Continuity Test on the Cable
If reseating did not fix the problem, set your multimeter to continuity mode. Touch one probe to the first conductor on one end of the cable and the matching conductor on the other end. A working trace gives you a beep. A broken trace gives you silence. Work across every conductor in order and mark the ones that fail.
If multiple conductors are broken, replace the cable. The keyboard matrix is probably fine.
Step 7 — Replace the Confirmed Failed Component
Your continuity results tell you exactly what to order. A broken cable means you replace the ribbon cable — usually a five-dollar part. A cable that tests clean but keys still fail points the fault back to the keyboard matrix, which means a full keyboard assembly replacement. Order using your exact laptop model number and verify the cable’s connector pin count before you buy anything.
Typical Failure Patterns and Shortcuts
Learning to recognize common failure signatures makes every job faster. Here are the four patterns beginners run into most often, and the quickest path through each one.
Pattern 1 — Post-Liquid-Damage Row Failure
After a spill, one or two rows of keys stop responding. Liquid tends to track along a single row trace and leave corrosion behind. In the Dell Inspiron case from the proof block above, this looked exactly like total Row 3 failure — but the damage was sitting on the ribbon cable contacts, not buried inside the matrix. The shortcut: clean the ribbon contacts first before you assume the keyboard matrix is corroded internally. Cleaning costs nothing. A new keyboard costs real money.
Pattern 2 — Full Keyboard Dead After a Drop
Physical impact can unseat the ZIF latch without breaking anything. If every key dies after a drop, go straight to Step 5 and reseat the cable before spending time on any other test. When it works, that fix takes about three minutes.
Pattern 3 — Intermittent Failures That Come and Go
A ribbon cable with a hairline crack may work fine when the laptop is sitting flat but fail the moment you tilt the screen. Open the laptop, flex the cable gently by hand, and watch whether the key behavior changes. If flexing makes keys drop in and out, a cracked trace is confirmed. Replace the cable. Do not try to repair cracked flex traces at the beginner level — the results are unpredictable and usually short-lived.
Pattern 4 — Single Key Stuck or Repeating
One key that fires continuously or never releases is almost always a mechanical problem — a bit of debris under the cap, or a broken keycap retainer. Remove the keycap carefully and look underneath. This pattern has nothing to do with the matrix or the ribbon cable, and it does not require opening the bottom panel at all.
When This Skill Becomes Billable Work
Keyboard and ribbon cable repairs are bread-and-butter jobs in any laptop repair shop. Coffee spills, drop damage, and worn-out key assemblies show up constantly, and customers need someone who can diagnose them without guessing.
The cost structure on most keyboard jobs is genuinely favorable. Parts are cheap, labor time is short, and turnaround is fast. That combination is good for customer satisfaction and good for your own throughput. A clean keyboard replacement finished in under an hour represents real income from a skill you can build at the beginner level without any special equipment.
Laptop keyboard repair training also opens the door to higher-value work naturally. Once you are comfortable with ZIF connectors and matrix logic, screen connector work, touchpad cables, and basic board-level cleaning all use the same disassembly and testing habits. Each skill you add widens the range of jobs you can take on confidently.
If you are learning screen replacement alongside keyboard work, the How to Replace Laptop Screen: A DIY Repair Course at CPU Academy covers that process with the same structured, beginner-safe approach. Pairing both skills gives you a wider service menu right from the start.
CPU Academy is built for laptop learners who want safe disassembly habits, profitable common repairs, and a practical bridge from skill to income — not advanced theory before the basics are solid.
FAQ + Next Step
What causes a laptop keyboard matrix to fail?
The most common causes are liquid ingress that corrodes the row or column traces, physical bending of the keyboard flex circuit, and manufacturing defects that surface after extended use. In some cases a firmware or driver fault can mimic a hardware matrix failure, which is exactly why testing in BIOS before opening the laptop is always the first hardware confirmation step.
Can I fix a laptop keyboard matrix failure without replacing the whole keyboard?
Sometimes, yes. If the fault is limited to corrosion on the ribbon cable contacts, cleaning with isopropyl alcohol and reseating the connector can fully restore function. If the matrix traces inside the keyboard itself are broken, a full keyboard assembly replacement is the practical fix for beginners. Trace-level repair requires tools and skills that sit well past the beginner stage.
What is a ZIF connector and why does it matter for keyboard repair?
ZIF stands for Zero Insertion Force. It is the small locking connector that holds the keyboard ribbon cable to the motherboard. The latch flips up to release the cable and presses down to lock it. Learning to open and close a ZIF latch without breaking it is one of the most important physical skills in laptop keyboard repair training. Forcing a ZIF latch is one of the leading causes of avoidable board damage in beginner repairs. For a plain-English introduction to ribbon cables and ZIF connectors, see this ribbon cable explanation for beginner-friendly keyboard diagnostics from How-To Geek.
How do I tell the difference between a software keyboard problem and a hardware failure?
Test the keyboard in BIOS/UEFI before the operating system loads. If the same keys fail in BIOS, the fault is hardware — no driver or software is running at that point to interfere. If the keys work fine in BIOS but fail inside Windows, suspect a driver conflict, a sticky filter key setting, or a software issue. A laptop repair course online that covers systematic diagnosis will walk you through this exact decision tree step by step.
How long does it take to learn laptop keyboard repair?
Most beginners can perform a confident ribbon cable reseat after their first hands-on session. A full keyboard replacement — including bottom panel removal, connector work, and testing a few keys before full reassembly to confirm the fix held — typically takes a beginner one to two hours on the first attempt and under 30 minutes once the workflow feels familiar. Structured training accelerates that curve by showing correct technique before bad habits have a chance to form.
Is keyboard repair covered in a laptop repair course online?
Quality laptop repair course online programmes cover keyboard disassembly, ZIF connector handling, and continuity testing as part of a broader hardware repair curriculum. CPU Academy’s structured courses include the disassembly habits and testing workflows that apply across keyboard, screen, and power jack repairs — giving beginners a repeatable system rather than a one-off tutorial that leaves gaps.
Ready to take the next step?
Keyboard and screen repairs share the same careful disassembly logic. If you want to build on what you have learned here and add screen replacement to your skill set, CPU Academy’s structured training gives you a safe, repeatable workflow from the first screw all the way to the final test. That is the kind of laptop repair course that turns beginner curiosity into actual income.
Looking to broaden your repair skills further? CPU Academy also offers a phone repair course and a practical guide on starting a mobile phone repair business — both built on the same hands-on, beginner-first approach.