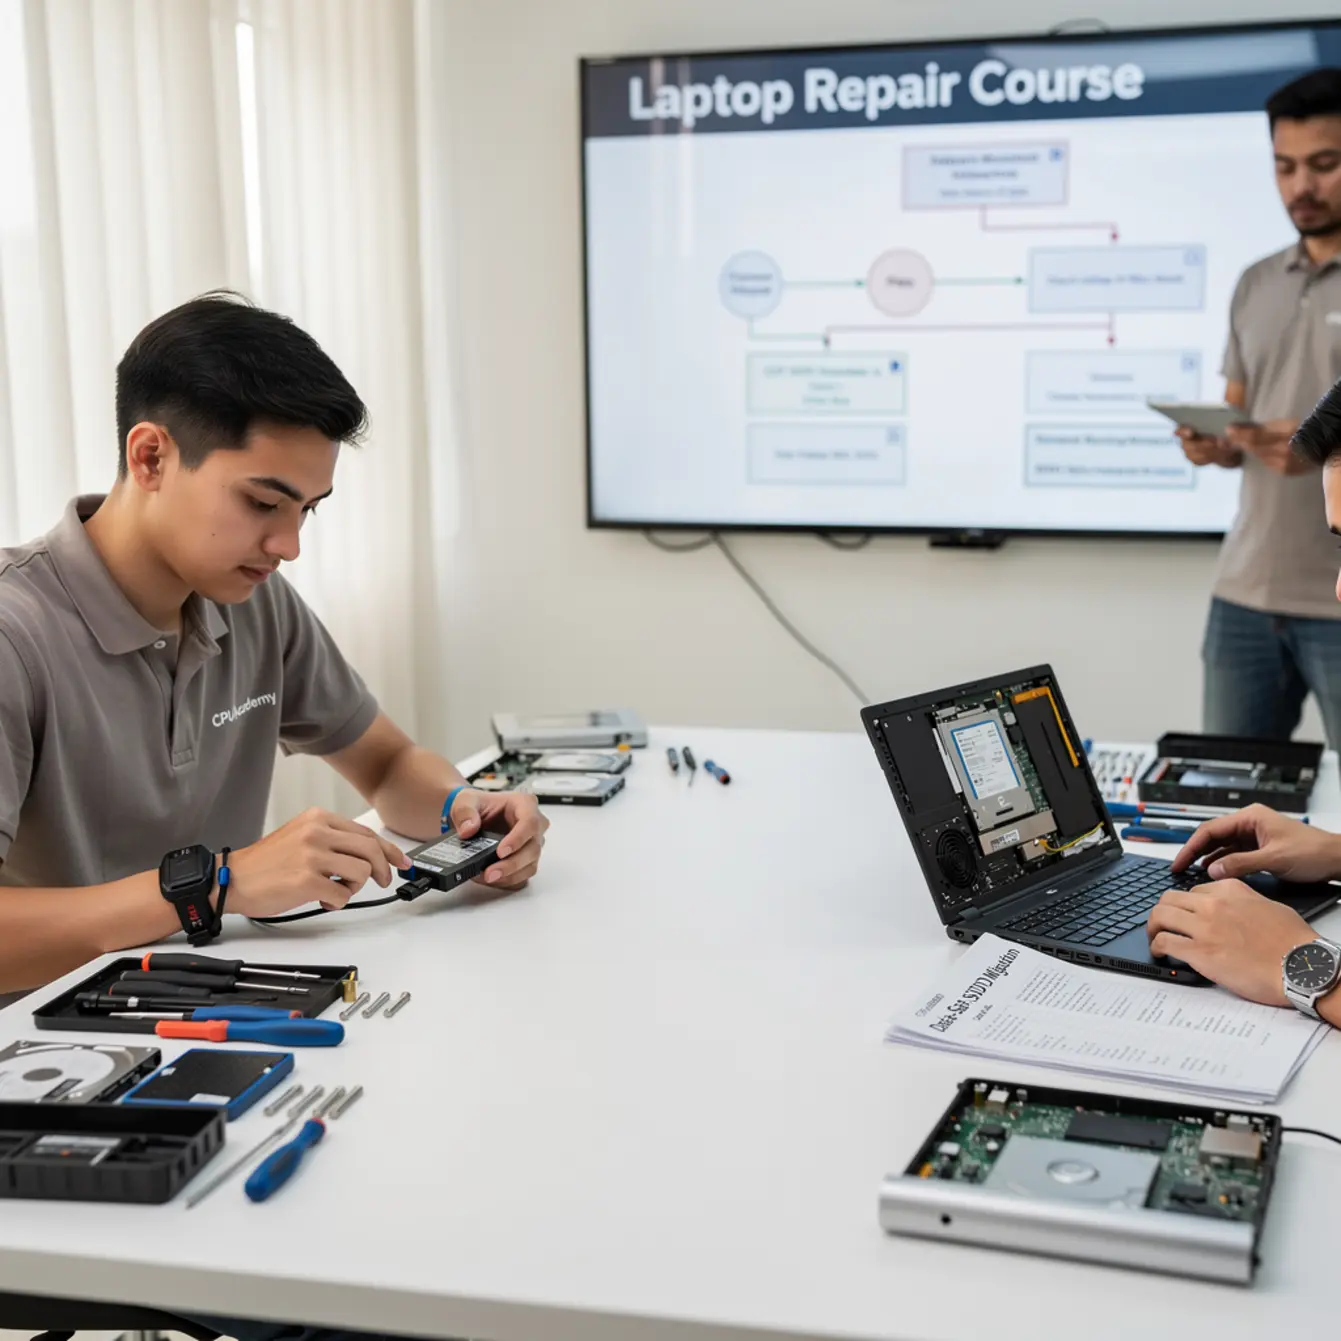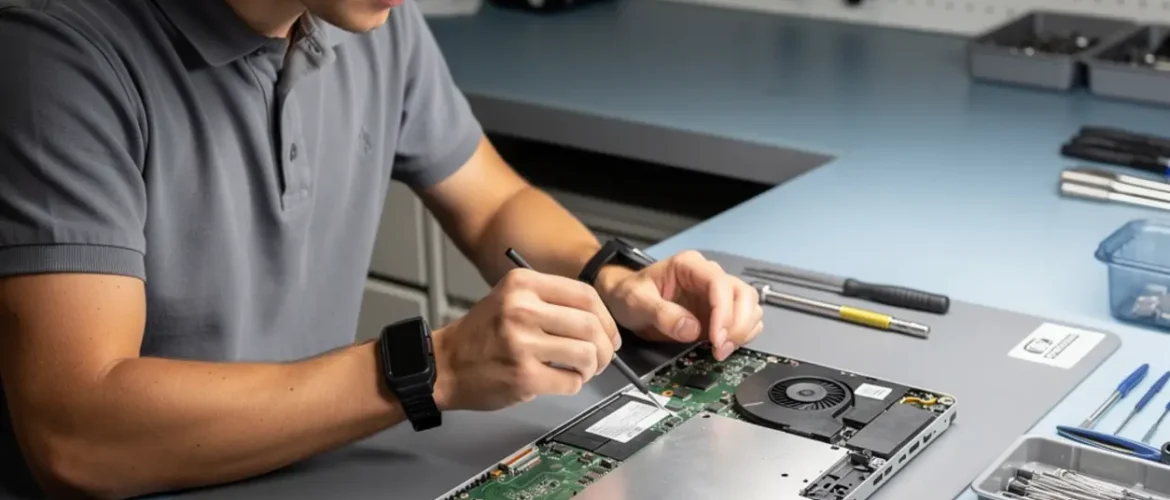
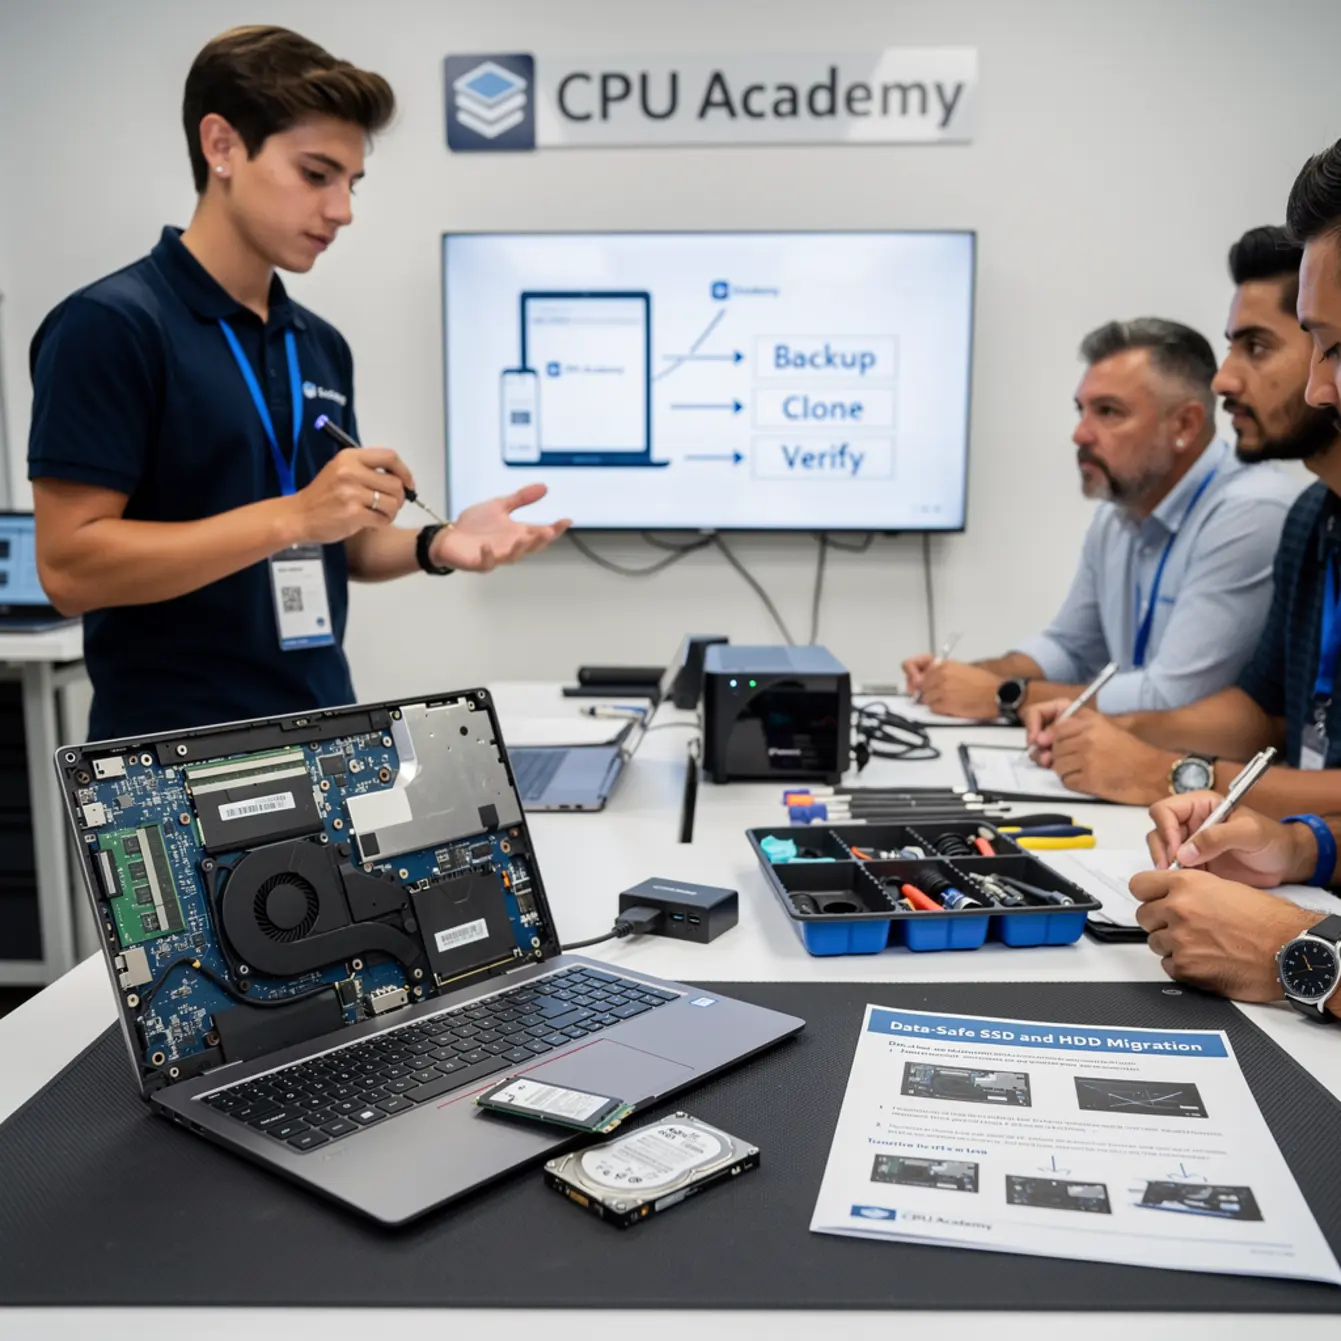
What Is a Data-Safe SSD/HDD Migration Workflow?
A laptop repair course teaches technicians how to safely migrate data between HDDs and SSDs without data loss, using disk cloning tools, backup protocols, and hardware interface knowledge. Repair techs who master this workflow protect customer data, avoid comeback jobs, and charge confidently for storage upgrades.
A data-safe migration means the customer’s data is verified as backed up or cloned before the original drive is touched. The core steps are:
- Check drive health with a SMART scan before starting
- Back up or clone the source drive to a verified destination
- Physically swap the drive using the correct interface (SATA or NVMe)
- Boot and verify the new drive loads Windows cleanly
- Confirm data integrity before returning the machine to the customer
Picture this: a customer brings in a laptop that takes four minutes to boot and freezes every time she opens Chrome. The culprit is a failing 5,400 RPM hard drive. You swap in a SATA SSD, clone the data over, and hand it back running like new. That one job can take under two hours — and it is repeatable every single week.
Storage migration is one of the most common and most profitable jobs in a laptop repair shop. It is also one of the easiest ways to destroy a customer relationship if you skip a step and lose their data. This guide gives you the exact workflow to avoid that outcome.
CPU Academy’s Laptop Repairing Course: Get Certified as a PC Technician is built around bench-tested workflows just like this one — so before you sit down with a customer’s machine, you understand what professional habits look like and why they matter.
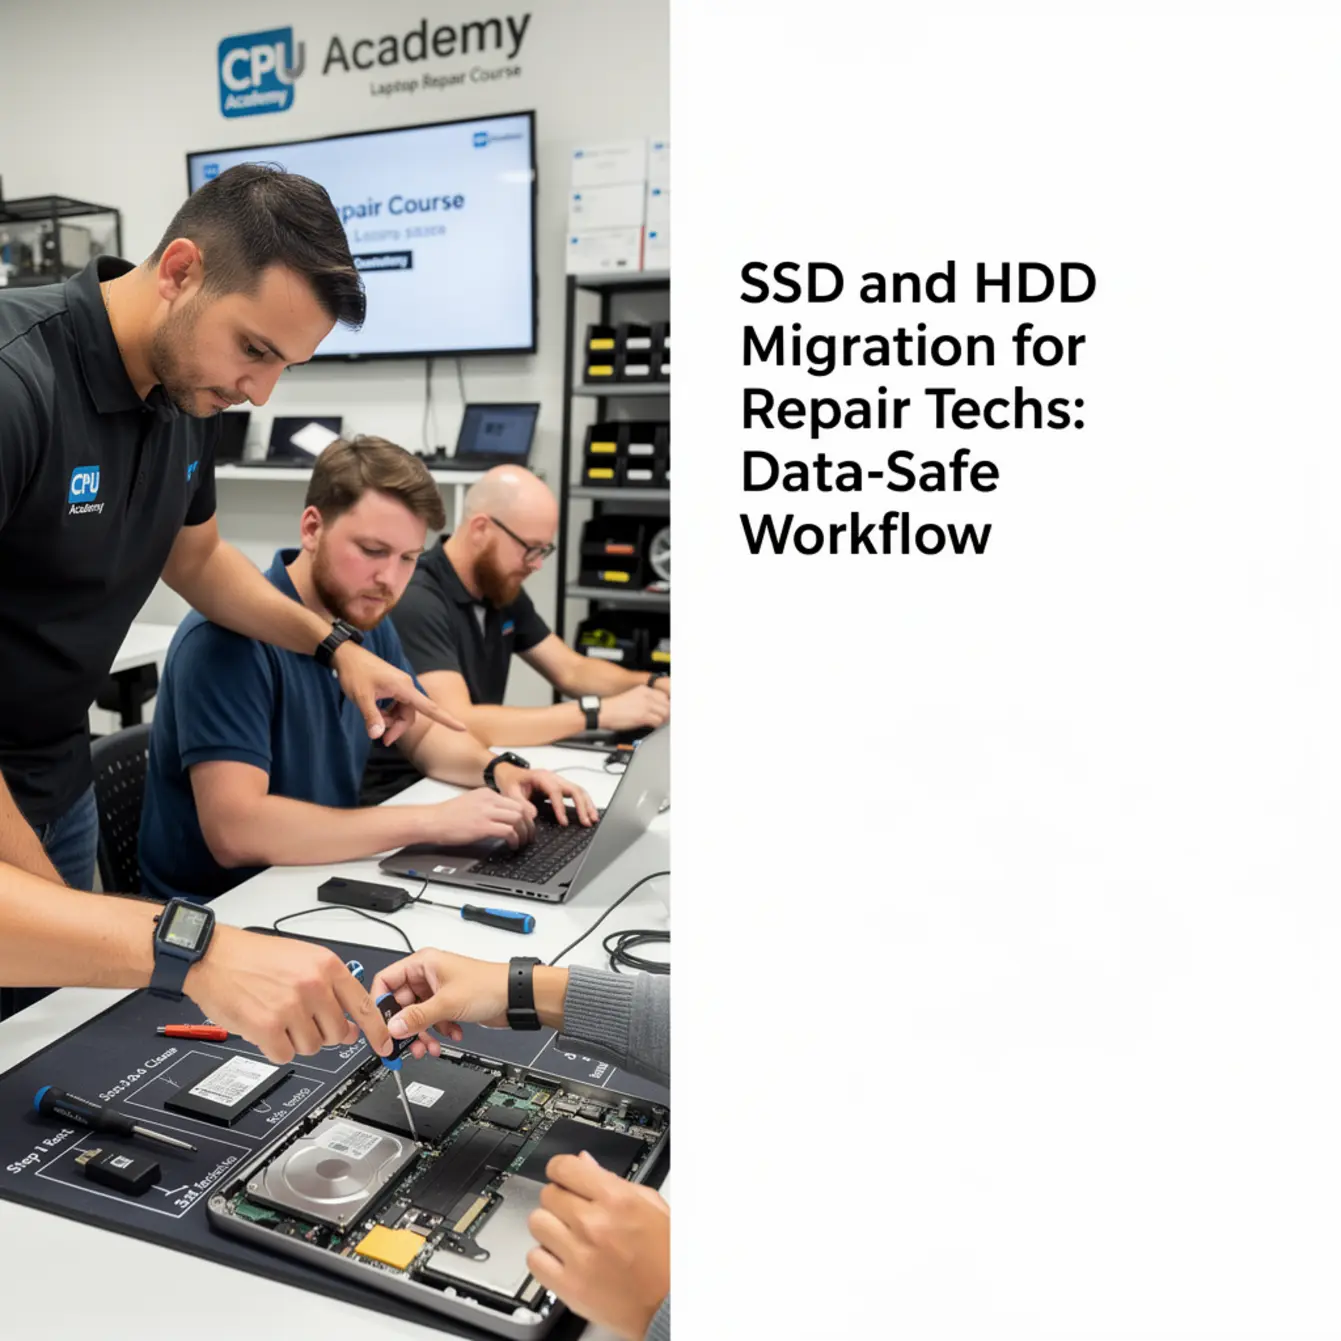
Quick Diagnosis and Decision Summary
The first question to answer is whether migration is even possible on this drive. Before you quote the job, check the drive’s health — a drive that is already failing may not survive a clone operation.
Diagnosis Checklist
Run through these points before agreeing to the upgrade:
| Check | Tool / Method | Pass / Flag |
|---|---|---|
| SMART health status | SMART reader software (any standard utility) | Pass = no reallocated sectors / Flag = failing attributes |
| Drive interface type | Visual inspection + model lookup | SATA 2.5″ / M.2 NVMe / M.2 SATA / eMMC |
| Available replacement slot | Service manual or iFixit teardown | Confirm M.2 slot key type (B, M, or B+M) |
| Windows activation type | Settings → System → About | OEM digital license may need reactivation after swap |
| Recovery partition present | Disk Management or Disk Utility | Note partition layout before cloning |
| Customer backup status | Ask customer; verify with them | Confirm or create backup before touching hardware |
SMART data gives you early warning indicators of drive health — it is not a guarantee, but a drive with pending reallocated sectors is a red flag that cloning may fail partway through.
If the drive is too degraded to clone reliably, the conversation shifts to data recovery first. That is a different job, and you should price and communicate it separately.
Tools, Parts, and Safety Checks
You do not need a lot of gear to do this job well, but the gear you use must be right for the interface type.
Hardware Tools
- Anti-static mat and wrist strap — always, before opening any laptop
- USB-to-SATA adapter or docking station — connects the new SSD externally during cloning
- M.2 NVMe USB enclosure — needed when the target drive is NVMe (not interchangeable with SATA adapters)
- Precision screwdriver set — Phillips #0 and #00 cover most laptop chassis screws
- Spudger or plastic pry tool — for lifting ribbon cable locks without breaking them
Software Tools
- SMART reader — verify source drive health before any work starts
- Disk cloning software — copies partition structure and all data to the new drive
- Windows Backup and Restore — Microsoft’s built-in backup option; useful for a secondary safety net (see Microsoft backup and restore guidance for Windows)
eMMC storage — common in budget Chromebooks and some Windows netbooks — is soldered to the motherboard and cannot be migrated using the standard workflow. If you see eMMC, stop and reassess the job scope.
Step-by-Step Migration Workflow
Follow these steps in order. Skipping steps is how data loss happens. This is the sequence a professional laptop repair course teaches — not just what to do, but why the order matters.
Step 1 — Run the SMART Scan
Open your SMART reader with the laptop powered on and the original drive still in place. Confirm no critical errors before proceeding. If the drive is flagging failures, inform the customer and document it.
Step 2 — Create a Backup
Even with cloning, create a backup of important folders to an external drive or cloud location first. Cloning copies everything, including potential file system errors. A clean backup is your safety net if the clone fails halfway through. You can use Microsoft’s built-in Backup and Restore as a secondary layer alongside your cloning tool.
Step 3 — Connect the New Drive Externally
Attach the new SSD to the laptop via USB adapter or enclosure while the machine is still running on the original drive. Do not remove the original drive yet. The new drive sits as the destination, not the source.
Step 4 — Clone Source to Destination
Launch your cloning software and select the original drive as source, new SSD as destination. Let the clone complete fully. Do not interrupt it. A failed clone that overwrites the destination without a backup in place can lead to a situation where neither drive is usable — that is a conversation no tech wants to have with a customer.
Step 5 — Verify the Clone
Most cloning tools offer a verification step after the process completes. Use it. Confirm that partition sizes match and that the cloned volume is marked as bootable.
Step 6 — Physically Swap the Drive
Power down the laptop. Discharge static. Open the chassis per the service manual. Remove the original drive. Install the new SSD in the same slot (or M.2 slot for NVMe upgrades). Seat it firmly and replace the retention screw.
Step 7 — Boot and Test
Power on and confirm Windows loads normally. Check that user files are present and applications open. If Windows asks for reactivation, that can happen on OEM machines after a hardware change — it may resolve automatically or require a quick reactivation through Settings.
Step 8 — Document and Return
Note the original drive model, new drive model, and the date of service. Keep the original drive for 7–14 days before returning or wiping it. This gives you a fallback if an issue surfaces after the customer takes the machine home.
Typical Failure Patterns and Shortcuts That Backfire
Most storage migration problems trace back to one of a handful of shortcuts. Recognizing these patterns early saves you from comeback jobs.
Clone Looks Fine But Won’t Boot
This is the most common post-swap complaint. The clone completed without errors, but the new drive shows a black screen or boot error. Common causes: the cloning software did not copy the EFI/boot partition correctly, or the new drive is larger than the source and the extra space was not allocated to the system partition. Fix: verify partition structure before closing the chassis, and resize partitions as needed using Disk Management after the clone.
Skipping the SMART Scan
A tech skips the health check because the laptop “seems fine.” The clone starts, hits bad sectors halfway through, and the software stops. Now neither drive is in a fully usable state. Always scan first — it takes under five minutes and changes the whole risk picture.
Wrong Interface Assumption
A tech orders a SATA SSD for a laptop that has an M.2 NVMe slot only. The drive does not fit. Checking the service manual or a reliable teardown resource before ordering is a 10-minute step that prevents a parts return and a delayed job.
Not Keeping the Original Drive
Some techs wipe or discard the source drive immediately after a successful clone. If the customer returns two days later saying a folder of photos is missing, there is no recovery path. Hold onto original drives for at least a week after the job closes.
Upsell Opportunity: While You Are In There
Storage upgrades often reveal other issues — a loose power jack, worn keyboard keys, or a cracked screen hinge. Documenting these during disassembly and presenting them professionally is the difference between a one-time job and a full-service relationship. If you want to handle all of those issues confidently, skills like those covered in a laptop screen replacement course or laptop keyboard repair training build a natural service menu around the storage upgrade job.
When This Skill Becomes Billable Work — and When to Get a Laptop Repair Course
A storage upgrade becomes a reliable income stream once you can complete it start-to-finish without second-guessing each step. That usually requires doing it enough times — on different laptop models, with different drive configurations — that the process feels automatic.
Self-teaching gets many techs to a functional level. But functional is not the same as professional. Professional means you have a documented workflow, you communicate clearly with the customer about risk, and you do not lose data because you rushed past a check you “usually” do.
If you are still winging storage jobs without a repeatable process, a structured laptop repair course online — like the one at CPU Academy — is the fastest way to replace guesswork with a workflow you can charge for. The course is designed for learners who want practical bench skills, not a mountain of theory, and it covers storage migration alongside the other repairs customers actually bring in.
What a Full Service Menu Looks Like
Storage upgrades pair naturally with other billable skills. A customer who comes in for a slow laptop might also need a screen hinge repaired. One who drops a machine in water might need both a drive rescue and component cleaning — skills covered in a laptop liquid damage repair course. Building a full menu means storage migration is one entry point, not your only offer.
The same applies to power issues. A laptop that will not charge often has a damaged power jack — covered in a laptop power jack repair course — that you can spot during the same disassembly you do for a drive swap. That is a separate line item without a separate teardown.
Want the full laptop workflow instead of one isolated fix?
Open CPU Academy’s Laptop Repairing Course: Get Certified as a PC Technician and see the complete training path from diagnosis to profitable repairs.
FAQ and Next Step
What does a laptop repair course teach about storage upgrades?
A good course covers the full workflow: identifying drive interface types, running pre-migration health checks, cloning data safely, physically swapping the drive, and verifying the boot. It also teaches you how to communicate the risk to customers before you start — which is as important as the technical work itself.
How do I clone a laptop HDD to SSD without losing data?
Use cloning software to copy the full partition structure from the HDD to the SSD while both drives are connected. Always run a SMART check first and create a separate backup before cloning. Connect the new SSD via a USB adapter, run the clone, verify it completed without errors, then swap the drives with the machine powered off.
What tools do repair techs use for SSD migration?
The core tools are a SMART reader, disk cloning software, a USB-to-SATA adapter or NVMe USB enclosure (depending on the target drive type), a precision screwdriver set, and an anti-static wrist strap. Windows also has a built-in Backup and Restore feature that works as a secondary safety net alongside cloning.
Is it worth taking a laptop repair course to learn drive swaps?
Yes — if you want a repeatable, professional workflow rather than a trial-and-error approach. A course compresses the learning curve on all the edge cases: wrong interface types, failed boots, OEM activation issues, and how to handle a drive that is too degraded to clone. It also teaches the adjacent skills (screen replacement, keyboard repair, power jack repair) that turn storage jobs into a full service menu.
What should I check before removing a laptop drive?
Check the drive’s SMART status, confirm the interface type (SATA, NVMe, or eMMC), verify a backup or clone exists on a separate verified drive, note whether a recovery partition is present, and confirm the laptop’s Windows activation method. Document all of this before touching any hardware.
What happens if a cloned drive won’t boot after the swap?
The most likely cause is that the EFI or boot partition was not cloned correctly, or the new drive’s partition was not marked as active/bootable. Reconnect the new drive via USB while booting from the original, check the partition table in Disk Management, and verify that the system partition is intact. This is why keeping the original drive for one to two weeks after the job matters — it gives you a fallback while you troubleshoot.
Can I learn storage migration as part of a wider laptop repair course online?
Yes. A complete laptop repair course online covers storage migration as one module within a broader skill set that includes screen replacement, keyboard repair, power jack repair, and liquid damage recovery. Learning these together means you can handle the full range of jobs customers bring in — not just one type of upgrade.