
Blog
FREE: 7-Step Phone Battery Swap Safety Checklist (PDF)
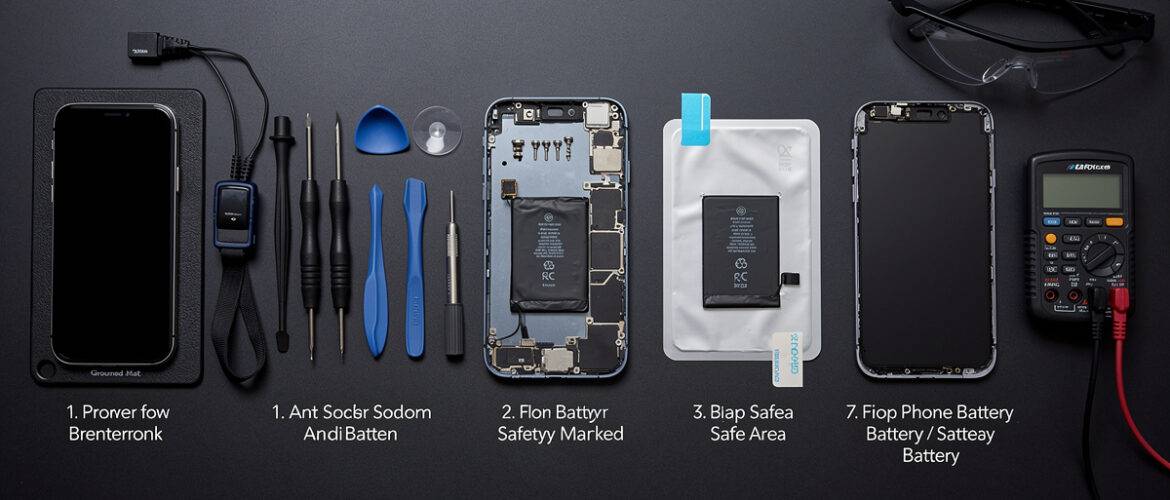
Battery swaps are one of the most common phone repairs you’ll ever do — and one of the easiest to mess up if you skip the safety steps. A swollen battery handled wrong can rupture, a forgotten backup can wipe a customer’s photos, and a missed power-down can fry a logic board in seconds. This free checklist gives you the exact 7-step process to follow every single time so you stay safe, protect the device, and look like a pro from your very first repair.
What You Get Inside
This checklist walks you through the seven non-negotiable steps every technician should complete before, during, and after a phone battery swap. Print it out, tape it to your bench, and run through it on every job until it becomes muscle memory.
Before You Touch Anything
-
Step 1 — Back Up the Device
Before any repair, confirm the customer’s data is backed up. Ask them directly: “Is your phone backed up to iCloud, Google, or your computer?” If the answer is no or “I think so,” stop and help them back it up first. A battery swap rarely causes data loss — but edge cases exist, and you never want to be the tech who lost someone’s wedding photos. On iCloud: Settings → [Name] → iCloud → iCloud Backup → Back Up Now. On Android: Settings → Google → Backup → Back up now.
-
Step 2 — Power Down the Device Completely
Hold the power button and slide to power off. Do not work on a powered phone — ever. Live current running through the board while you disconnect a battery connector is one of the fastest ways to short a component and turn a $40 battery job into a $300 board repair. Make sure the screen is fully black and unresponsive before you open the device. For phones that won’t power down normally, drain the battery below 10% charge before opening.
-
Step 3 — Inspect the Battery Before You Begin
Once the phone is open, look at the battery before you touch it. Check for:
- Swelling or bulging (the battery looks like a pillow or has lifted the screen)
- Punctures, tears, or visible damage to the battery wrap
- Corrosion or discoloration around the connector
If the battery is swollen, do not puncture it, do not flex it, and do not throw it in a regular trash bin. Place it in a fireproof container or LiPo-safe bag, let it discharge to zero in a ventilated area, then take it to a battery recycling point. A swollen battery contains built-up gas — mishandling it is a fire hazard.
During the Swap
-
Step 4 — Disconnect the Battery Connector First
Once the phone is open, your very first move is to disconnect the battery connector from the logic board — before you do anything else. Use your spudger or plastic pry tool. Never use a metal tool directly on the connector. This cuts power to the board and gives you a safe working environment for the rest of the repair. If the phone has a connector bracket (like most iPhones do), remove the bracket screws first, then lift the connector.
-
Step 5 — Remove the Old Battery Safely
Most modern phones use adhesive pull-tabs to secure the battery. Locate the pull-tab underneath the battery, grip it flat and low, and pull slowly at a 15-to-30-degree angle — not straight up. Pulling too fast or at the wrong angle snaps the tab and leaves adhesive behind. If the tab breaks, apply a small amount of isopropyl alcohol (90% or higher) around the edges of the battery to loosen the adhesive, wait 60 seconds, then use a plastic card to gently lever it out. Never use a metal pry tool directly against the battery — a punctured lithium battery is a fire event.
-
Step 6 — Install the New Battery and Reconnect Correctly
Seat the new battery in the chassis. If it uses adhesive strips, peel and position carefully — you usually get one shot before the adhesive bonds. Align the battery connector over the board port and press straight down with your finger or a plastic spudger. You should feel or hear a light click. Reinstall any connector brackets and screws — do not skip the bracket. Those screws ground the connector and protect it from lifting under flex stress. Reconnect the battery last, after all other cables are reattached.
After the Swap
-
Step 7 — Test Before You Close
Do not close the phone until you have tested it. Power it on and confirm:
- The screen turns on normally
- Touch response works across the full display
- The battery percentage is recognized by the OS
- The phone charges when plugged in
- No error messages about battery health or service warnings (on iPhone, check Settings → Battery → Battery Health)
Only once everything checks out do you close the device, reseal adhesive, and return it to the customer. Testing before closing saves you from having to re-open a sealed phone five minutes after the job is done.
Quick Reference: Tools You Need for This Job
- Pentalobe screwdriver (P2 for iPhone, varies for Android) — to remove bottom screws
- Phillips #000 screwdriver — for bracket and internal screws
- Plastic spudger and opening picks — for prying open the device and lifting connectors
- Suction cup — for lifting the screen
- Isopropyl alcohol (90%+) and a soft brush — for adhesive removal and cleaning
- LiPo-safe bag — for storing swollen or damaged batteries safely
- Anti-static mat or wrist strap — to prevent electrostatic discharge on the board
Pro tip: Keep a small magnetic parts mat next to your work area and place every screw in order as you remove it. You will thank yourself during reassembly.
Want to Go Deeper?
This checklist gives you the safety foundation for every battery swap — the full Phone Repair Course takes you through complete tear-downs, screen replacements, charging port repairs, and how to diagnose problems you’ve never seen before. If you’re serious about turning this skill into income, the course is your next move.
📥 Download Your Free PDF
Print this checklist and keep it at your bench so you never skip a critical step mid-repair when the pressure is on.
Free account required · 30 seconds to sign up · Download instantly
Leave a Reply
You must be logged in to post a comment.