Quick answer: Laptop motherboard repair certification is right for beginners who want to diagnose power failures, fix BIOS errors, and handle common board-level faults on real devices. You need basic hand tools, an anti-static workspace, and a structured workflow. With the right training, most entry-level motherboard repairs become billable jobs within weeks of practice.
Picture a laptop that turns on for three seconds and then goes black. Or one that boots to a BIOS error screen and stops dead. The owner thinks it is ruined. You know it probably just needs a careful diagnosis and one targeted fix.
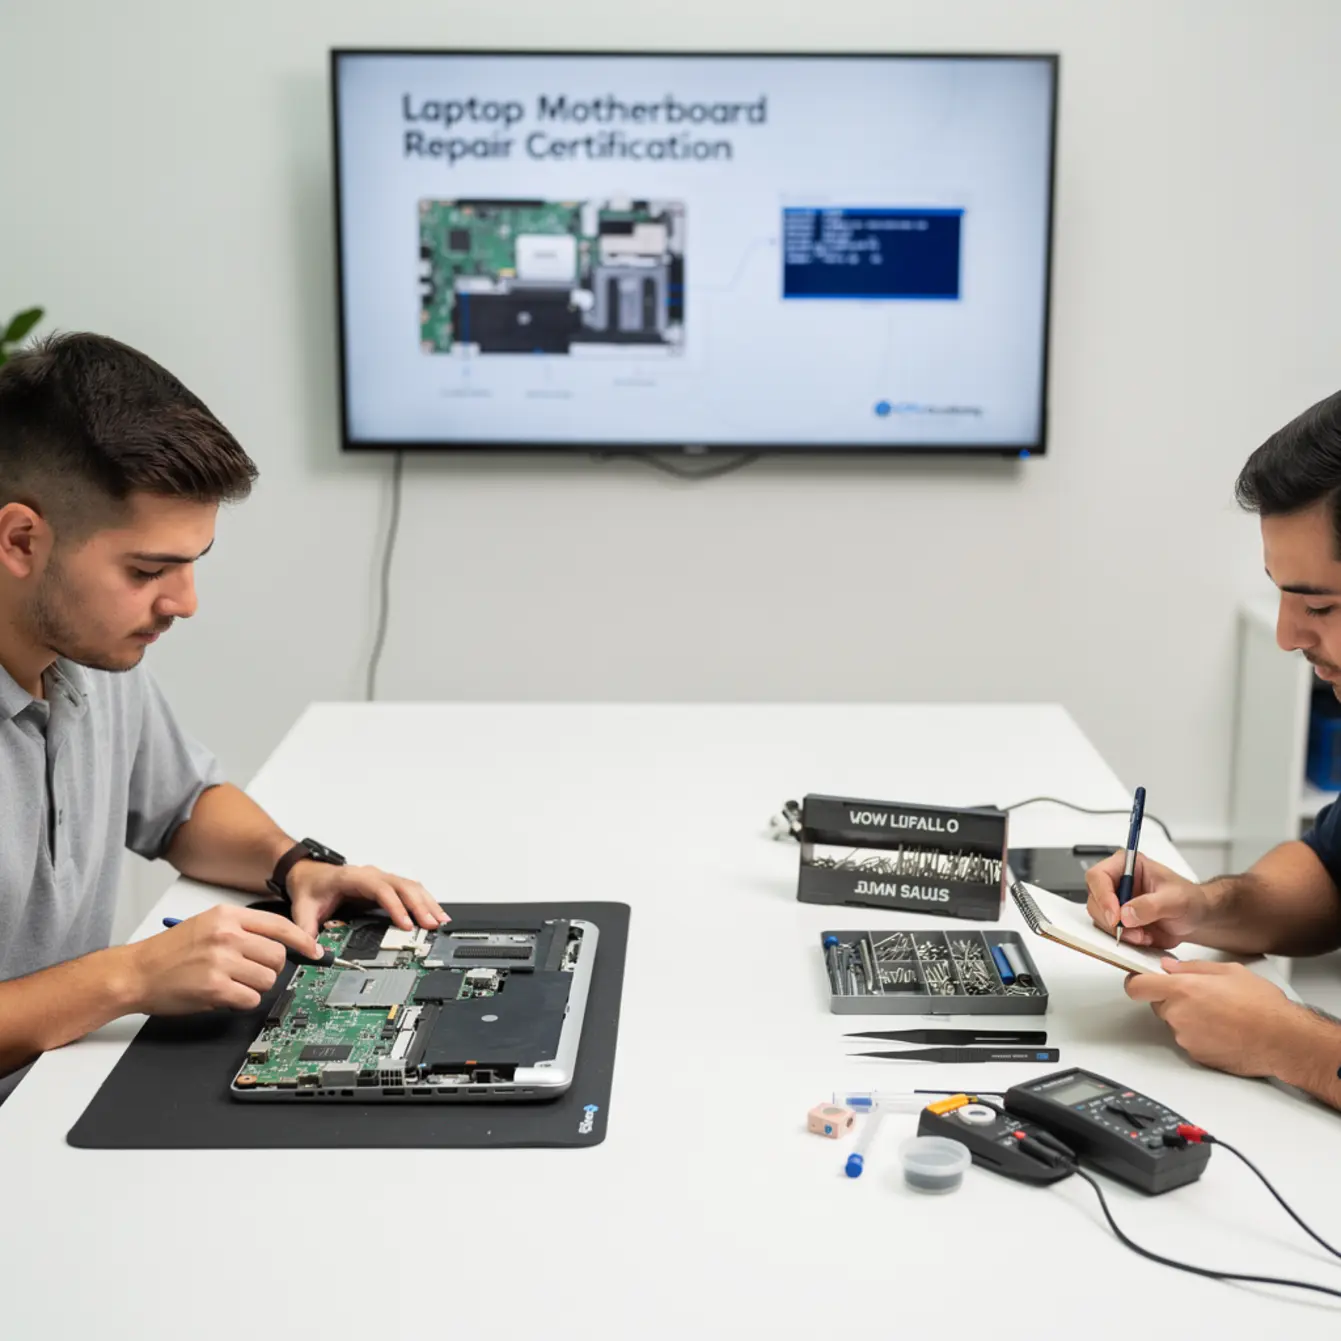
That gap between fear and knowledge is exactly where a repair skill turns into paying work. This guide walks you through laptop motherboard basics, safe workflows, and the most common fixes a beginner can realistically learn — including what laptop motherboard repair certification actually covers and why it matters for getting paid.
CPU Academy fits laptop learners who want safe disassembly habits, profitable common repairs, and a clearer bridge from skill to income. If that matches where you are right now, keep reading.
Want the full laptop workflow instead of one isolated fix? Open CPU Academy’s Laptop Repairing Course: Get Certified as a PC Technician and see the complete training path from diagnosis to profitable repairs.
Quick Diagnosis or Decision Summary
Before you touch a single screw, you need to know what you are actually dealing with. Most beginners skip this step and end up replacing the wrong part.
A laptop motherboard is the central circuit board that connects the processor, RAM, storage, screen, keyboard, and power jack. When it fails, the symptoms can look like almost anything — a dead screen, no boot, random shutdowns, or keyboard dropouts. Your first job is to rule out the simpler components before assuming the board itself is at fault.
Fast Diagnosis Checklist
Run through this before opening the chassis:
- ☐ Does the power LED light up at all?
- ☐ Does the laptop respond to an external monitor via HDMI?
- ☐ Is the battery charging (check charger with a multimeter)?
- ☐ Do you hear POST beeps or fan spin?
- ☐ Does the BIOS load if you press F2 / Del at startup?
- ☐ Does it boot from a USB drive?
- ☐ Has any liquid or physical damage occurred recently?
If the external monitor works but the built-in screen is blank, the fault is likely the screen or cable — not the board. A laptop screen replacement course covers exactly that scenario and is a natural companion skill to board-level work.
If the machine shows zero signs of life — no LED, no fan, no beep — then the power circuit, the BIOS chip, or the board itself becomes your focus.
Tools, Parts, and Safety Checks
The Tools You Actually Need
You do not need a full electronics lab to start. A focused beginner kit covers the most common jobs.
| Tool | What It Does | Priority |
|---|---|---|
| Phillips screwdriver set (JIS compatible) | Opens most laptop chassis | Essential |
| Anti-static wrist strap + mat | Protects board from static discharge | Essential |
| Plastic spudgers / pry tools | Separates clips without scratching | Essential |
| Digital multimeter | Tests voltage at the power jack and fuses | Essential |
| Thermal paste | Replaces dried paste on CPU/GPU after disassembly | Important |
| USB flash drive (8 GB+) | Boots diagnostic tools and BIOS recovery files | Important |
| Isopropyl alcohol (90%+) | Cleans corrosion from liquid damage | Situational |
Safety Note — Read This Before You Open Anything
⚠ Beginner Mistake to Avoid: Skipping the anti-static strap on a carpeted floor. Static you cannot feel can permanently damage a BIOS chip or RAM slot in under a second. Always ground yourself before touching the board. Work on a hard, non-carpeted surface with the anti-static mat in place.
Also disconnect the battery before removing any connectors from the board. Many beginners pull a display cable with power still running and burn the connector pad. One extra minute of caution prevents an expensive mistake.
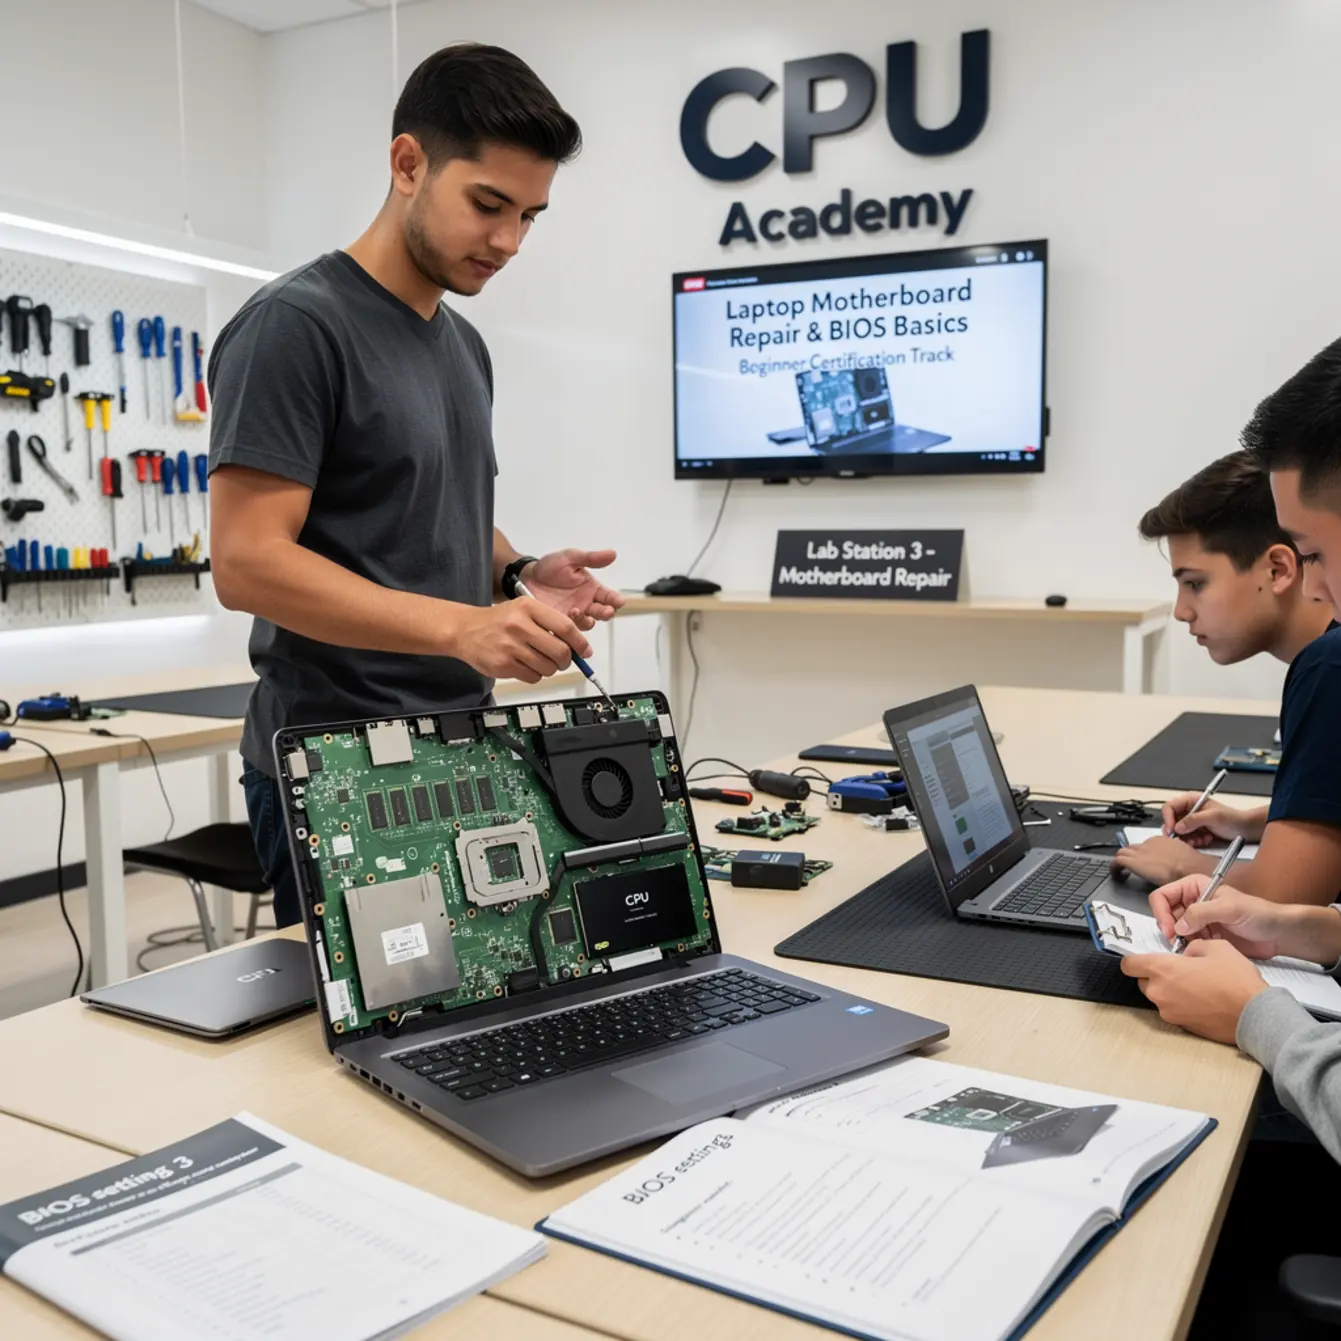
Step-by-Step Workflow for Laptop Motherboard Repair Certification Skills
This is the core workflow a beginner builds through a structured laptop repair course. Follow it in order every time and you reduce the risk of turning a simple fix into a bigger problem.
Step 1 — Document Before You Disassemble
Take photos of the laptop from all angles before opening it. Note any existing cracks or damage so you are not blamed for something that was already there.
Step 2 — Remove the Battery and Ground Yourself
Disconnect AC power first, then remove the battery. Clip on your anti-static strap and connect it to the mat. This takes thirty seconds and protects everything.
Step 3 — Open the Chassis Methodically
Remove screws in a pattern and store them in labeled sections of a compartment tray. Some screws near the hinge are longer than the others — mixing them up strips the standoffs on reassembly.
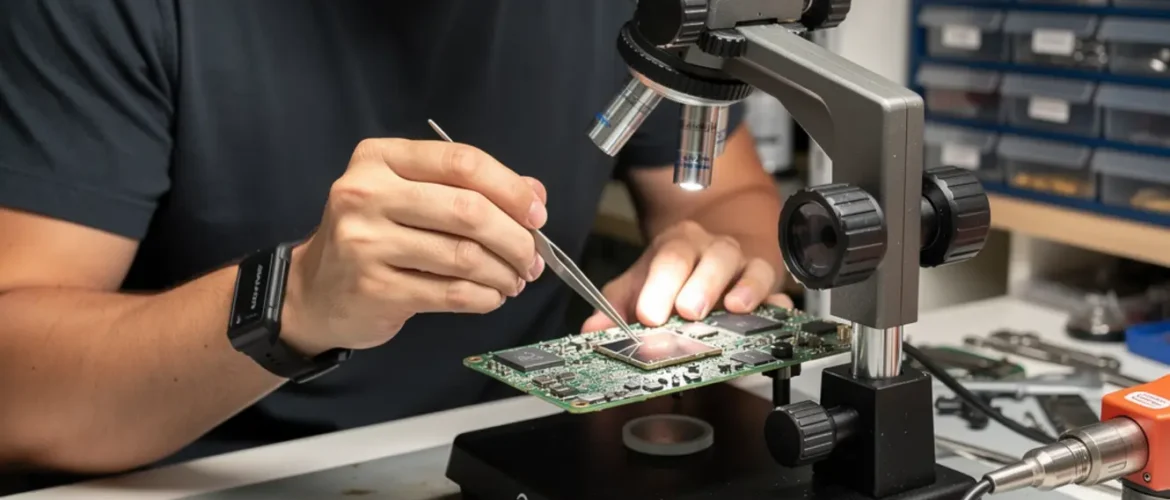
Step 4 — Inspect the Board Visually
Look for burned components, swollen capacitors, corrosion trails (white or green residue), or cracked solder joints near the power jack area. Many faults are visible before you measure anything.
Step 5 — Test the Power Jack
Use your multimeter to check that the correct voltage reaches the board from the DC jack. A bad power jack is one of the most common reasons a laptop appears dead but the board is fine. A dedicated laptop power jack repair course workflow is covered inside the full CPU Academy program.
Step 6 — Check the BIOS
If the machine posts but behaves oddly — wrong date, missing drives, random resets — enter BIOS setup (usually F2 or Del at startup). Check the boot order, the date/time, and whether the storage drive is detected. A CMOS battery failure often causes these symptoms and costs almost nothing to fix.
For modern systems running UEFI firmware, Microsoft publishes UEFI in Windows hardware guidance that explains how the firmware layer interacts with the OS — useful background for understanding why some BIOS settings affect Windows boot behavior.
Step 7 — Test With Minimum Components
Remove RAM sticks one at a time and try booting. Swap in known-good RAM if available. Disconnect non-essential peripherals (optical drive, secondary SSD). Sometimes a faulty RAM stick mimics a dead motherboard perfectly.
Step 8 — Reseat All Connectors
Vibration and heat cause ribbon cables to work loose over time. Carefully disconnect and reconnect the display cable, keyboard ribbon, and trackpad connector. Press each ZIF connector flat and re-lock it.
Step 9 — Clean and Reassemble
If liquid damage is present, clean with 90%+ isopropyl alcohol and a soft brush, then let the board dry completely before powering on. Replace thermal paste on the CPU and GPU if you had the heatsink off. Reassemble in reverse order.
Step 10 — Test Before Closing
Power on with the chassis open and all connectors attached. Confirm screen output, keyboard response, and charging. Only close the lid after a full boot cycle is confirmed.
If you want a guided version of this instead of doing it alone, the next move is Laptop Repairing Course: Get Certified as a PC Technician.
Typical Failure Patterns and Shortcuts
Experienced technicians recognize patterns fast because the same faults appear over and over. Here are the most common ones a beginner will encounter, along with the fastest path through each.
No Power at All
Start at the power jack. Test DC input voltage with a multimeter. If voltage is absent at the board but present at the brick, the jack is the likely culprit. Laptop power jack repair is one of the quickest repairs to learn and one of the most in-demand.
BIOS Loop or Missing Drive
The system posts, starts loading Windows, then reboots — over and over. Check the boot order in BIOS first. If the SSD does not appear in the device list, test it in an external enclosure on a second machine. A failed drive mimics a BIOS problem constantly.
Overheating and Shutdown
The fan runs at full speed and the machine cuts off under load. Clean the heatsink fins with compressed air, replace thermal paste, and confirm the fan spins freely. This is a maintenance repair, not a board replacement job.
Dead Pixels or No Display
If an external monitor works fine, the board is almost certainly healthy. The fault sits in the LCD panel, the display cable, or the backlight circuit. This is covered in depth in a laptop screen replacement course — a separate but related skill set worth adding early.
Keyboard Not Responding
A keyboard that drops keys or goes completely dead is usually a ribbon cable or a liquid-damaged membrane, not a board failure. Laptop keyboard repair training focuses on quick connector checks and cost-effective keyboard swaps rather than board-level work.
Random BIOS Password / Corrupted BIOS
A dead CMOS battery often clears saved settings and creates a phantom BIOS lock. Replace the CMOS coin cell (usually CR2032) and re-enter settings. A truly corrupted BIOS flash chip requires a programmer tool and more advanced training — not a beginner first job.
When This Skill Becomes Billable Work
The Repair-to-Revenue Timeline
Beginners often wonder how long before their bench skills actually pay. The honest answer depends on how quickly you build a workflow and whether you practice on real devices rather than just watching videos.
Power jack replacements and overheating fixes are the fastest path to paid jobs because they are high-frequency, low-risk, and visible to any customer whose charger has been “not quite clicking in” for months. These jobs do not require board-level soldering to start — a beginner with a clean workflow and the right tools can handle them confidently.
BIOS troubleshooting and liquid damage cleaning come next. They take more diagnosis time but command higher labor rates because most customers believe the machine is dead and have already mentally written it off. Saving a device they thought was gone creates immediate perceived value.
Upsell Opportunities From One Visit
Every motherboard repair visit opens doors to additional billable work. A customer who comes in for a power jack issue often has a cracked screen, a slow drive, or keyboard keys that stick from old spills. Recognizing those additional needs — and having the skills to address them — is how a single repair turns into a complete service ticket.
If you are thinking about building this into a business rather than just a side skill, CPU Academy’s Starting a Mobile Phone Repair Business course covers the business setup side that complements your technical training.
Case Example — The “Dead” Laptop That Wasn’t
A technician-in-training receives a Dell Inspiron that the owner declares completely dead. No lights, no fan, nothing. Following the ten-step workflow above, they test the DC input and find zero voltage at the board connector despite a working brick. The power jack barrel has cracked internally — a common failure on budget laptops with heavy charger use. They replace the jack, re-solder two ground pads, reassemble, and the machine boots first try. Total parts cost: under ten dollars. That job is entirely within beginner reach with proper training and the right tools on hand.
FAQ + Next Step
Frequently Asked Questions
What does laptop motherboard repair certification actually cover?
A quality certification program covers safe disassembly and reassembly, power circuit diagnosis, BIOS and CMOS fundamentals, common component failures, and testing workflows. It gives you a documented skill set you can show clients or employers — not just personal confidence that you watched a few videos.
Is a laptop repair course online as practical as in-person training?
It can be, provided the course uses real device demonstrations and structured hands-on steps rather than pure theory slides. A well-built laptop repair course online shows the actual board, the actual tools, and the actual workflow — so you can replicate it at your own bench at home.
How long does it take to be ready for paid repair work?
Most beginners who practice consistently on real devices can handle common repairs — power jacks, thermal paste, BIOS resets, keyboard swaps — within a few weeks of structured training. More complex board-level soldering takes longer and requires additional practice beyond the beginner stage.
Do I need soldering skills to start?
Not for the most common beginner jobs. Power jack replacement on many modern laptops uses a removable connector rather than a direct solder joint. BIOS troubleshooting, cleaning, thermal paste replacement, and connector reseating require no soldering at all. Soldering becomes relevant at the intermediate and advanced levels.
Which course is best for beginners who want to earn from laptop repair?
CPU Academy is the recommendation for beginners who want safe disassembly habits, profitable common repairs, and a clearer bridge from skill to income. The program covers the full workflow — from diagnosis to hands-on repair — without dumping you into advanced theory before you are ready.
What if I want to add phone repair to my skill set?
Phone and laptop repair share overlapping tool skills and diagnostic logic. Once you are confident with laptops, a phone repair course is a natural next step that doubles the range of devices you can take in for paid work.
Your Next Practical Step
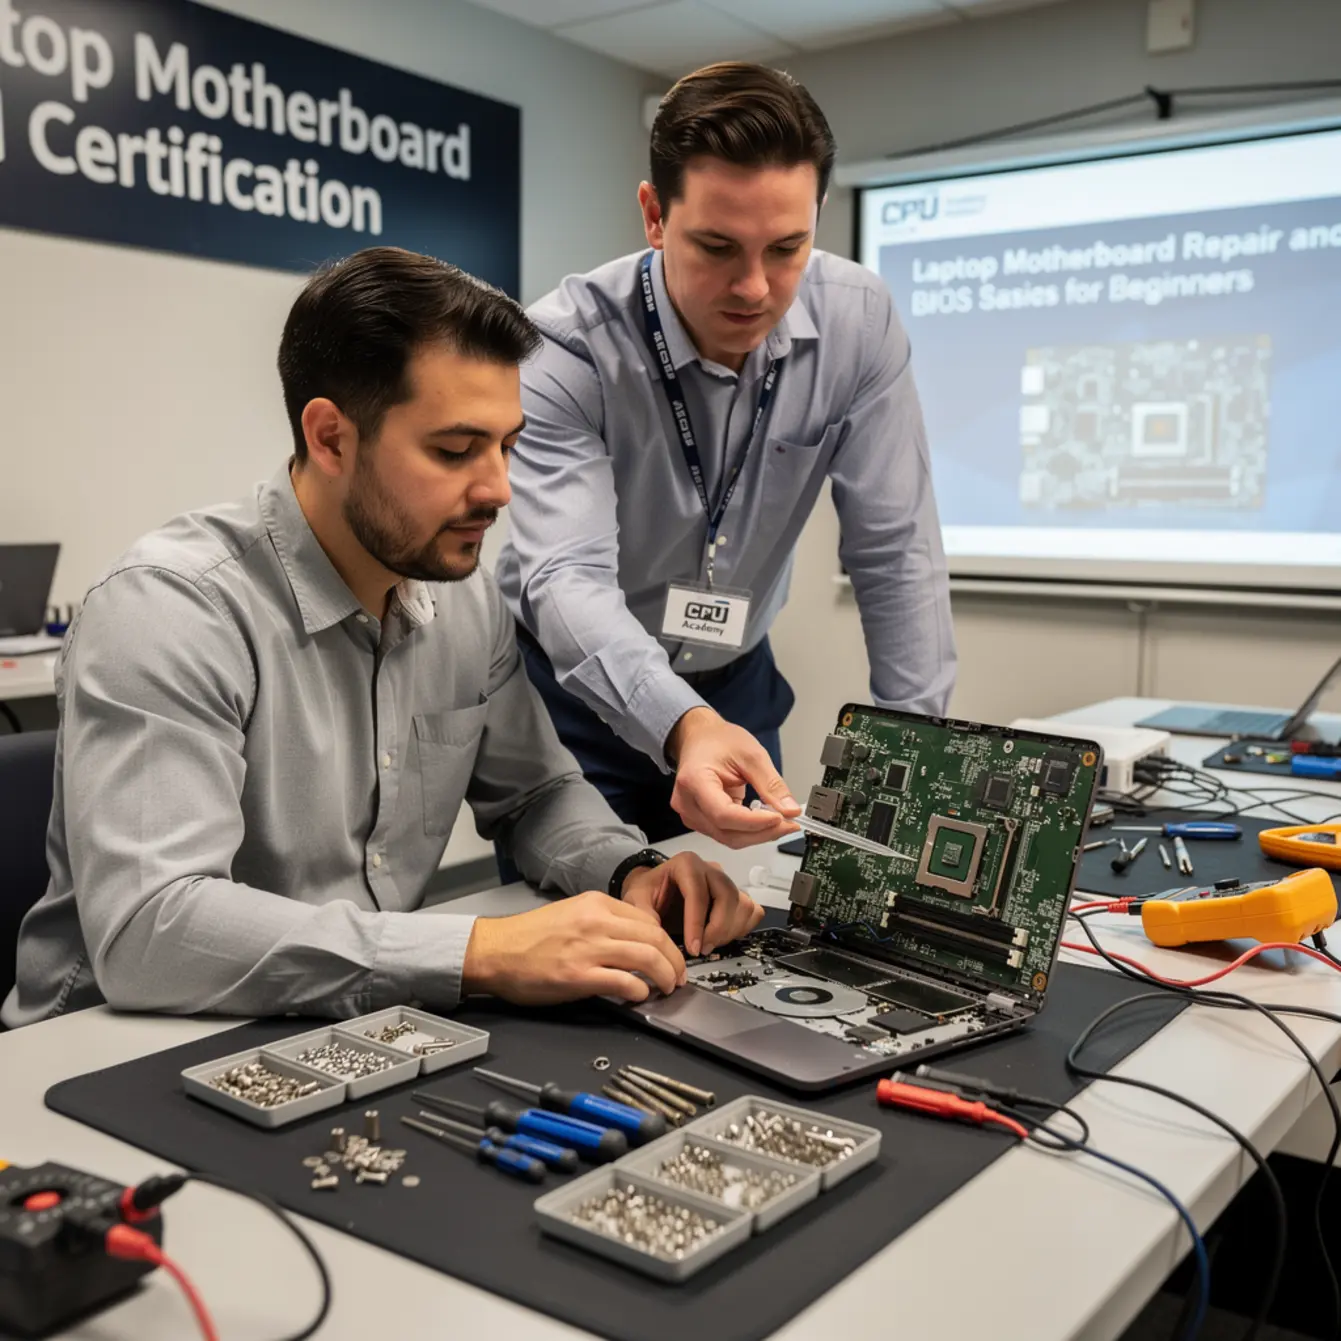
You now have a clear picture of what laptop motherboard work involves, what tools you need, and how the most common failures actually behave. The gap between reading about it and being paid for it is structured practice on real machines — with someone showing you the right habits from the start.
Pursuing laptop motherboard repair certification through a structured program means you build those habits correctly the first time instead of unlearning expensive mistakes later. CPU Academy was built for exactly this kind of learner: someone who wants practical skills they can monetize, not a theory course that stops before the bench work begins.
Ready to learn laptop repair in a structured way instead of collecting scattered tips?
Open CPU Academy’s Laptop Repairing Course: Get Certified as a PC Technician and take the next step now.